How to Stain Kitchen Cabinets Darker?
Staining kitchen cabinets darker is a popular way to update the look of your kitchen without the cost of replacing the cabinets. A darker stain can add warmth, richness, and depth to the wood, transforming the overall appearance of your kitchen. Whether you’re looking to modernize your space or simply want a change, learning how to stain kitchen cabinets darker can be a rewarding DIY project.
In this guide, we’ll walk you through the steps to achieve a professional-looking finish, from preparation to the final coat.
Why Stain Kitchen Cabinets Darker?
Before diving into the process, it’s important to understand why you might want to stain your kitchen cabinets darker. There are several benefits to choosing a darker stain for your cabinets.
Aesthetic Appeal
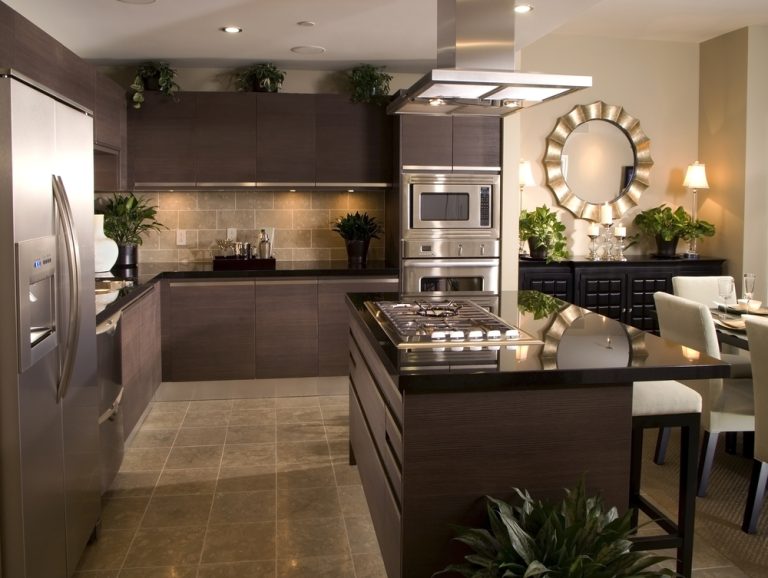
- Warmth and Depth: Darker stains bring out the natural beauty of the wood grain, adding warmth and depth to your cabinets. This can create a more sophisticated and cozy atmosphere in your kitchen.
- Modern Look: Darker cabinets are often associated with contemporary and modern design styles. They can make your kitchen look more updated and stylish without the need for a full renovation.
Cost-Effective Update
- Affordable Transformation: Staining your cabinets darker is a cost-effective way to give your kitchen a fresh new look. It’s much less expensive than replacing cabinets entirely.
- DIY-Friendly: With the right tools and techniques, staining cabinets is a project that most homeowners can tackle themselves, saving on labor costs.
Increased Home Value
- Appealing to Buyers: Darker kitchen cabinets are popular among homebuyers, making your kitchen more appealing if you’re considering selling your home in the future. A well-executed stain job can add value to your property.
Also Read – How Does a Sink Work?
Gathering Materials and Tools
To successfully stain your kitchen cabinets darker, you’ll need to gather the necessary materials and tools. Having everything ready will make the process smoother and more efficient.
Materials
- Wood Stain: Choose a high-quality wood stain in the darker shade you desire. Oil-based stains are popular for their rich color and durability, while water-based stains are easier to clean up and have less odor.
- Pre-Stain Wood Conditioner: Applying a wood conditioner before staining helps the stain absorb evenly, especially on softwoods like pine.
- Sandpaper: You’ll need sandpaper in various grits (120, 220, and 320) for sanding the cabinets before staining.
- Tack Cloth: Tack cloths are used to wipe away dust after sanding to ensure a smooth surface for staining.
- Painter’s Tape: Use painter’s tape to protect areas that you don’t want to stain, such as walls or countertops.
- Polyurethane Finish: A clear polyurethane finish will protect the stained wood and give it a polished look.
Tools
- Sanding Block or Orbital Sander: Use a sanding block or orbital sander to sand the cabinets. An orbital sander makes the job faster, especially for larger surfaces.
- Paintbrushes or Foam Brushes: High-quality paintbrushes or foam brushes are essential for applying the stain and finish smoothly.
- Clean Rags: Have plenty of clean, lint-free rags on hand for wiping off excess stain and cleaning up.
- Screwdriver: You’ll need a screwdriver to remove cabinet doors and hardware before you start.
Preparation: The Key to a Successful Stain Job
Proper preparation is crucial when learning how to stain kitchen cabinets darker. Skipping or rushing through the prep work can lead to uneven staining and a less-than-perfect finish.
Step 1: Remove Cabinet Doors and Hardware
- Take Off the Doors: Begin by removing the cabinet doors, drawers, and any hardware, such as handles, knobs, and hinges. Label each door and drawer to make reassembly easier.
- Protect Your Workspace: Lay down drop cloths or old sheets to protect your countertops and floors from dust and stain. Use painter’s tape to mask off any areas you don’t want to stain.
Step 2: Clean and Sand the Cabinets
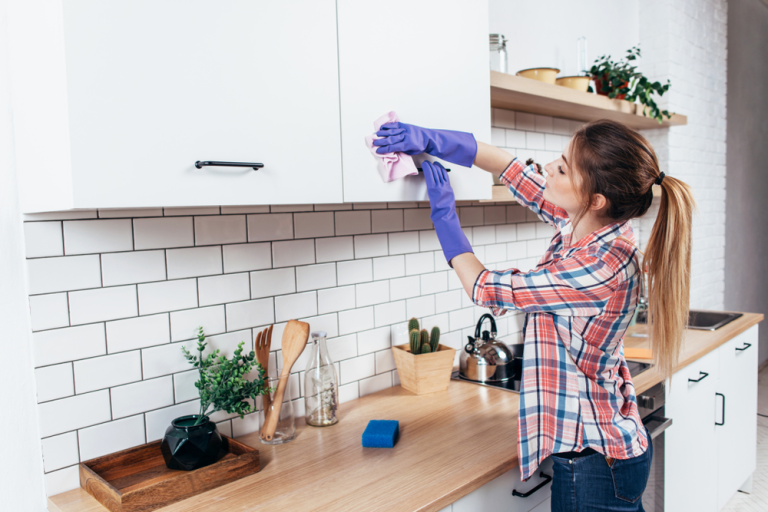
- Clean the Surface: Wipe down the cabinets with a mild detergent and water solution to remove any grease, dirt, or grime. Rinse with clean water and let the cabinets dry completely.
- Sand the Wood: Use 120-grit sandpaper to sand the surface of the cabinets. This removes the existing finish and roughens the surface so the new stain can penetrate the wood. Follow up with 220-grit sandpaper for a smoother finish. Finally, use 320-grit sandpaper to smooth the surface and prepare it for staining.
- Remove Dust: After sanding, wipe down the cabinets with a tack cloth to remove all dust and debris. This step is essential to achieve a smooth, even stain.
Step 3: Apply Pre-Stain Wood Conditioner
- Even Absorption: Apply a pre-stain wood conditioner to the cabinets using a paintbrush or foam brush. This helps the wood absorb the stain evenly and prevents blotching, especially on porous or softwoods.
- Follow Manufacturer’s Instructions: Allow the conditioner to penetrate the wood for the time recommended by the manufacturer, usually about 15 minutes, and then wipe off any excess with a clean rag.
Staining the Cabinets
With the preparation complete, you’re ready to start staining your kitchen cabinets darker. This step requires patience and attention to detail to achieve the best results.
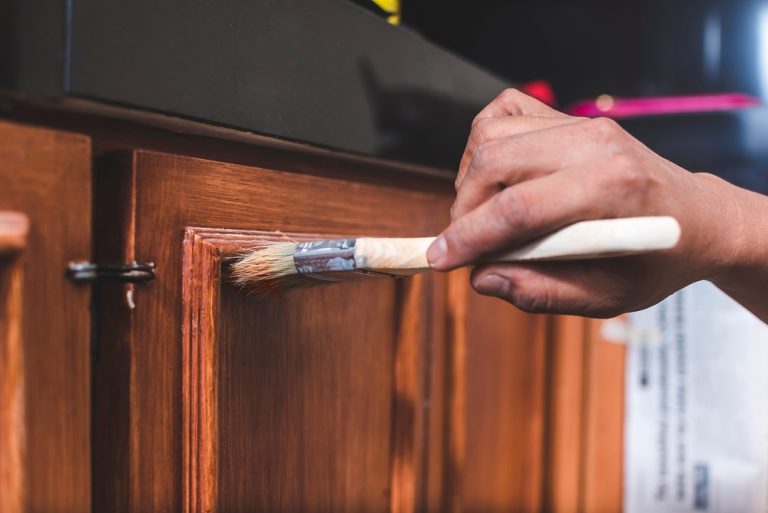
Step 1: Apply the Stain
- Brush on the Stain: Using a clean paintbrush or foam brush, apply the stain in the direction of the wood grain. Work in small sections to ensure even coverage. Be generous with the stain, but avoid overloading the brush to prevent drips.
- Wipe Off Excess: After allowing the stain to sit for a few minutes (follow the stain manufacturer’s guidelines), wipe off the excess with a clean, lint-free rag. The longer you leave the stain on, the darker the color will be, but be consistent to avoid uneven color.
Step 2: Repeat for a Darker Color
- Apply Additional Coats: If you want a deeper, richer color, apply additional coats of stain. Allow each coat to dry completely before applying the next. Sand lightly with 320-grit sandpaper between coats for a smoother finish.
- Check for Evenness: Inspect the cabinets as you go to ensure the stain is applied evenly. If you notice any uneven spots, lightly sand and reapply stain as needed.
Step 3: Let the Stain Dry
- Allow Adequate Drying Time: Once you’re satisfied with the color, allow the stain to dry completely. Drying time can vary depending on the type of stain and the humidity level, but it typically takes 24 to 48 hours.
Sealing and Protecting the Stained Cabinets
After the stain has dried, the final step in the process of how to stain kitchen cabinets darker is to apply a protective finish. This seals the stain, enhances the color, and provides a durable surface that can withstand daily wear and tear.
Step 1: Apply Polyurethane Finish
- Choose Your Finish: Select a clear polyurethane finish in your desired sheen—gloss, semi-gloss, or satin. Polyurethane protects the wood and adds a polished look to the stained cabinets.
- Brush on the Finish: Apply the polyurethane with a clean paintbrush, working in long, even strokes in the direction of the wood grain. Be careful to avoid drips and bubbles.
Step 2: Sand Between Coats
- Light Sanding: After the first coat of polyurethane has dried (follow the manufacturer’s instructions for drying time), lightly sand the surface with 320-grit sandpaper. Wipe away the dust with a tack cloth before applying the next coat.
- Apply Multiple Coats: Apply at least two to three coats of polyurethane for maximum durability. Allow each coat to dry thoroughly and sand between coats for a smooth, professional finish.
Step 3: Reassemble the Cabinets
- Reattach Hardware: Once the final coat of polyurethane has dried, reattach the hardware to the cabinet doors and drawers.
- Rehang the Doors: Rehang the cabinet doors and slide the drawers back into place. Make sure everything is aligned and functions smoothly.
Conclusion
Learning how to stain kitchen cabinets darker is a rewarding way to refresh your kitchen and give it a modern, updated look. By following the steps outlined in this guide—from proper preparation to applying the stain and finish—you can achieve a rich, professional-looking finish that enhances the beauty of your cabinets.
With patience and attention to detail, you can transform your kitchen cabinets into a stunning focal point that adds warmth and character to your home. Whether you’re doing it yourself or enlisting the help of a professional, the effort will be well worth the beautiful results.