How to Protect Kitchen Tiles from Oil Stains?
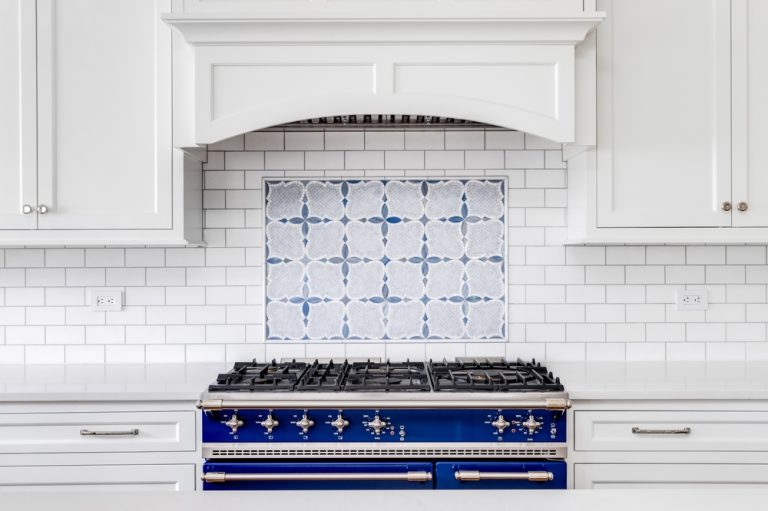
Oil stains can be a persistent problem in the kitchen, particularly on tiles near the stove or countertop where cooking splatters are common. Knowing how to protect kitchen tiles from oil stains is crucial for maintaining a clean and hygienic kitchen. Not only do oil stains make your tiles look dirty, but they can also be difficult to remove if left untreated.
In this guide, we’ll explore various methods and tips to prevent oil stains from sticking to your kitchen tiles, ensuring they remain spotless and long-lasting.
Why Protecting Kitchen Tiles from Oil Stains is Important?
Before diving into the methods of how to protect kitchen tiles from oil stains, it’s essential to understand why taking preventative measures is so crucial.
Preserve Aesthetic Appeal
- Clean and Shiny Tiles: Oil stains can dull the appearance of your kitchen tiles, making them look greasy and dirty. Regular protection helps maintain their original shine and cleanliness.
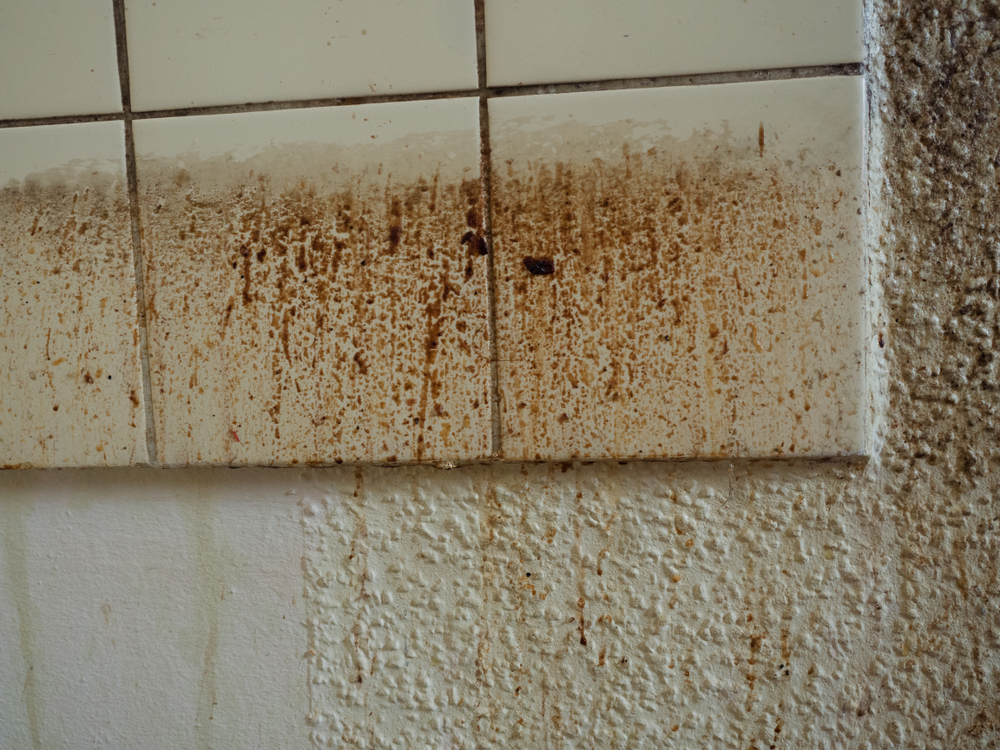
- Prevent Permanent Stains: If not treated promptly, oil stains can become ingrained in the tile and grout, leading to permanent discoloration. Protecting your tiles can prevent this from happening.
Maintain Hygiene
- Reduce Bacteria Growth: Oil stains can attract dirt and bacteria, creating an unhygienic surface. By keeping your tiles free from oil, you reduce the risk of bacteria buildup and keep your kitchen sanitary.
- Ease of Cleaning: When tiles are protected from oil stains, they are easier to clean. You won’t need to spend extra time and effort scrubbing stubborn spots.
Also Read – How to Clean Kitchen Wall Tiles?
Materials and Tools Needed to Protect Kitchen Tiles from Oil Stains
To effectively protect your kitchen tiles from oil stains, you’ll need to gather the following materials and tools:
Cleaning Supplies
- Degreaser or Tile Cleaner: A high-quality degreaser or tile cleaner is essential for removing any existing oil stains before applying protective measures.
- Warm Water and Dish Soap: A mixture of warm water and dish soap can help clean the tiles before applying any sealant or protective coating.
- Soft Sponge or Cloth: Use a soft sponge or microfiber cloth to apply cleaning solutions without scratching the tiles.
Protective Sealants
- Tile and Grout Sealer: A tile and grout sealer forms a protective barrier on the tile surface, preventing oil and other stains from penetrating the material. Choose a sealer that is specifically designed for use in kitchens and is resistant to grease and oil.
- Natural Stone Sealer: If your tiles are made of natural stone, such as marble or granite, use a sealer specifically formulated for natural stone. These sealers provide extra protection against oil and other stains.
Application Tools
- Paintbrush or Roller: A small paintbrush or roller can be used to apply the sealer evenly across the tiles and grout.
- Clean Cloth: A clean, lint-free cloth is useful for wiping away excess sealer and ensuring an even finish.
Step-by-Step Guide on How to Protect Kitchen Tiles from Oil Stains
Here’s a detailed step-by-step guide on how to protect kitchen tiles from oil stains, ensuring they remain in pristine condition.
Step 1: Clean the Tiles Thoroughly
- Remove Existing Stains: Before applying any protective measures, it’s essential to clean your tiles thoroughly. Use a degreaser or tile cleaner to remove any existing oil stains. Pay special attention to areas near the stove and countertops where oil splatters are most common.
- Scrub the Grout: Oil can easily seep into grout lines, making them difficult to clean. Use a scrub brush and a mixture of warm water and dish soap to clean the grout thoroughly.
- Rinse and Dry: After cleaning, rinse the tiles with warm water to remove any residue. Wipe the tiles dry with a clean cloth, ensuring they are completely dry before proceeding.
Step 2: Apply a Protective Sealer
- Choose the Right Sealer: Select a tile and grout sealer that is resistant to oil and grease. If you have natural stone tiles, use a sealer specifically formulated for natural stone surfaces.
- Test the Sealer: Before applying the sealer to the entire surface, test it on a small, inconspicuous area to ensure it doesn’t discolor or damage the tiles.
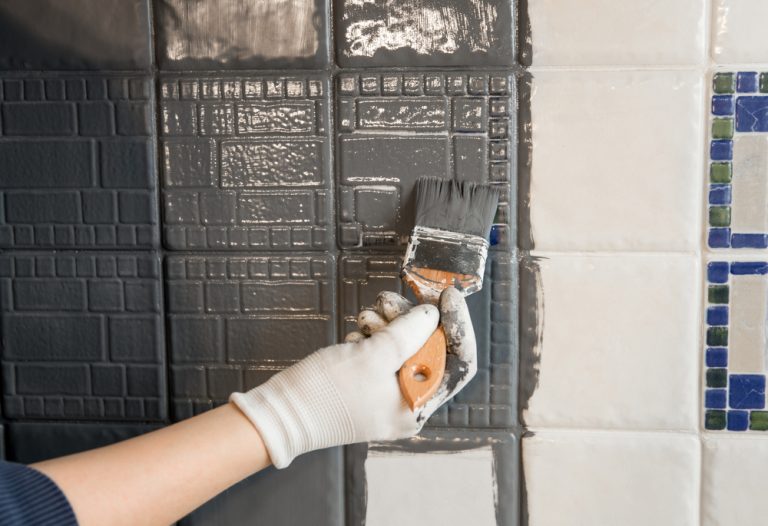
- Apply Evenly: Using a paintbrush or roller, apply the sealer evenly across the tile surface and grout lines. Be sure to cover the entire area, especially high-risk areas like the backsplash and around the stove.
- Wipe Away Excess: After applying the sealer, use a clean cloth to wipe away any excess, ensuring an even finish. This step is important to prevent the sealer from forming streaks or a cloudy appearance on the tiles.
- Allow to Dry: Let the sealer dry completely according to the manufacturer’s instructions. This usually takes a few hours, but it’s best to allow the sealer to cure overnight for maximum effectiveness.
Step 3: Regular Maintenance
- Reapply Sealer Periodically: To maintain protection against oil stains, reapply the sealer periodically. The frequency will depend on the product used, but typically, sealers should be reapplied every 6 to 12 months.
- Clean Spills Immediately: Even with a sealer, it’s important to clean up oil spills immediately to prevent them from penetrating the surface. Use a soft cloth or paper towel to blot the spill, then clean the area with warm water and dish soap.
Additional Tips for Protecting Kitchen Tiles from Oil Stains
In addition to applying a protective sealer, here are some additional tips on how to protect kitchen tiles from oil stains:
Use Backsplash Guards
- Install Guards: Consider installing backsplash guards behind the stove and countertops. These guards can catch oil splatters and prevent them from reaching the tiles. They are easy to clean and can be removed when not in use.
- Temporary Guards: If you don’t want a permanent backsplash guard, use a temporary shield, such as a splatter screen, when cooking with oil. This simple tool can prevent most oil splatters from reaching the tiles.
Choose Oil-Resistant Tiles
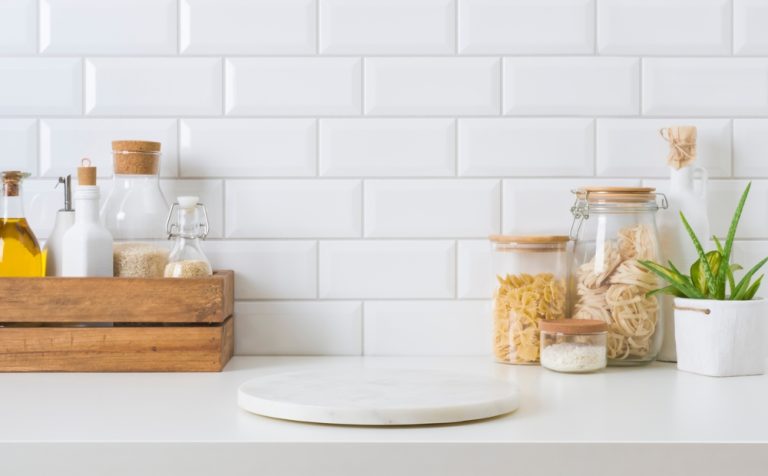
- Glossy or Sealed Tiles: When selecting tiles for your kitchen, consider choosing tiles with a glossy or sealed finish. These types of tiles are more resistant to oil and grease stains and are easier to clean.
- Avoid Porous Materials: Porous tiles, such as unglazed ceramic or natural stone, are more susceptible to staining. If you have porous tiles, be extra diligent with sealing and maintenance.
Maintain a Regular Cleaning Routine
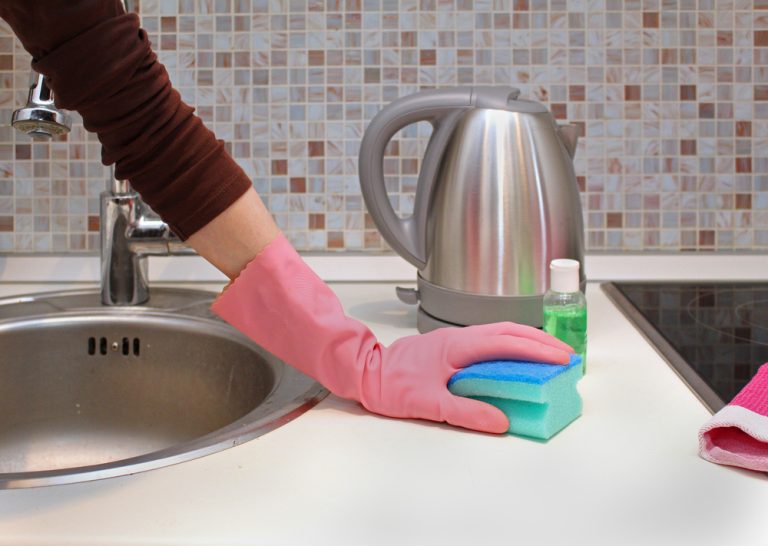
- Wipe Down Daily: Incorporate wiping down your kitchen tiles into your daily cleaning routine. Use a soft cloth and warm water to remove any oil splatters before they have a chance to set in.
- Deep Clean Weekly: Once a week, deep clean your kitchen tiles with a degreaser or tile cleaner to remove any accumulated grease and dirt. This regular maintenance will keep your tiles looking fresh and clean.
Use Protective Mats or Trays
- Place Mats Near Cooking Areas: Use protective mats or trays near cooking areas to catch oil splatters. These mats are easy to clean and can be removed and washed regularly.
- Use Cutting Boards: When preparing oily foods, use cutting boards to protect the tiles from direct contact with oil. This simple step can prevent stains from forming in the first place.
Conclusion
Knowing how to protect kitchen tiles from oil stains is essential for maintaining a clean and hygienic kitchen. By following the steps outlined in this guide—cleaning thoroughly, applying a protective sealer, and incorporating regular maintenance—you can keep your kitchen tiles free from stubborn oil stains.
Incorporating additional protective measures, such as backsplash guards and choosing oil-resistant tiles, will further enhance your kitchen’s durability and appearance. With the right care and attention, your kitchen tiles will remain spotless and beautiful for years to come.