How to Plumb a Kitchen Sink with a Garbage Disposal?
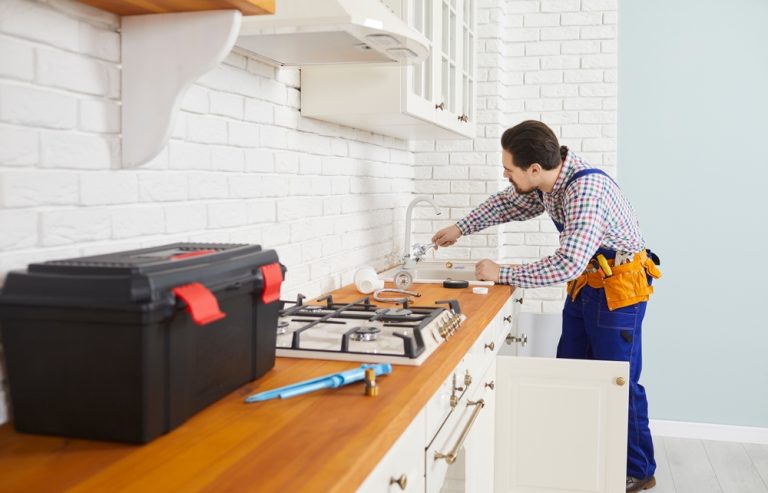
Installing a garbage disposal under your kitchen sink is a practical way to manage food waste, but it also requires careful plumbing to ensure everything functions smoothly. If you’re planning to tackle this project yourself, understanding how to plumb a kitchen sink with a garbage disposal is essential.
In this guide, we’ll walk you through the steps, tools, and materials needed to successfully plumb your kitchen sink with a garbage disposal, ensuring proper drainage and functionality.
Understanding the Basics of Plumbing a Kitchen Sink with a Garbage Disposal
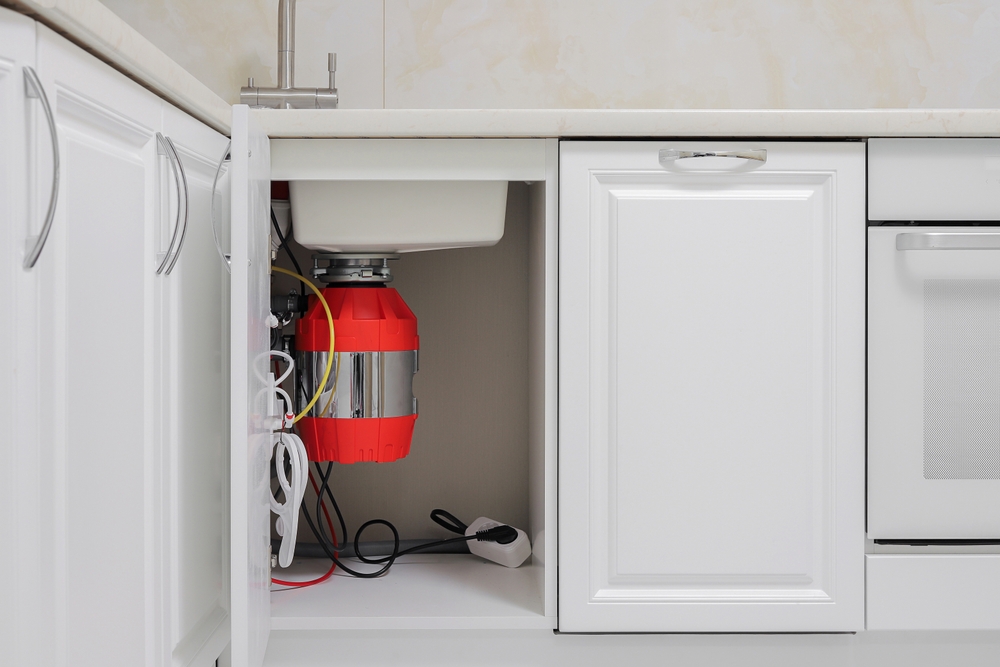
Before diving into the installation process, it’s important to understand the components involved and how they work together. Plumbing a kitchen sink with a garbage disposal involves connecting the disposal unit to the sink drain, the dishwasher (if applicable), and the drainpipe that leads to the home’s main plumbing system.
Key Components
- Garbage Disposal Unit: This device grinds food waste into small particles that can easily flow through the plumbing system. It’s installed under the sink and connected to the drain.
- Sink Flange and Mounting Assembly: The sink flange connects the disposal unit to the sink drain. It typically includes a mounting ring and hardware to secure the disposal in place.
- Discharge Pipe: The discharge pipe connects the disposal unit to the P-trap, which is part of the sink’s drain system.
- P-Trap: The P-trap is a curved pipe that traps a small amount of water to prevent sewer gases from entering the home. It’s connected to the drainpipe.
- Dishwasher Inlet (Optional): If your dishwasher drains into the garbage disposal, you’ll need to connect the dishwasher inlet to the disposal unit.
The Importance of Proper Installation
- Preventing Leaks: Properly plumbing a kitchen sink with a garbage disposal is crucial to prevent leaks, which can cause water damage and lead to costly repairs.
- Ensuring Smooth Operation: A correctly installed disposal ensures that food waste is ground and drained efficiently, reducing the risk of clogs and backups in your plumbing system.
Gathering Materials and Tools
Before you begin, gather all the necessary materials and tools. Having everything on hand will make the installation process smoother and more efficient.
Materials
- Garbage Disposal Unit: Choose a disposal unit that fits your sink and meets your household’s needs in terms of power and capacity.
- Sink Flange Kit: Most garbage disposals come with a sink flange kit, but you may need to purchase one separately if yours doesn’t.
- Plumber’s Putty: Plumber’s putty is used to create a watertight seal around the sink flange.
- Discharge Pipe Kit: This includes the pipes and fittings needed to connect the disposal unit to the P-trap.
- Dishwasher Connector Kit (Optional): If you’re connecting a dishwasher, you’ll need a connector kit to attach the dishwasher drain hose to the disposal unit.
- Pipe Tape (Teflon Tape): Use pipe tape to seal threaded connections and prevent leaks.
- Wire Nuts and Electrical Tape: If your garbage disposal is hardwired, you’ll need wire nuts and electrical tape to connect the wiring.
Tools
- Screwdriver: A flathead and Phillips screwdriver will be needed to tighten screws and clamps.
- Pipe Wrench or Slip-Joint Pliers: These are used to tighten and adjust the plumbing connections.
- Bucket and Towels: Keep a bucket and towels handy to catch any water that may spill during the installation.
- Utility Knife: A utility knife may be needed to cut the discharge pipe to the correct length.
Step-by-Step Guide on How to Plumb a Kitchen Sink with a Garbage Disposal
Once you’ve gathered your materials and tools, you’re ready to start the installation. Follow these steps to plumb your kitchen sink with a garbage disposal:
Step 1: Install the Sink Flange
- Apply Plumber’s Putty: Roll a small amount of plumber’s putty between your hands to form a rope. Place the putty around the underside of the sink flange.
- Insert the Flange: Press the sink flange firmly into the drain hole in the sink. The plumber’s putty will create a watertight seal between the flange and the sink.
- Secure the Mounting Assembly: From underneath the sink, attach the mounting ring and other hardware that came with your garbage disposal. Tighten the screws evenly to secure the flange in place. Wipe away any excess putty that squeezes out around the flange.
Step 2: Mount the Garbage Disposal
- Prepare the Disposal Unit: If your garbage disposal has a removable plug in the dishwasher inlet, remove it if you’ll be connecting a dishwasher. Use a screwdriver or a small hammer to gently knock out the plug and remove it.
- Attach the Disposal: Lift the garbage disposal unit and align it with the sink flange. Twist the disposal onto the mounting ring, turning it until it locks securely in place.
- Tighten the Mounting Ring: Use a screwdriver or wrench to tighten the mounting ring, ensuring the disposal is securely attached to the sink flange.
Step 3: Connect the Discharge Pipe
- Measure and Cut the Pipe: Measure the distance between the disposal unit’s discharge outlet and the P-trap. Use a utility knife to cut the discharge pipe to the correct length if needed.
- Attach the Discharge Pipe: Connect one end of the discharge pipe to the disposal unit’s discharge outlet. Secure it with a metal clamp or slip-joint nut, depending on the type of connection.
- Connect to the P-Trap: Attach the other end of the discharge pipe to the P-trap. Use a slip-joint nut to secure the connection, ensuring it’s tight and leak-free.
Step 4: Connect the Dishwasher Inlet (Optional)
- Attach the Dishwasher Hose: If your dishwasher drains into the garbage disposal, connect the dishwasher drain hose to the disposal’s inlet. Secure it with a clamp.
- Ensure Proper Alignment: Make sure the hose is properly aligned and not kinked, as this could restrict water flow and cause drainage issues.
Step 5: Electrical Connections
- Wiring the Disposal: If your garbage disposal is hardwired, follow the manufacturer’s instructions to connect the wires. Use wire nuts to connect the wires securely, and wrap them with electrical tape for added safety.
- Plugging in the Disposal: If your disposal plugs into an outlet, simply plug it into a grounded outlet under the sink.
Step 6: Test the Installation
- Check for Leaks: Before testing the garbage disposal, check all connections for leaks. Tighten any loose connections as needed.
- Test the Disposal: Turn on the water and run it through the sink. Turn on the garbage disposal and listen for any unusual noises. Check the drain to ensure that water flows smoothly and that there are no leaks.
Troubleshooting Common Issues
Even with careful installation, you may encounter some common issues when plumbing a kitchen sink with a garbage disposal. Here’s how to troubleshoot them:
Leaks at the Sink Flange
- Check the Putty Seal: If you notice water leaking from around the sink flange, the plumber’s putty may not have sealed properly. You may need to remove the flange, reapply the putty, and tighten the mounting assembly.
Disposal Not Turning On
- Check the Power Supply: If the garbage disposal doesn’t turn on, check that it’s properly plugged in or that the wiring is correctly connected. Ensure the circuit breaker hasn’t tripped.
- Reset the Disposal: Many disposals have a reset button on the bottom. If the disposal has overheated or jammed, press the reset button to restore function.
Slow Drainage
- Check for Clogs: If water drains slowly, there may be a clog in the discharge pipe or P-trap. Disconnect the pipes and clear any blockages.
- Check the P-Trap Slope: Ensure that the P-trap has the correct slope towards the drainpipe to allow for efficient water flow.
Maintenance Tips for a Long-Lasting Garbage Disposal
Proper maintenance can extend the life of your garbage disposal and keep it running smoothly. Here are some tips:
Run Cold Water
Always run cold water while using the garbage disposal. Cold water solidifies grease, making it easier for the disposal to chop and move it through the pipes.
Avoid Hard Items
Avoid putting hard items like bones, fruit pits, or shells into the disposal, as these can damage the blades.
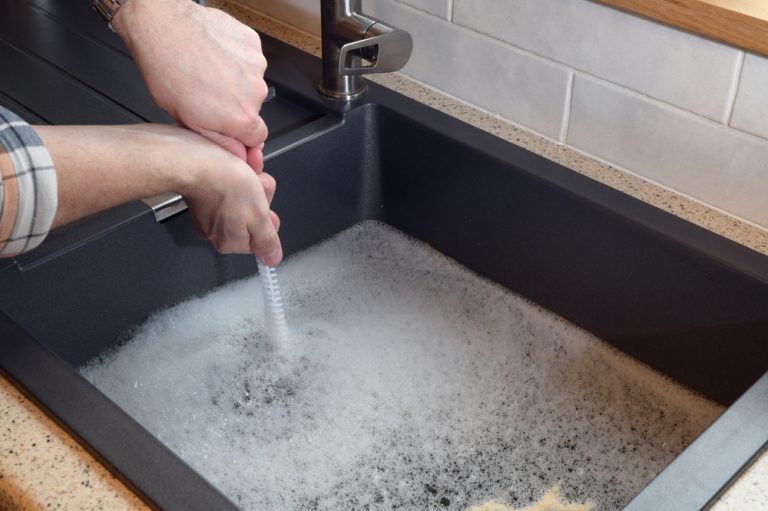
Clean Regularly
Clean the disposal regularly by grinding a mixture of ice cubes and salt. This helps remove debris and sharpens the blades. You can also grind citrus peels for a fresh scent.
Conclusion
Knowing how to plumb a kitchen sink with a garbage disposal is a valuable skill that can save you money and time while giving your kitchen a functional upgrade. By following the steps outlined in this guide, you can successfully install a garbage disposal and ensure it operates efficiently for years to come.
Whether you’re upgrading your kitchen or installing a disposal for the first time, proper plumbing is essential for preventing leaks, clogs, and other issues. With the right tools, materials, and a bit of patience, you can achieve a professional-quality installation that enhances the convenience and cleanliness of your kitchen.