How to Paint Oak Kitchen Cabinets? Follow the Expert Tips
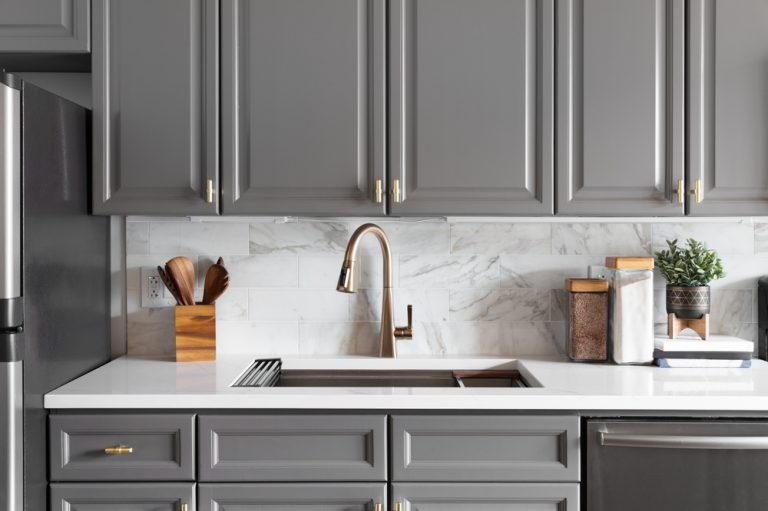
Painting oak kitchen cabinets is a popular way to update your kitchen without the expense of a full remodel. Oak cabinets, known for their durability and classic grain, can look dated or clash with modern kitchen aesthetics. However, with the right preparation and techniques, you can transform your oak cabinets into a fresh, contemporary look that breathes new life into your kitchen.
In this blog, we’ll guide you through the step-by-step process of how to paint oak kitchen cabinets, ensuring a smooth and professional finish.
Gathering the Necessary Supplies
Before you begin painting your oak kitchen cabinets, it’s important to gather all the necessary supplies. Having everything on hand will make the process smoother and more efficient.
Essential Supplies
- Cleaner/Degreaser: A good cleaner, such as TSP (Trisodium Phosphate), is essential for removing grease and grime from the cabinets.
- Sandpaper: You’ll need fine-grit (220) sandpaper for smoothing the surfaces and medium-grit (120) sandpaper for scuffing the existing finish.
- Primer: A high-quality bonding primer designed for wood surfaces will ensure the paint adheres properly to the oak cabinets.
- Paint: Choose a durable, high-quality paint designed for cabinetry. Satin or semi-gloss finishes are recommended for their durability and ease of cleaning.
- Paint Brushes and Rollers: Use high-quality brushes for detail work and foam rollers for smooth, even coverage on flat surfaces.
- Painter’s Tape: Use tape to protect walls, countertops, and other surfaces you don’t want to paint.
- Drop Cloths: Protect your floors and countertops from paint drips and splatters with drop cloths or plastic sheeting.
- Screwdriver: You’ll need a screwdriver to remove cabinet doors and hardware.
- Wood Filler (Optional): If your cabinets have any dents or imperfections, wood filler can be used to smooth them out before painting.
Preparation: Cleaning and Sanding
Proper preparation is key to achieving a professional finish when painting oak kitchen cabinets. Skipping these steps can lead to poor paint adhesion and an uneven finish.
Step-by-Step Cleaning
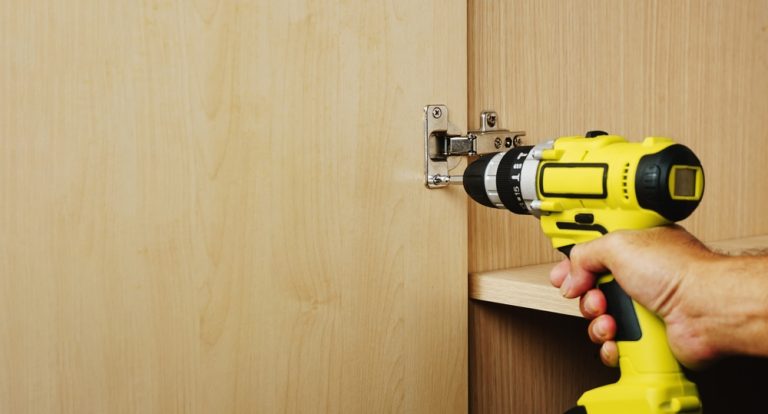
- Remove Cabinet Doors and Hardware: Start kitchen cleaning by removing the cabinet doors, drawers, and all hardware, including hinges and handles. This will make it easier to paint every surface evenly.
- Clean the Cabinets: Use a degreaser like TSP to thoroughly clean the cabinet surfaces. Oak cabinets, especially in the kitchen, tend to accumulate grease and grime, which can prevent paint from adhering properly. Wipe down all surfaces, including the doors, frames, and drawer fronts.
- Rinse and Dry: After cleaning, rinse the cabinets with a damp cloth to remove any residue from the cleaner. Allow the surfaces to dry completely before moving on to sanding.
Step-by-Step Sanding
- Scuff the Surface: Using medium-grit (120) sandpaper, lightly sand the cabinet surfaces to scuff up the existing finish. This helps the primer and paint adhere better. Focus on creating a smooth, even surface without removing all the original finish.
- Smooth the Surface: Follow up with fine-grit (220) sandpaper to smooth out any rough spots and ensure the surface is ready for priming. Pay special attention to edges and corners.
- Remove Dust: After sanding, use a tack cloth or a vacuum with a brush attachment to remove all dust from the surfaces. Dust left behind can cause imperfections in the paint finish.
Priming the Oak Cabinets
Priming is a critical step when painting oak kitchen cabinets, as it seals the wood, prevents tannin bleed-through, and provides a smooth base for the paint.
Step-by-Step Priming
- Choose the Right Primer: Select a high-quality bonding primer specifically designed for wood surfaces. A stain-blocking primer is ideal for oak cabinets, as it prevents the natural tannins in the wood from bleeding through the paint.
- Apply the Primer: Use a brush to apply primer to the detailed areas, such as the edges and corners of the cabinets. For larger, flat surfaces, use a foam roller to ensure an even application. Apply the primer in thin, even coats, following the direction of the wood grain.
- Allow to Dry: Let the primer dry according to the manufacturer’s instructions. This usually takes a few hours, but drying times can vary depending on the product and environmental conditions.
- Sand the Primer (Optional): If the primer feels rough to the touch or has visible brush strokes, lightly sand it with fine-grit sandpaper (220). This step is optional but can help achieve a smoother final finish.
Painting the Oak Kitchen Cabinets
With the cabinets primed and ready, it’s time to apply the paint. This step requires patience and attention to detail to achieve a flawless finish.
Step-by-Step Painting
- Choose Your Paint: Select a high-quality paint designed for cabinetry, such as a water-based acrylic or alkyd paint. Satin or semi-gloss finishes are ideal for kitchen cabinets because they are durable, easy to clean, and resistant to moisture.
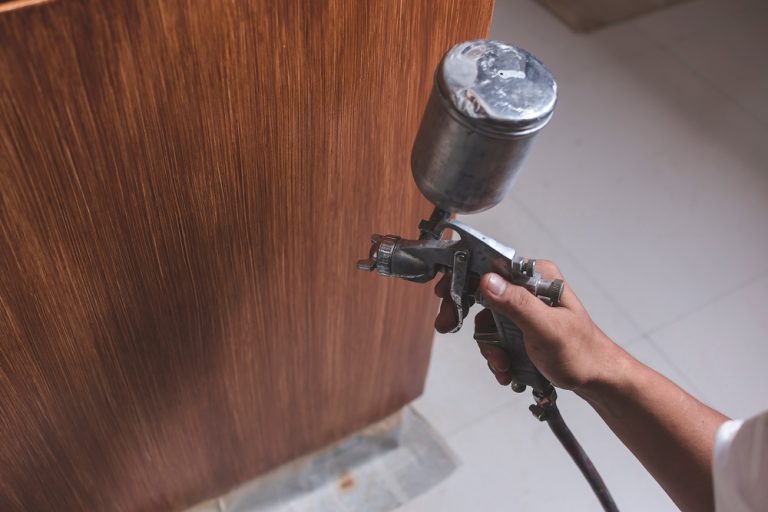
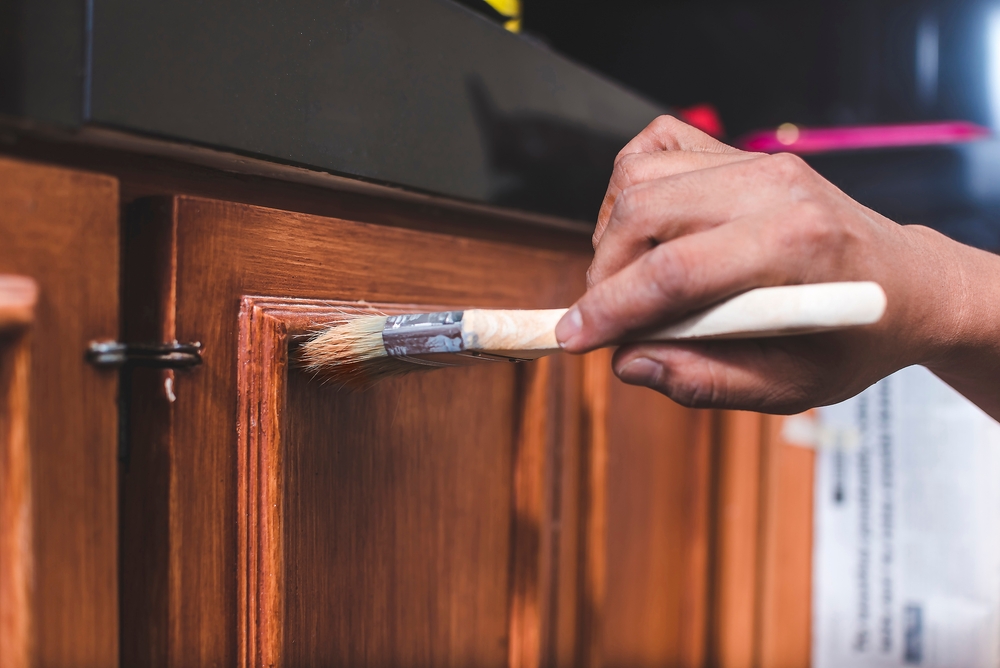
- Apply the First Coat: Start by painting the detailed areas with a brush, using smooth, even strokes. Then, use a foam roller to apply paint to the larger, flat surfaces. Apply the paint in thin, even coats, working in the direction of the wood grain to minimize brush marks and roller stipple.
- Allow to Dry: Let the first coat of paint dry completely before applying the second coat. Depending on the paint, this could take anywhere from 4 to 24 hours.
- Apply the Second Coat: After the first coat is dry, apply a second coat of paint, following the same process. Two coats are usually sufficient for a smooth, even finish, but you may need a third coat if the color change is dramatic or if the previous finish was very dark.
- Inspect and Touch Up: Once the final coat is dry, inspect the cabinets for any areas that may need touch-ups. Use a small brush to correct any missed spots or imperfections.
Reassembling the Cabinets
After the paint is fully cured, it’s time to reassemble your cabinets and admire the transformation.
Step-by-Step Reassembly
- Reattach Hardware: Reattach the cabinet hardware, such as hinges and handles. If you’re updating the hardware, now is the time to install the new pieces.
- Rehang the Doors: Carefully rehang the cabinet doors, ensuring they are level and aligned properly with the frames.
- Reinstall Drawers: Slide the drawers back into place, making sure they operate smoothly.
- Final Touches: Wipe down the cabinets with a clean, dry cloth to remove any fingerprints or dust. If desired, you can apply a clear protective topcoat to enhance durability, especially in high-traffic kitchens..
Conclusion
Learning how to paint oak kitchen cabinets can be a rewarding DIY project that significantly enhances the look of your kitchen. By following these steps—cleaning, sanding, priming, painting, and reassembling—you can achieve a professional-looking finish that breathes new life into your space. With patience and attention to detail, your oak cabinets can be transformed into a modern, updated focal point in your home.
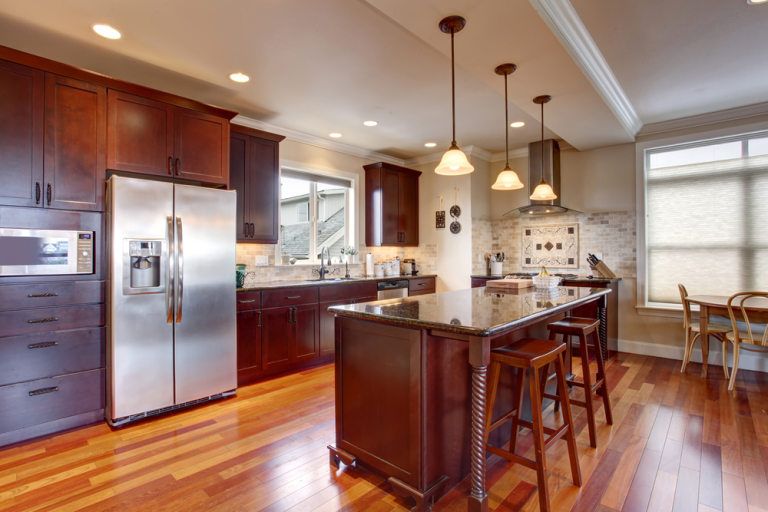
Painting oak kitchen cabinets is a cost-effective way to refresh your kitchen, adding value and style without the need for a complete renovation. Whether you’re aiming for a sleek, contemporary look or a warm, traditional feel, a fresh coat of paint can make all the difference.