How to Paint Floor Tiles in Kitchen?
Painting floor tiles in your kitchen can be a cost-effective way to refresh the space without the hassle and expense of replacing the tiles. Whether you’re tired of your current tile color or want to update the look of your kitchen, painting can offer a quick and impactful transformation. But if you’re wondering how to paint floor tiles in kitchen effectively, it’s essential to follow specific steps to ensure a durable and professional-looking finish.
In this guide, we’ll walk you through the process, from preparation to finishing touches.
Why Paint Floor Tiles in the Kitchen?
Before diving into the steps on how to paint floor tiles in the kitchen, it’s helpful to understand the benefits of this approach and why it might be a good option for your home.
Cost-Effective Makeover
- Budget-Friendly: Painting your floor tiles is a much more affordable option than replacing them entirely. It allows you to achieve a fresh, updated look without the cost of new tiles, materials, and professional installation.
- Minimal Disruption: Unlike tile replacement, which can be time-consuming and disruptive, painting tiles is relatively quick and can often be completed in a weekend, minimizing the impact on your daily routine.
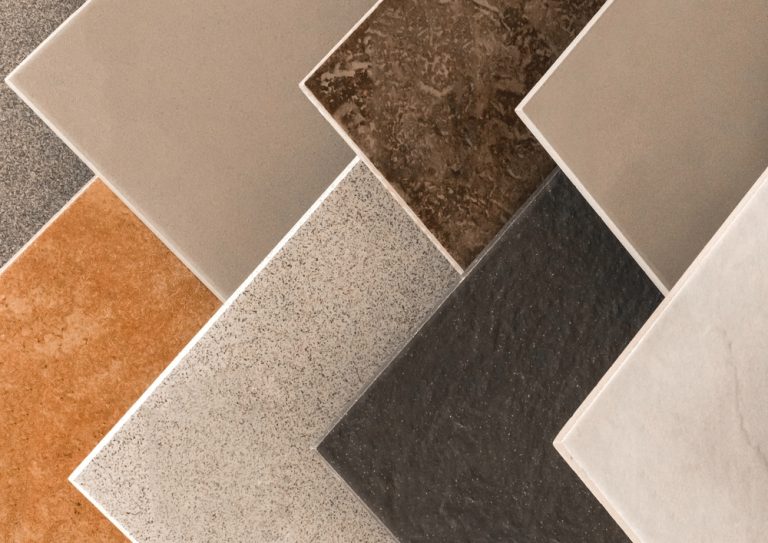
Versatility in Design
- Customizable Colors: Painting offers the flexibility to choose any color that matches your kitchen’s aesthetic. Whether you want to go bold with a statement color or keep it neutral, painting allows you to customize your floor to suit your style.
- Pattern Possibilities: You can also create unique patterns, such as checkerboard or geometric designs, adding personality and character to your kitchen floor.
Quick Refresh for Dated Tiles
- Instant Update: If your kitchen tiles are outdated but still in good condition, painting them can instantly modernize the space. This is an ideal solution if you’re looking to refresh your kitchen without a complete renovation.
Materials and Tools You’ll Need
To achieve the best results when painting floor tiles in your kitchen, gathering the right materials and tools is crucial. Here’s what you’ll need:
Cleaning Supplies
- Tile Cleaner or Degreaser: A strong cleaner is necessary to remove any dirt, grease, or grime from the tiles. This ensures the paint adheres properly to the surface.
- Scrub Brush: A scrub brush will help you thoroughly clean the tiles, especially in textured or grout areas.
- Rags or Sponges: Use these for wiping down the tiles after cleaning.
Sanding Materials
- Sanding Block or Orbital Sander: Sanding the tiles helps create a rougher surface, which allows the primer and paint to adhere better. A sanding block or an orbital sander with fine-grit sandpaper (around 220-grit) will work well.
- Vacuum or Dust Cloth: After sanding, you’ll need to remove the dust from the tiles before painting.
Painting Supplies
- Tile Primer: A high-quality tile primer is essential for ensuring the paint adheres properly to the tile surface. Look for a primer designed for glossy or non-porous surfaces.
- Tile Paint: Choose a paint specifically formulated for tiles or high-traffic areas. Epoxy or enamel paint is a good option for durability.
- Paint Rollers and Brushes: A paint roller will help you cover large areas quickly, while brushes are useful for edges and detail work.
- Painter’s Tape: Use painter’s tape to protect the edges of walls, cabinets, or other surfaces that you don’t want to paint.
Protective Gear
- Drop Cloths: Protect your kitchen countertops, cabinets, and other areas from paint splatters by covering them with drop cloths.
- Gloves and Mask: Wear gloves and a mask to protect your hands from chemicals and avoid inhaling dust or fumes during sanding and painting.
Step-by-Step Guide on How to Paint Floor Tiles in the Kitchen
Now that you have your materials and tools ready, here’s a detailed step-by-step guide on how to paint floor tiles in the kitchen.
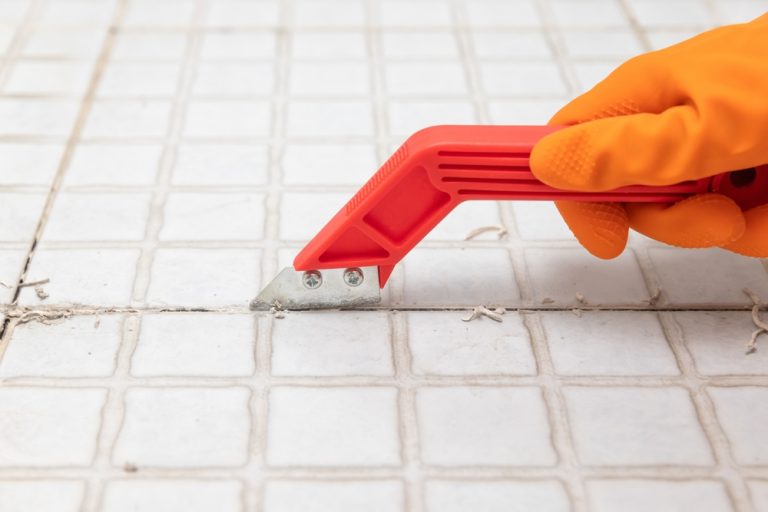
Step 1: Clean the Tiles Thoroughly
- Remove Dirt and Grease: Start by cleaning the tiles thoroughly with a tile cleaner or degreaser. This step is crucial because any leftover grease or grime can prevent the primer and paint from adhering properly.
- Scrub the Grout: Pay extra attention to the grout lines, as they can accumulate a lot of dirt. Use a scrub brush to clean these areas thoroughly.
- Rinse and Dry: After cleaning, rinse the tiles with water and let them dry completely. Any moisture left on the tiles can interfere with the painting process.
Step 2: Sand the Tiles
- Lightly Sand the Surface: Use a sanding block or an orbital sander with fine-grit sandpaper (around 220-grit) to sand the tiles lightly. The goal is to roughen up the glossy surface of the tiles, not to remove the glaze entirely.
- Clean Up Dust: After sanding, vacuum the floor to remove dust and wipe the tiles with a damp cloth to ensure a clean surface for priming.
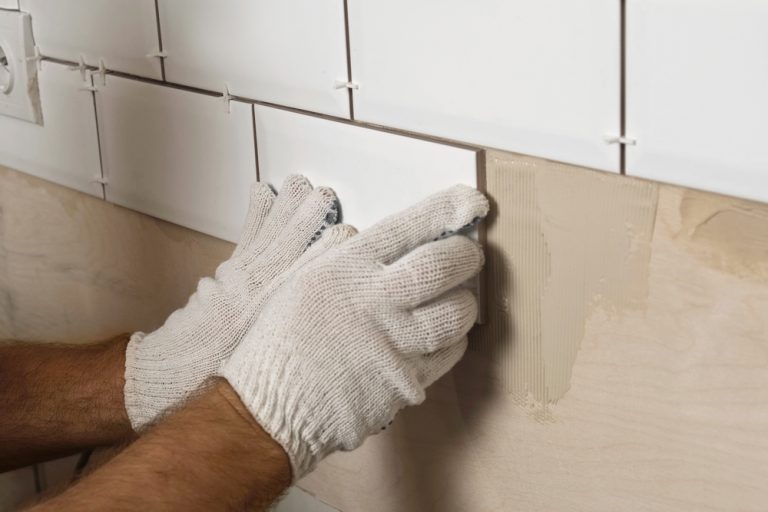
Step 3: Apply Tile Primer
- Choose the Right Primer: Select a tile primer designed for non-porous surfaces. This step is essential for ensuring the paint adheres well and lasts over time.
- Apply Evenly: Using a paint roller, apply the primer evenly across the tiles. Be sure to cover the entire surface, including the grout lines. Use a brush for the edges and corners where the roller can’t reach.
- Allow to Dry: Let the primer dry completely according to the manufacturer’s instructions. This may take several hours or overnight, depending on the product.
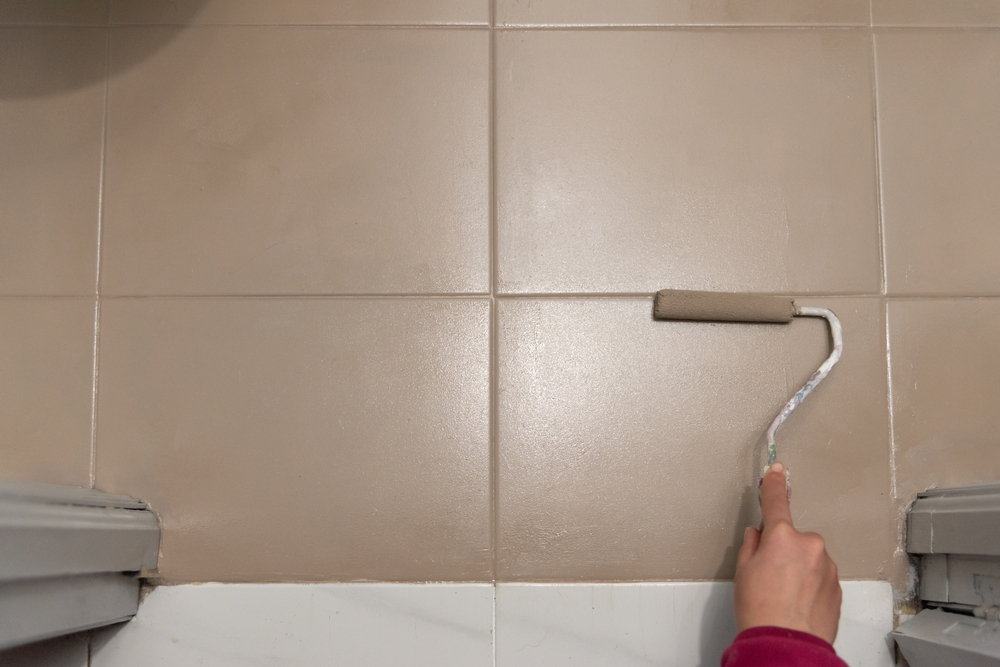
Step 4: Paint the Tiles
- Choose the Right Paint: For durability, especially in a high-traffic area like the kitchen, use an epoxy or enamel paint designed for tiles. These paints are resistant to moisture, stains, and wear.
- First Coat: Apply the first coat of paint using a roller for the large areas and a brush for edges and grout lines. Work in small sections to ensure even coverage.
- Dry and Sand Lightly: Allow the first coat to dry completely. Once dry, lightly sand the surface again with fine-grit sandpaper to smooth out any imperfections and help the second coat adhere better.
- Second Coat: Apply a second coat of paint, ensuring full coverage. Depending on the color and the desired finish, you may need to apply a third coat.
Step 5: Seal the Painted Tiles (Optional)
- Seal for Extra Protection: While not always necessary, applying a clear polyurethane sealer can provide extra protection for your painted tiles, especially in a high-traffic area like the kitchen. The sealer will add a layer of durability and make the tiles easier to clean.
- Apply Evenly: Use a clean roller or brush to apply the sealer evenly over the painted tiles. Allow the sealer to dry according to the manufacturer’s instructions before walking on the floor.
Tips for Maintaining Painted Kitchen Floor Tiles
Once your kitchen floor tiles are painted, following some maintenance tips can help keep them looking fresh and vibrant for years to come.
Avoid Harsh Cleaners
- Use Mild Detergents: Stick to mild, non-abrasive cleaners when cleaning your painted tiles. Harsh chemicals can damage the paint and cause it to wear prematurely.
- Avoid Scrubbing: While it’s important to keep the tiles clean, avoid scrubbing them with abrasive pads or brushes, as this can scratch the paint.
Protect High-Traffic Areas
- Use Rugs or Mats: Consider placing rugs or mats in high-traffic areas, such as in front of the sink or stove, to protect the painted surface from excessive wear.
- Felt Pads on Furniture: Attach felt pads to the legs of kitchen chairs and tables to prevent them from scratching or chipping the paint.
Touch Up as Needed
- Keep Extra Paint: Save some of the paint you used for touch-ups. Over time, small chips or scratches may occur, and having the original paint on hand will make it easy to fix these imperfections.
- Regular Inspection: Periodically inspect the painted tiles for signs of wear, especially in high-traffic areas. Touch up any areas as needed to maintain the overall look.
Conclusion
Knowing how to paint floor tiles in the kitchen can be a great way to give your kitchen a fresh new look without the expense and hassle of replacing tiles. By following the steps outlined in this guide, you can achieve a professional-looking finish that’s durable, stylish, and tailored to your taste.
From thoroughly cleaning and sanding the tiles to applying the right primer, paint, and optional sealer, each step is crucial for ensuring that your painted floor tiles withstand the rigors of daily kitchen life. With the proper care and maintenance, your newly painted kitchen floor can remain a beautiful and functional part of your home for years to come.