How to Paint Bathroom Vanity Cabinets?

Giving your bathroom a facelift doesn’t always require a complete renovation. One simple and cost-effective way to refresh your space is by learning how to paint bathroom vanity cabinets.
This DIY project allows you to update your vanity without replacing it, and with the right preparation and materials, you can achieve a professional-looking finish that enhances your bathroom’s overall aesthetic.
Why Paint Your Bathroom Vanity Cabinets?
Over time, bathroom vanity cabinets can become dull, scratched, or outdated. Painting them is a great way to breathe new life into your bathroom. Here are a few reasons why you should consider painting your vanity cabinets:
- Cost-Effective: Painting is much more affordable than replacing the entire vanity. It gives your bathroom an updated look without breaking the bank.
- Customization: By painting your cabinets, you can choose a color that complements your bathroom’s design and reflects your personal style.
- Durability: A fresh coat of paint protects the cabinet surface from moisture, which is especially important in a high-humidity environment like a bathroom.
Choosing the Right Paint for Bathroom Vanity Cabinets
Before diving into how to paint bathroom vanity cabinets, it’s crucial to select the right paint. Bathroom vanities are exposed to moisture, heat, and daily use, so the paint you choose needs to be durable and moisture-resistant.
- Oil-Based Paint: While oil-based paint is known for its durability and smooth finish, it tends to yellow over time, which might not be ideal for lighter colors.
- Water-Based Paint: Water-based latex or acrylic paints are easier to work with and clean up. They’re less likely to yellow and dry faster than oil-based paints. Many water-based paints today are just as durable and moisture-resistant as oil-based paints, making them a popular choice.
- Satin or Semi-Gloss Finish: The finish of your paint is also important. A satin or semi-gloss finish is ideal for bathroom vanity cabinets because it’s easy to clean and resistant to moisture. These finishes also provide a subtle shine without being too reflective.
Preparing Your Vanity Cabinets for Painting
Proper preparation is the key to a successful painting project. Follow these steps to ensure your vanity cabinets are ready for a fresh coat of paint:
Step 1: Remove Cabinet Doors and Hardware
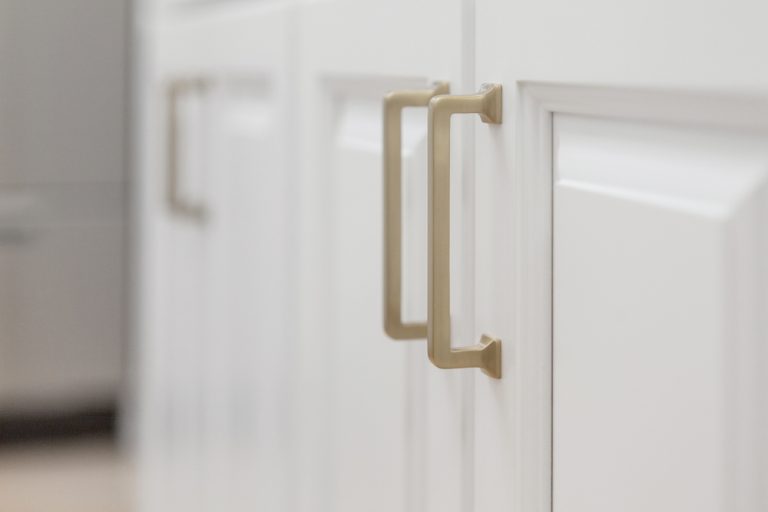
Start by removing the cabinet doors, drawers, and any hardware such as knobs and handles. This makes it easier to paint all surfaces evenly without obstacles. Place the hardware in labeled bags so you can easily reattach them later.
Step 2: Clean the Cabinets
Over time, bathroom cabinets can accumulate grime, soap scum, and residue from personal care products. Use a degreaser or a mixture of warm water and dish soap to thoroughly clean the surfaces. Wipe down the cabinets with a damp cloth, and let them dry completely before proceeding to the next step.
Step 3: Sand the Surface
Sanding the cabinets ensures that the paint adheres properly. Use medium-grit sandpaper (around 120-150 grit) to sand all the surfaces lightly. Sanding will remove any existing gloss and create a slightly rough surface that helps the paint stick better. Once finished, wipe away any dust with a tack cloth or a damp rag.
Also Read – How to Clean Bathroom Cabinets?
How to Paint Bathroom Vanity Cabinets: Step-by-Step Guide
Now that your vanity cabinets are prepped and ready, let’s move on to painting. Here’s a step-by-step guide on how to paint bathroom vanity cabinets.
Step 1: Apply a Primer
Priming is essential when painting bathroom vanity cabinets. A good primer not only helps the paint adhere but also ensures that stains, wood grain, and imperfections don’t show through the final coat. Use a stain-blocking, moisture-resistant primer, especially if your cabinets are made of wood.
- Apply the primer with a brush or roller, making sure to cover all surfaces evenly. Allow the primer to dry completely according to the manufacturer’s instructions (usually a few hours).
Step 2: Sand the Primer
After the primer has dried, lightly sand the surfaces again with fine-grit sandpaper (around 220 grit). This smooths out any imperfections and helps the paint adhere better. Wipe away any sanding dust before moving on to painting.
Step 3: Apply the First Coat of Paint
Using a high-quality brush or roller, apply the first coat of paint to the vanity cabinets. If you’re painting cabinet doors or drawers, start with the edges, then move on to the flat surfaces. Always paint in long, even strokes, following the direction of the wood grain if applicable.
- Pro Tip: For a smooth finish, consider using a foam roller for the flat surfaces and a brush for the detailed areas. Foam rollers minimize brush marks and provide a more professional finish.
Step 4: Let the First Coat Dry and Sand Again
Once the first coat of paint has dried (typically within 4-6 hours), lightly sand the surface again with fine-grit sandpaper. This step helps smooth out any brush strokes or uneven areas and prepares the surface for the second coat.
Step 5: Apply the Second Coat of Paint
After sanding, apply a second coat of paint. Follow the same method as before, ensuring even coverage on all surfaces. The second coat will give the cabinets a more polished and uniform finish. Allow this coat to dry thoroughly before proceeding.
Step 6: Apply a Protective Top Coat
For added durability, especially in a high-moisture area like the bathroom, consider applying a clear protective top coat. A polyurethane or polycrylic sealant will protect the paint from water damage, stains, and general wear and tear. Choose a top coat with a finish that matches your paint (satin or semi-gloss).
- Apply the protective coat with a clean brush or roller, and let it dry completely before reattaching the hardware.
Reinstall the Cabinet Doors and Hardware
Once the paint and top coat are fully dry, it’s time to reattach the cabinet doors, drawers, and hardware. Use the labeled bags you set aside earlier to reinstall everything in the correct place. If you want a complete update, you can also replace the hardware with new handles or knobs that match your bathroom’s updated look.
Maintaining Your Painted Vanity Cabinets
Now that you’ve successfully painted your bathroom vanity cabinets, it’s important to maintain them. Regular cleaning helps keep the paint looking fresh and prevents dirt or moisture from damaging the surface.
- Use a mild cleaner: To clean painted cabinets, use a gentle cleanser like dish soap and warm water. Avoid harsh chemicals or abrasive sponges that can damage the paint.
- Wipe up spills quickly: Water and bathroom products can stain or damage painted surfaces, so wipe up spills as soon as they happen.
- Touch up when needed: Over time, your vanity cabinets may get nicks or scratches. Keep a small amount of leftover paint on hand to touch up any damaged areas.
Conclusion
Knowing how to paint bathroom vanity cabinets can transform the look of your bathroom, giving it a fresh and modern feel without the cost of a full renovation. With the right preparation, quality paint, and a little patience, you can achieve a stunning result that lasts for years. By following this step-by-step guide, your painted vanity cabinets will enhance both the beauty and functionality of your bathroom.