How to Paint Bathroom Countertops?
If your bathroom countertops are looking outdated or worn but you’re not ready for a full replacement, painting them can be a budget-friendly and effective solution. Knowing how to paint bathroom countertops allows you to give your bathroom a fresh, modern look without the expense of new countertops.
In this guide, we’ll walk you through the step-by-step process, including the tools and materials you’ll need, and some helpful tips for achieving a smooth and durable finish.
Why Paint Bathroom Countertops?
Bathroom countertops endure a lot of wear and tear over time. From water stains to scratches, countertops can lose their original appeal after years of use. Replacing them can be costly, but painting offers a quick and affordable way to refresh your space. Whether you want to change the color, cover imperfections, or simply update the style, learning how to paint bathroom countertops can help you transform your bathroom without the need for a full renovation.
Choosing the Right Paint for Bathroom Countertops
Before you begin painting your bathroom countertops, it’s important to choose the right type of paint. The bathroom is a high-moisture area, so you’ll need paint that is durable and water-resistant to withstand the daily challenges of the space.
Epoxy Paint
Epoxy paint is one of the best options for bathroom countertops because it provides a hard, durable finish that can handle moisture, heat, and regular cleaning. Epoxy paint bonds well to surfaces like laminate, granite, and tile, making it ideal for countertop projects. Additionally, epoxy offers a glossy finish that gives countertops a sleek, polished look.
Acrylic Paint with Polyurethane Topcoat
If you prefer to use acrylic paint, be sure to apply a protective polyurethane topcoat to seal the surface. Acrylic paint is easier to work with and dries quickly, but it’s not as durable on its own. A clear polyurethane topcoat will provide the necessary protection against water and stains, making your painted countertop more resistant to damage.
Chalk Paint for Decorative Finishes
For those who want to create a unique, textured look, chalk paint can be used to achieve a decorative finish. However, like acrylic paint, chalk paint requires a protective topcoat to prevent moisture damage. This option is best for homeowners who want to add a rustic or distressed aesthetic to their bathroom countertops.
Also Read – How Often Should You Remodel Your Bathroom?
Preparing the Countertop Surface for Painting
Proper surface preparation is key to achieving a smooth and long-lasting finish. Skipping this step can result in peeling, bubbling, or uneven paint coverage. Follow these steps to prepare your countertops before painting.
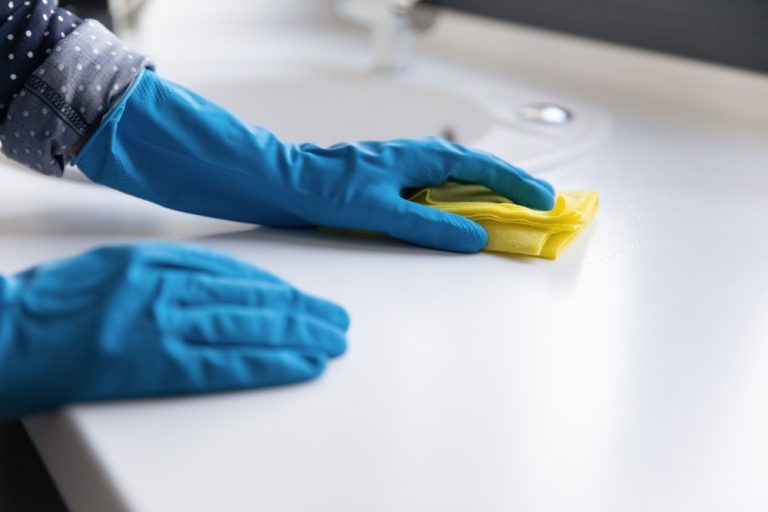
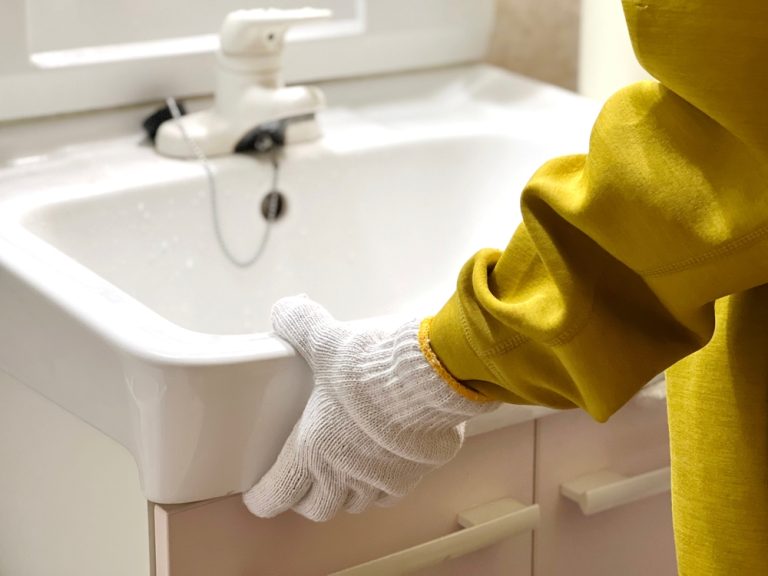
Step 1: Clean the Surface
Begin by thoroughly cleaning the countertop to remove any dirt, grime, or soap scum. Use a gentle cleaner and a non-abrasive sponge to scrub the surface. Make sure to clean around the sink and faucet, as these areas tend to accumulate the most dirt and residue. Once clean, wipe the surface dry with a clean cloth.
Step 2: Sand the Countertop
Sanding the countertop is an essential step that helps the paint adhere to the surface. Use fine-grit sandpaper (220-grit) to lightly sand the entire surface of the countertop. This will create a slightly rough texture that allows the paint to bond effectively. After sanding, wipe away any dust with a damp cloth and let the countertop dry completely.
Step 3: Repair Any Damage
If your countertop has cracks, chips, or other damage, now is the time to repair it. Use a countertop repair kit or an epoxy filler to fill in any imperfections. Smooth out the filler with a putty knife and allow it to dry according to the manufacturer’s instructions. Once dry, lightly sand the repaired areas to ensure a smooth surface.
Step 4: Protect Surrounding Areas
Before you start painting, use painter’s tape to protect the edges of the sink, backsplash, and any other areas you don’t want to paint. Cover the floor and surrounding surfaces with a drop cloth or plastic sheeting to prevent accidental spills or splatters.
Step-by-Step Guide: How to Paint Bathroom Countertops
Now that your countertop is prepped and ready, it’s time to start painting. Follow these steps to ensure a professional-looking finish.
Step 1: Apply a Primer
Applying a primer is crucial for helping the paint stick to the countertop surface. Use a bonding primer that’s specifically designed for glossy surfaces like laminate or granite. Apply the primer with a foam roller, working in thin, even layers. Be sure to let the primer dry completely before moving on to the next step.
Step 2: Apply the Paint
Once the primer is dry, you can begin applying the paint. Use a foam roller for large areas and a small brush for edges and corners. Apply the paint in thin, even coats to avoid drips and streaks. Allow the first coat to dry for the recommended time (usually 4-6 hours) before applying a second coat. Depending on the coverage, you may need to apply 2-3 coats for a smooth and even finish.
Step 3: Let the Paint Dry
After the final coat of paint has been applied, let it dry for at least 24 hours. It’s important to give the paint enough time to cure before moving on to the sealing step. Avoid using the countertop during this time to prevent smudging or damage.
Step 4: Apply a Protective Sealer
To ensure the durability of your painted countertop, apply a protective sealer. If you’re using epoxy paint, this step may not be necessary, as epoxy already provides a durable finish. However, if you used acrylic or chalk paint, apply a clear polyurethane topcoat to protect the surface from moisture, stains, and scratches. Use a foam roller to apply the sealer in even coats, and allow it to dry according to the manufacturer’s instructions.
Tips for Maintaining Painted Bathroom Countertops
Once your bathroom countertops are freshly painted, it’s important to maintain them to ensure they look great for years to come. Here are some tips for keeping your painted countertops in top condition:
- Avoid Harsh Cleaners: Use mild soap and water to clean the countertop, avoiding harsh chemicals or abrasive scrubbers that can damage the paint.
- Wipe Up Water and Spills Promptly: Although the protective sealer helps guard against moisture, it’s still important to wipe up water or spills to prevent potential damage.
- Use Soft Cloths: When cleaning, use soft cloths or sponges to avoid scratching the surface.
- Avoid Placing Hot Items Directly on the Countertop: While epoxy and polyurethane provide a durable finish, it’s best to use trivets or heat-resistant mats to protect the countertop from heat damage.
Conclusion
Learning how to paint bathroom countertops is an affordable and creative way to give your bathroom a fresh, modern look. With the right materials, proper surface preparation, and a little patience, you can achieve professional results on a budget.
Whether you choose epoxy, acrylic, or chalk paint, be sure to apply a protective sealer to keep your countertops looking beautiful and resistant to everyday wear and tear.