How to Do Plumbing for a Bathroom?
Whether you’re remodeling an existing bathroom or installing a brand new one, understanding how to do plumbing for a bathroom is essential. Proper plumbing ensures that water flows smoothly to and from the fixtures while preventing leaks and other issues that can lead to costly repairs.
In this guide, we’ll walk you through the process of setting up bathroom plumbing, from planning to installation.
Planning Your Bathroom Plumbing System
Before starting the plumbing work, it’s essential to plan the layout of your bathroom. The first step in learning how to do plumbing for a bathroom is deciding where each fixture (toilet, sink, shower, tub) will be located.
- Create a Layout: Measure your bathroom space and draw a rough layout. Decide where the water supply lines and drainpipes will be routed.
- Determine Fixture Placement: Ensure that the placement of the toilet, sink, and shower or tub is practical. Consider access to water lines and the proximity of the drain system.
- Check Building Codes: Research your local plumbing codes to make sure the pipes, vents, and connections meet all necessary regulations. Compliance with these codes is crucial for safety and to prevent plumbing failures down the line.
Key Components of a Bathroom Plumbing System
Before diving into the actual installation, familiarize yourself with the key components of the bathroom plumbing system. Understanding these elements will help you grasp how to do plumbing for a bathroom efficiently:
- Water Supply Lines: These are pipes that carry fresh water into your bathroom. Typically, copper or PEX pipes are used to supply hot and cold water to your fixtures.
- Drain-Waste-Vent (DWV) System: This system carries wastewater away from the bathroom and vents sewer gases. PVC pipes are often used for the drain system.
- Shutoff Valves: Installed under sinks and behind toilets, these valves allow you to shut off the water supply to individual fixtures.
- Traps: The curved section of pipe beneath a sink or shower (known as the P-trap) holds water to prevent sewer gases from entering the bathroom.
Step-by-Step Guide: How to Do Plumbing for a Bathroom
Here’s a step-by-step process for setting up plumbing for a bathroom:
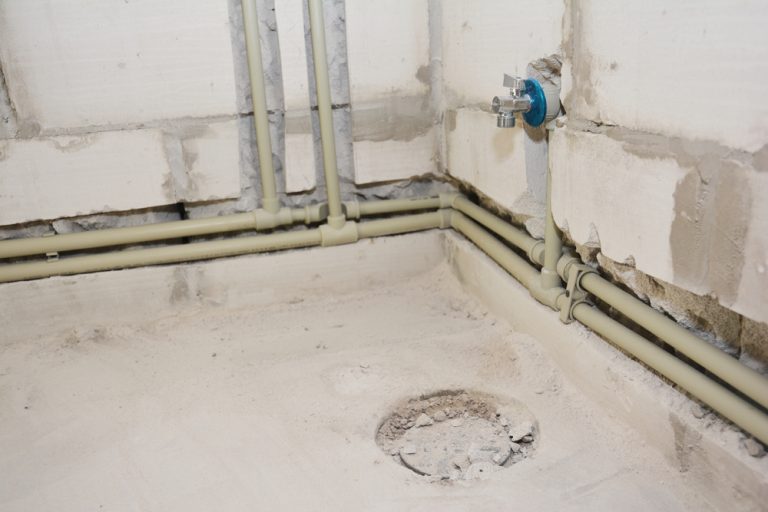
Step 1: Install Water Supply Lines
Start by installing the water supply lines that will bring hot and cold water to your bathroom fixtures. Typically, these lines run behind the walls or under the floor.
- Position the Pipes: Run hot and cold water pipes to each fixture location (sink, toilet, shower). The hot water line should connect to the hot water heater, while the cold water line connects directly to the main water supply.
- Use PEX or Copper Pipes: PEX is a flexible and cost-effective option for water lines, while copper is more durable but can be more expensive.
- Install Shutoff Valves: Install shutoff valves at the connection point for each fixture. These allow you to isolate the fixture for repairs without shutting off the entire house’s water supply.
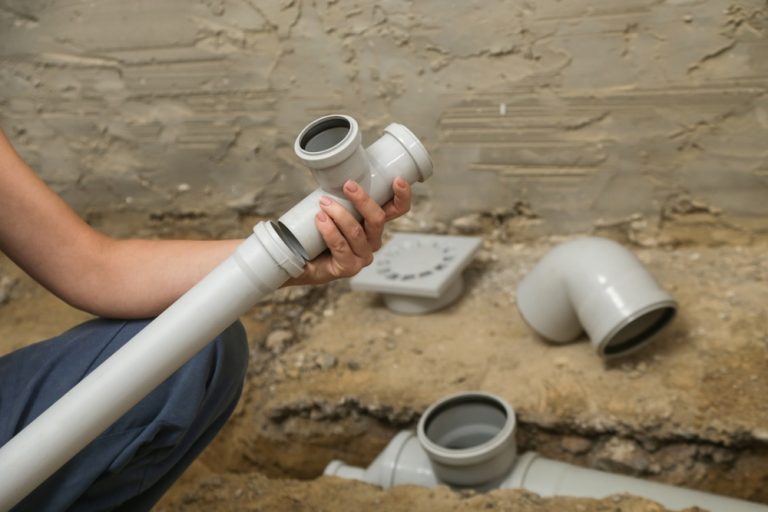
Step 2: Set Up the Drainage System
The next step in how to do plumbing for a bathroom is installing the drainage pipes, which carry wastewater out of your bathroom and into the main sewer line.
- Install Drainpipes: PVC pipes are commonly used for drainage. Each fixture should have its own drainpipe connected to the main drain line. For example, a 3-inch or 4-inch drainpipe is used for toilets, while 1.5-inch or 2-inch pipes are used for sinks and showers.
- Install P-Traps: Every drainpipe must be equipped with a P-trap to prevent sewer gases from entering the bathroom. The P-trap should be installed below the sink, shower, or tub.
Step 3: Connect the Venting System
Venting is essential to maintain air pressure in the plumbing system and allow wastewater to flow properly. Without venting, you could experience slow drainage, gurgling sounds, or sewer odors.
- Install Vent Pipes: Each fixture should have a vent pipe that connects to the drainpipe and extends vertically to the roof. This allows sewer gases to escape and keeps the water flowing smoothly.
- Combine Vent Pipes: In smaller bathrooms, you can often combine the vent pipes for multiple fixtures. For instance, the sink, toilet, and shower can all share a single vent.
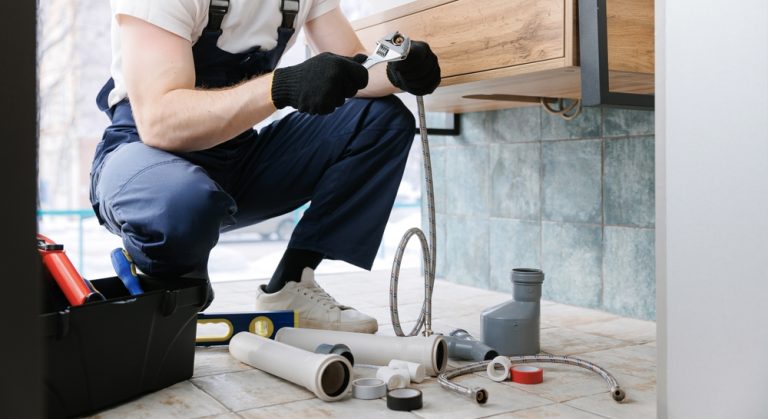
Step 4: Rough-In the Fixtures
The term “rough-in” refers to installing the plumbing behind walls or under floors before the walls are finished. This is a crucial step in learning how to do plumbing for a bathroom, as it lays the groundwork for connecting the fixtures later.
- Toilet Rough-In: Place the toilet flange over the drainpipe and secure it to the floor. Ensure the flange is level with the finished floor height.
- Sink Rough-In: Install the drainpipe and water supply lines for the sink. Ensure the drain is positioned correctly for the sink’s P-trap.
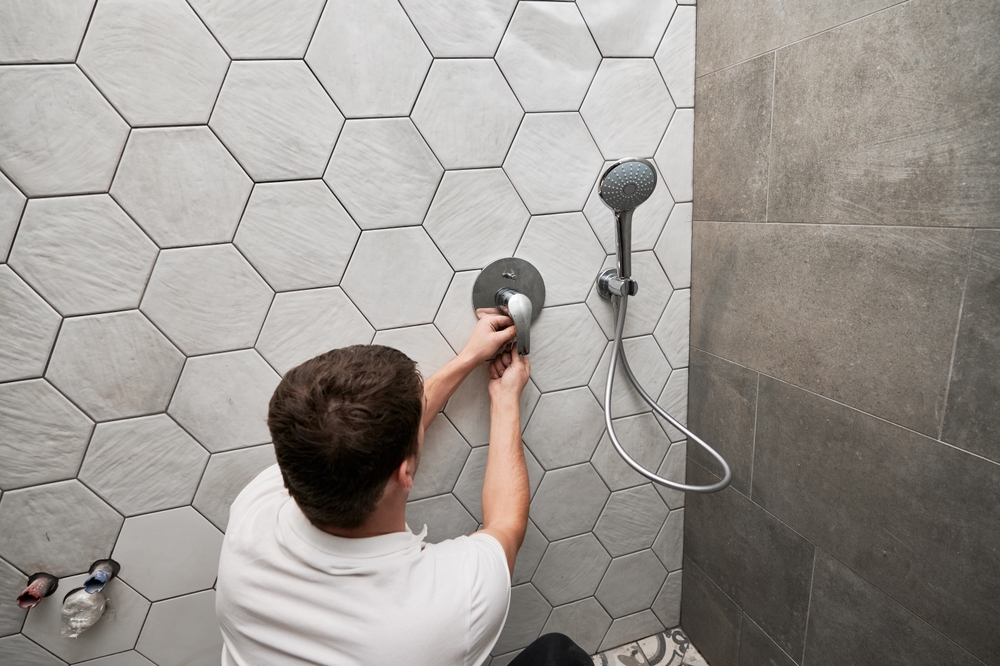
- Shower or Tub Rough-In: For a shower or tub, install the drain assembly and connect the water supply lines to the appropriate faucets and controls.
Step 5: Test the System
Before closing up the walls and installing the fixtures, it’s essential to test the plumbing system to ensure there are no leaks.
- Pressure Test: Turn on the water supply and check all the water lines for leaks. Look for any loose connections that may need to be tightened or resealed.
- Drainage Test: Pour water down each drain to ensure the system flows smoothly. Check the P-traps and joints for any signs of leakage.
Step 6: Install the Fixtures
Once the rough-in plumbing has been tested and the walls are finished, it’s time to install the bathroom fixtures.
- Install the Toilet: Attach the toilet to the flange and secure it in place. Connect the water supply line and check for leaks after the first flush.
- Install the Sink: Connect the sink’s drainpipe to the P-trap and secure the faucet to the sink basin. Attach the water supply lines and test for leaks.
- Install the Shower or Tub: Connect the drain and water supply lines for the shower or tub. Test the faucets, showerhead, and drain to ensure everything functions properly.
Cost of Plumbing a Bathroom
The cost of plumbing a bathroom can vary significantly based on the complexity of the job, the materials used, and whether you’re hiring a professional or doing it yourself. Here’s a general breakdown:
- DIY Materials: For a basic DIY bathroom plumbing job, materials such as pipes, fittings, and fixtures can cost anywhere from $500 to $1,500.
- Hiring a Professional: Professional plumbers typically charge between $45 and $200 per hour, depending on your location. The total cost for a full bathroom plumbing installation could range from $1,500 to $5,000 or more.
- Extra Costs: Keep in mind that rerouting plumbing lines or making major structural changes can increase the cost significantly.
When to Hire a Professional?
While many homeowners can handle basic plumbing tasks, more complicated aspects like installing the drainage system or roughing in the fixtures may require professional help. If you’re unsure about your ability to complete the job safely and in compliance with local codes, it’s always a good idea to consult with a licensed plumber.
Conclusion
Learning how to do plumbing for a bathroom is an essential step in any bathroom renovation or new construction project. From installing water supply lines to setting up the drainage system, following the correct procedures ensures that your bathroom will function properly for years to come.
Whether you choose to DIY or hire a professional, proper planning and execution are key to a successful bathroom plumbing installation.