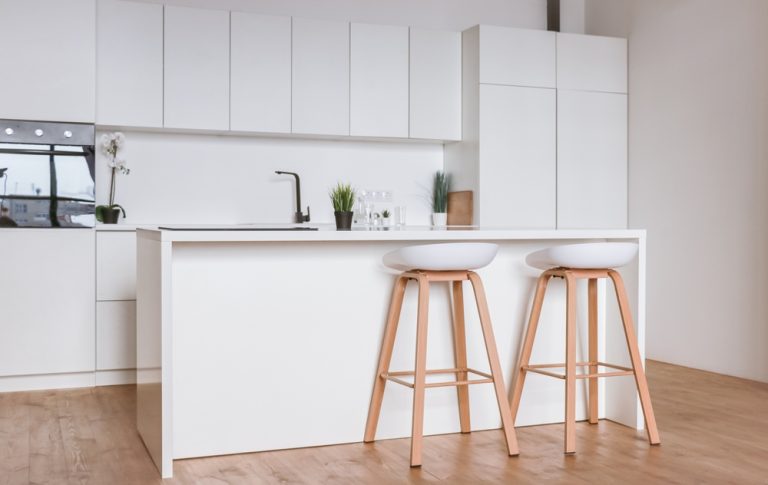
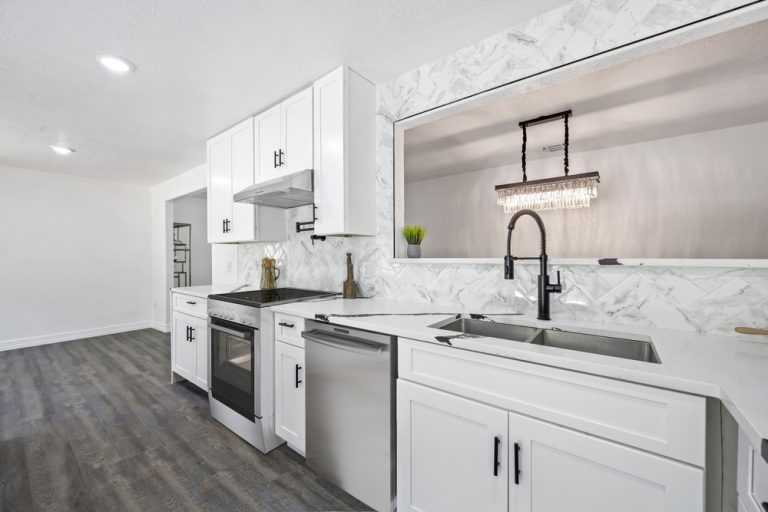
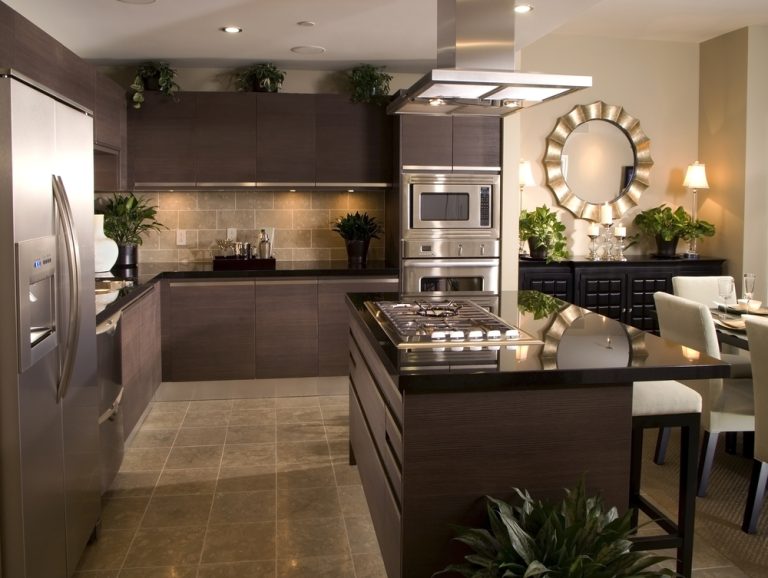
How to Clean Kitchen Cabinets for Painting?
Painting your kitchen cabinets can give your kitchen a fresh, updated look without the expense of a full remodel. However, before you start applying paint, it’s crucial to clean your cabinets thoroughly. Proper cleaning ensures that the paint adheres well and lasts longer, giving you a smooth, professional finish. Grease, grime, and other residues can prevent paint from sticking properly, leading to peeling or chipping over time.
In this blog, we’ll walk you through how to clean kitchen cabinets for painting, including the tools and cleaners you’ll need, tips for tackling tough stains, and how to prepare your cabinets for a successful paint job.
Gathering the Necessary Supplies
Before you start cleaning your kitchen cabinets, gather all the necessary supplies. Having everything on hand will make the process smoother and more efficient.
Essential Supplies
- Mild Dish Soap: A gentle dish soap is ideal for cutting through grease without damaging your cabinets.
- Warm Water: You’ll need warm water to mix with your cleaning solutions and rinse off residue.
- White Vinegar: Vinegar is a natural cleaner that helps remove grime and disinfect surfaces.
- TSP (Trisodium Phosphate): For stubborn grease and stains, TSP is a powerful cleaner that preps surfaces for painting.
- Sponge or Soft Cloths: Use non-abrasive sponges or soft cloths to avoid scratching your cabinets.
- Scrub Brush: A small scrub brush is useful for cleaning detailed areas and stubborn spots.
- Bucket: You’ll need a bucket for mixing your cleaning solutions and holding water for rinsing.
- Protective Gloves: Wear gloves to protect your hands from harsh cleaners and prolonged exposure to water.
- Drop Cloths or Plastic Sheeting: Cover countertops and floors to protect them from water and cleaning solutions.
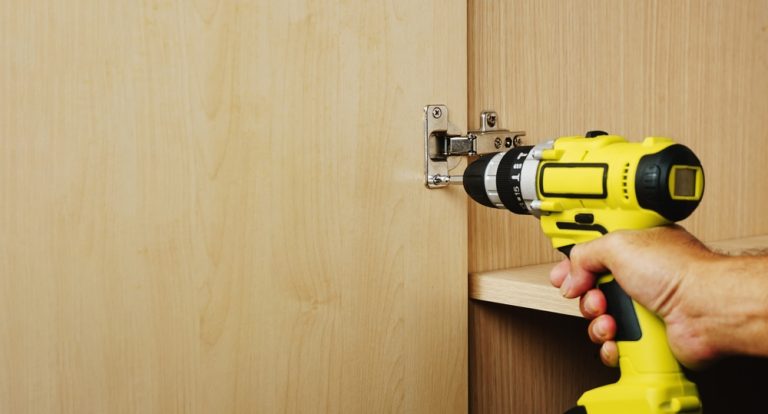
- Screwdriver: If you plan to remove cabinet doors and hardware, a screwdriver will be necessary.
Preparing the Cabinets
Before you start cleaning, it’s important to prepare your cabinets properly. This step will make the cleaning process easier and more effective.
Step-by-Step Preparation
- Remove Cabinet Contents: Empty your cabinets completely, removing all dishes, food, and other items. This allows you to clean every surface thoroughly without obstructions.
- Remove Cabinet Doors and Hardware (Optional): If you prefer to paint the cabinet doors separately, remove them using a screwdriver. Label each door and its corresponding hardware to make reinstallation easier. If you’re leaving the doors attached, you can still clean around the hinges and handles.
- Cover Surrounding Areas: Use drop cloths or plastic sheeting to protect your countertops, backsplash, and floors from water and cleaning solutions.
Cleaning with Mild Dish Soap and Warm Water
For most kitchen cabinets, a mixture of mild dish soap and warm water is effective at removing everyday dirt and grease.
Step-by-Step Cleaning
- Mix the Solution: In a bucket, mix a few drops of mild dish soap with warm water. Stir to create a sudsy solution.
- Wipe Down Cabinets: Dip a sponge or soft cloth into the soapy water and wring it out to avoid excessive moisture. Wipe down all cabinet surfaces, including doors, frames, and shelves. Pay special attention to areas around handles and hinges, where grease tends to accumulate.
- Scrub Stubborn Spots: For any stubborn spots or buildup, use a small scrub brush to gently loosen the grime. Be careful not to scrub too hard, as this can damage the cabinet finish.
- Rinse with Clean Water: After cleaning with soap, rinse the cabinets with a cloth dampened with clean, warm water to remove any soap residue. Leaving soap behind can interfere with paint adhesion.
- Dry Thoroughly: Use a dry cloth or towel to wipe down the cabinets and remove any remaining moisture. Make sure the cabinets are completely dry before moving on to the next step.
Using Vinegar for Deeper Cleaning
For cabinets with more stubborn grease or grime, a vinegar solution can provide a deeper clean.
Step-by-Step Cleaning
- Mix the Solution: Combine equal parts white vinegar and warm water in a bucket or spray bottle.
- Apply to Cabinets: Using a sponge, cloth, or spray bottle, apply the vinegar solution to the cabinet surfaces. Focus on areas with visible grease or stains.
- Scrub as Needed: If needed, use a scrub brush to work the solution into any stubborn spots. The acidity of the vinegar helps break down grease and grime.
- Rinse and Dry: As with the soap solution, rinse the cabinets with clean water to remove any vinegar residue, then dry thoroughly with a clean cloth.. Make sure the cabinets are completely dry before moving on to the next step.
Note – Vinegar is a natural cleaner and is safe for most cabinet finishes, but it’s always a good idea to test it on a small, inconspicuous area first.
Tackling Tough Grease with TSP
For particularly tough grease and grime, TSP (Trisodium Phosphate) is a heavy-duty cleaner that’s often used to prep surfaces for painting.
Step-by-Step Cleaning
- Prepare the TSP Solution: Follow the manufacturer’s instructions to mix TSP with water in a bucket. It’s important to wear protective gloves when handling TSP, as it can be harsh on the skin.
- Apply to Cabinets: Using a sponge or cloth, apply the TSP solution to the cabinet surfaces. Focus on areas with heavy grease or stains.
- Scrub Stubborn Spots: For stubborn spots, use a scrub brush to gently work the TSP into the grime.
- Rinse Thoroughly: After cleaning, rinse the cabinets thoroughly with clean water to remove any TSP residue. Failing to rinse properly can affect paint adhesion.
- Dry Completely: Use a clean, dry cloth to remove any remaining moisture. Ensure the cabinets are fully dry before proceeding with painting. cloth.. Make sure the cabinets are completely dry before moving on to the next step.
Note – TSP is a powerful cleaner, so it’s important to follow safety instructions and use it in well-ventilated areas.
Sanding and Final Preparation
Once your cabinets are clean and dry, the next step is to lightly sand them. Sanding helps create a smooth surface for the paint to adhere to.
Step-by-Step Sanding
- Choose the Right Sandpaper: Use fine-grit sandpaper (around 220 grit) to lightly sand the cabinet surfaces. This will rough up the existing finish just enough to help the paint stick.
- Sand the Surfaces: Gently sand all the areas you plan to paint, including doors, frames, and shelves. Be sure to sand in the direction of the wood grain to avoid scratches.
- Remove Dust: After sanding, use a tack cloth or a damp cloth to wipe away any dust or debris. It’s important to have a clean, dust-free surface before you start painting.
- Final Inspection: Before painting, do a final check to ensure all surfaces are clean, dry, and smooth. Make any last-minute touch-ups as needed.Dry Completely: Use a clean, dry cloth to remove any remaining moisture. Ensure the cabinets are fully dry before proceeding with painting. cloth.. Make sure the cabinets are completely dry before moving on to the next step.
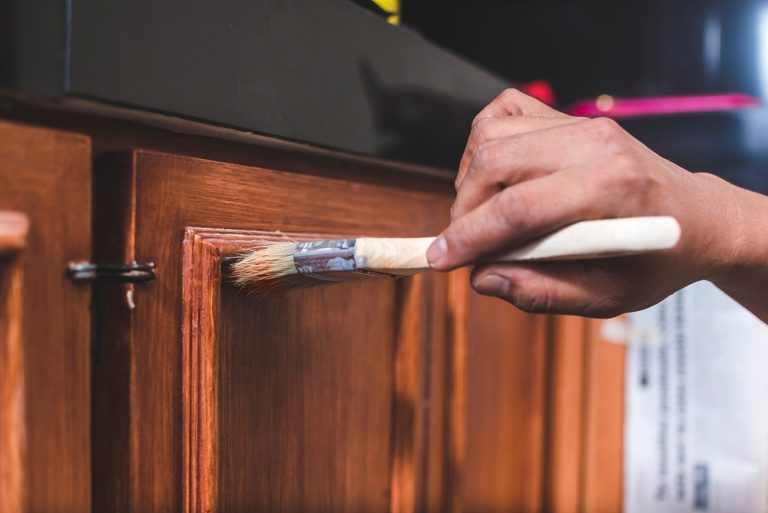
Ready for Painting
With your cabinets clean, sanded, and prepped, you’re now ready to start the painting process. Taking the time to thoroughly clean and prepare your cabinets will pay off in the end, ensuring a beautiful, long-lasting finish.
Conclusion
Cleaning kitchen cabinets before painting is a crucial step that should not be overlooked. By using the right cleaning methods—whether it’s soap and water for everyday grime, vinegar for deeper cleaning, or TSP for tough grease—you can ensure your cabinets are properly prepped for painting. Follow these steps carefully, and you’ll be well on your way to achieving a smooth, professional finish that will refresh your kitchen and add value to your home.