How to Add Trim to Kitchen Cabinets?
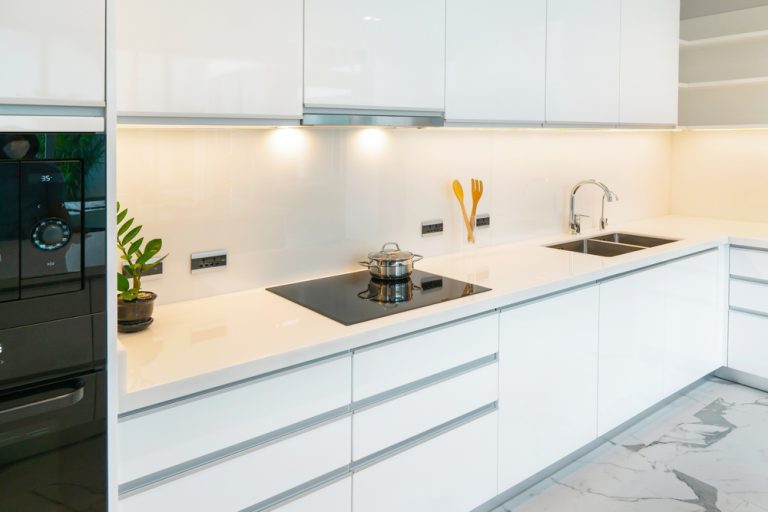
Adding trim to kitchen cabinets is a simple yet effective way to elevate the look of your kitchen. Whether you’re aiming to achieve a more polished, custom appearance or want to add a touch of elegance to plain cabinets, trim can make a big difference. From crown molding to decorative accents, trim adds depth, detail, and a finished look that can transform your kitchen without the need for a full remodel.
In this blog, we’ll guide you through the process of how to add trim to kitchen cabinets, covering everything from selecting the right materials to installation techniques. Whether you’re a DIY enthusiast or a beginner, these steps will help you achieve a professional-looking result.
Choosing the Right Trim
Before you begin, it’s important to choose the right type of trim for your cabinets. The style, size, and material of the trim will affect the overall look and feel of your kitchen.
Types of Trim
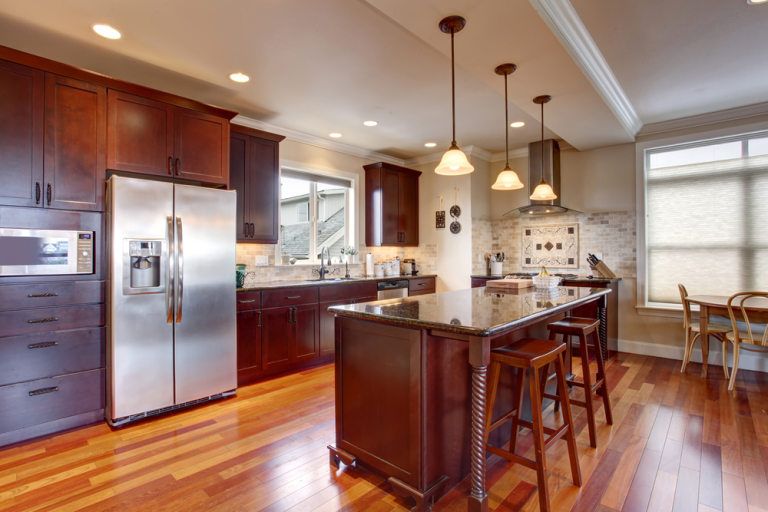
- Crown Molding: Crown molding is a popular choice for adding trim to the top of kitchen cabinets. It creates a seamless transition between the cabinets and the ceiling, giving the kitchen a more finished and elegant appearance.
- Base Molding: Base molding is typically added to the bottom of base cabinets. It helps to create a cohesive look between the cabinets and the floor and can also hide gaps between the cabinet base and the floor.
- Light Rail Molding: Light rail molding is installed beneath the upper cabinets to hide under-cabinet lighting. It adds a decorative touch and also helps direct light downwards onto the countertop.
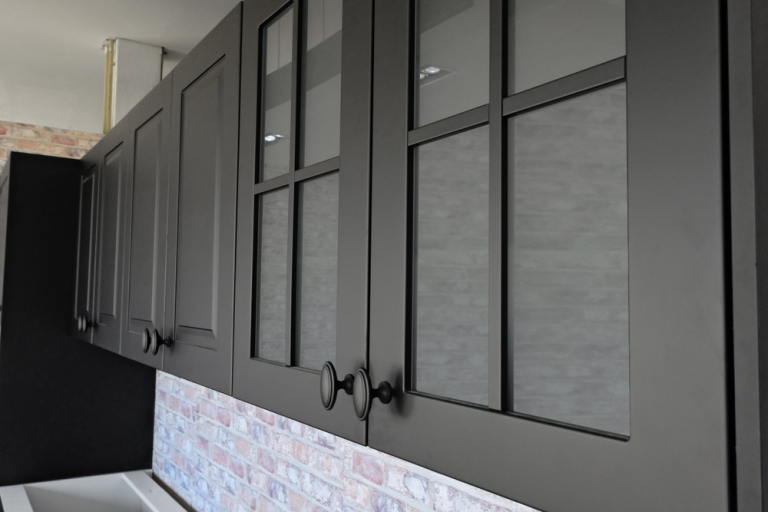
- Decorative Trim: Decorative trim, such as beadboard or raised panel moldings, can be added to cabinet doors or drawer fronts to give them a more custom look.
Materials to Consider
- Wood: Solid wood trim is durable and can be stained or painted to match your cabinets. It’s a versatile option that works well in both traditional and modern kitchens.
- MDF (Medium-Density Fiberboard): MDF is a budget-friendly option that is easy to work with and can be painted in any color. However, it’s not as durable as solid wood and may not hold up as well in high-moisture areas.
- PVC/Plastic: PVC trim is moisture-resistant and a good option for kitchens with high humidity. It’s also easy to clean and maintain, though it may not have the same aesthetic appeal as wood.
Choosing the Right Style
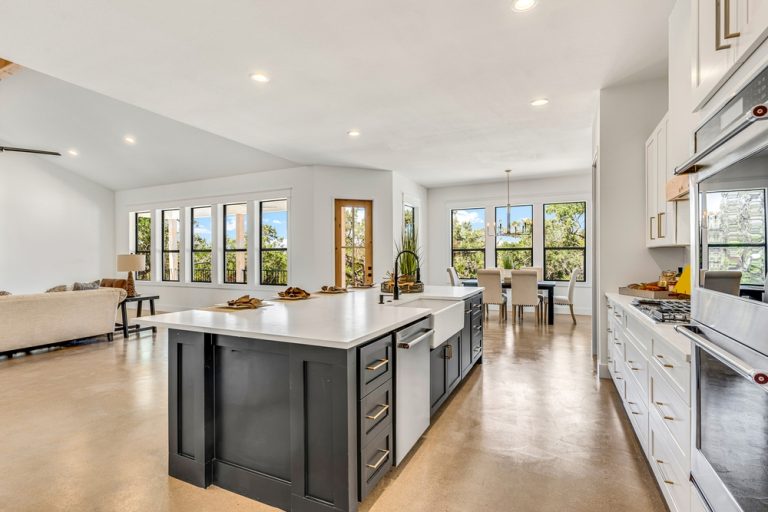
Consider the overall style of your kitchen when choosing trim. For a classic or traditional kitchen, crown molding with intricate details may be ideal. In contrast, a modern kitchen might benefit from clean, simple lines with minimalistic trim.
Measuring and Planning
Once you’ve chosen the trim, the next step is to measure your cabinets and plan the installation. Accurate measurements are crucial to ensure that the trim fits perfectly.
Step-by-Step Measuring
- Measure the Lengths: Measure the length of the areas where you’ll be adding trim, including the tops of the cabinets for crown molding, the bottoms for base molding, and any other areas you plan to trim. Be sure to account for any corners or angles in your measurements.
- Determine Angles: If you’re adding crown molding or trim that requires mitered corners, measure the angles of the corners to ensure accurate cuts. Most corners are 90 degrees, but some may be different, especially in older homes.
- Plan for Overlaps: If your trim pieces will overlap or meet at corners, plan how they will connect. It’s important to account for these overlaps in your measurements.
Additional Planning Tips
- Cut Allowances: Always add a little extra length to your measurements to account for any mistakes or adjustments during installation.
- Sketch It Out: Consider sketching a rough layout of your cabinets and where the trim will go. This can help you visualize the final result and ensure you have all the materials you need.
Cutting the Trim
With your measurements in hand, it’s time to cut the trim pieces to size. This step requires precision, as well-cut trim will ensure a seamless fit and professional look.
Step-by-Step Cutting
- Mark the Trim: Use a pencil to mark the trim pieces according to your measurements. Double-check your measurements before cutting to avoid mistakes.
- Cut the Trim: Use a miter saw or a handsaw with a miter box to cut the trim pieces at the correct angles. For crown molding, you’ll need to cut the ends of the trim at a 45-degree angle to create mitered corners. Be sure to cut slowly and steadily to achieve a clean edge.
- Test the Fit: Before moving on, test the fit of each trim piece against the cabinets. If necessary, make small adjustments to ensure a snug fit.
Safety Tips
- Always wear safety goggles and gloves when cutting trim.
- Work on a stable surface and secure the trim pieces before cutting to prevent slipping.
Installing the Trim
With the trim pieces cut and ready, it’s time to install them on your kitchen cabinets. This step requires careful alignment and secure attachment to ensure a long-lasting result.
Step-by-Step Installation
- Apply Adhesive: Apply a thin line of wood glue or construction adhesive to the back of the trim piece. This helps secure the trim to the cabinets and reduces the need for nails.
- Position the Trim: Position the trim piece on the cabinet, making sure it is aligned properly with the edges. Hold it in place for a few seconds to allow the adhesive to bond.
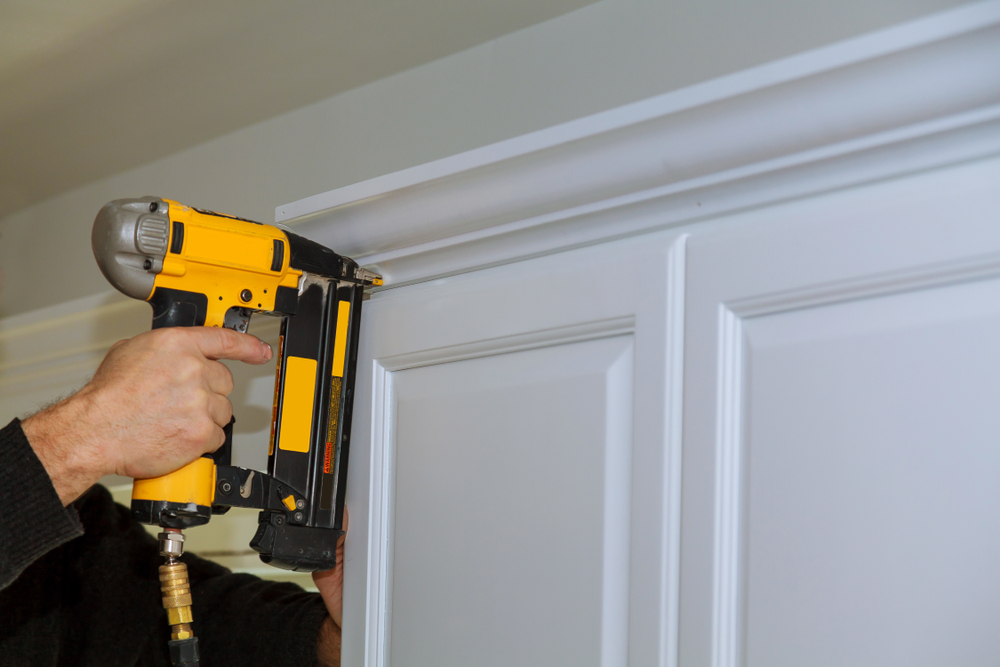
- Secure with Nails: Use finishing nails or a nail gun to secure the trim to the cabinets. Space the nails evenly along the trim, about every 6-8 inches. For crown molding, nail into the studs or ceiling joists if possible for added stability.
- Fill Nail Holes: Once all the trim is installed, use wood filler or putty to fill in the nail holes. Allow the filler to dry, then sand it smooth with fine-grit sandpaper.
Additional Tips
- Check for Level: As you install the trim, use a level to ensure that each piece is straight and even.
- Work in Sections: If you’re adding trim to multiple cabinets, work in sections to ensure each piece is properly aligned before moving on to the next.
Finishing Touches
After the trim is installed, the final step is to finish it to match your cabinets. This step involves painting or staining the trim and sealing it for durability.
Step-by-Step Finishing
- Sand the Trim: Lightly sand the trim with fine-grit sandpaper to smooth out any rough edges and prepare it for painting or staining.
- Prime the Trim: If you’re painting the trim, apply a coat of primer to ensure even coverage and help the paint adhere better. Allow the primer to dry completely before proceeding.
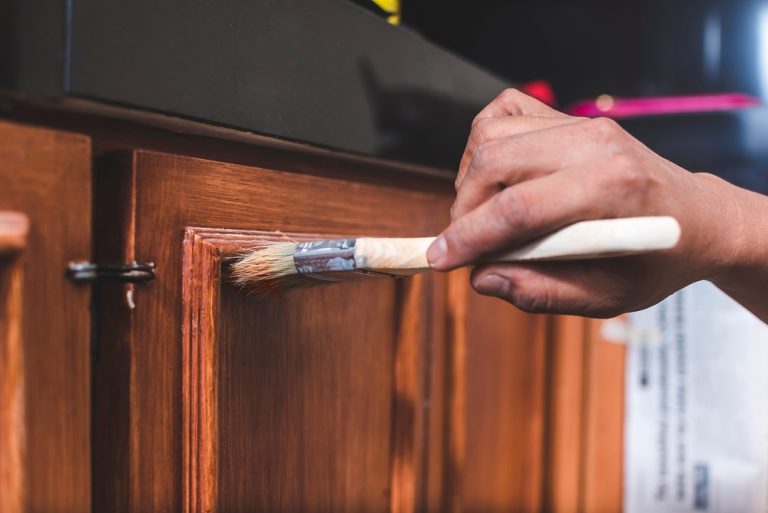
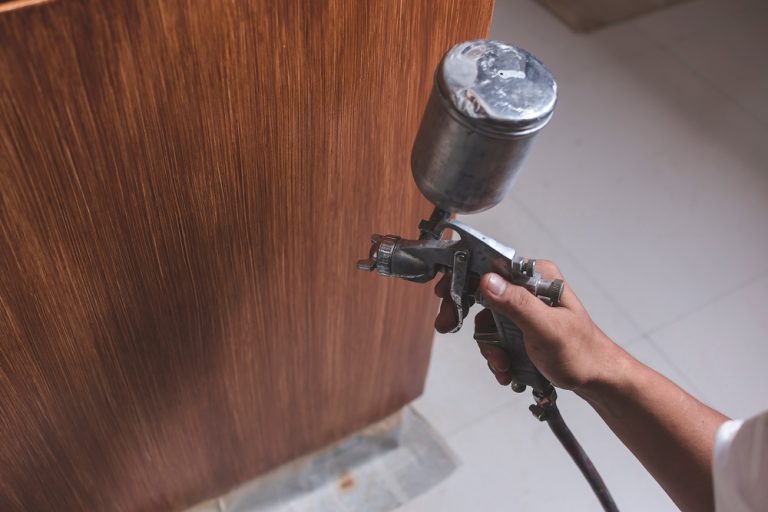
- Paint or Stain: Apply your chosen paint or stain to the trim, using a brush or a small roller for smooth, even coverage. Apply multiple coats if necessary, allowing each coat to dry fully before adding the next.
- Seal the Trim: Once the paint or stain is dry, apply a clear sealer or varnish to protect the trim from moisture and wear. This step is especially important in kitchens where the trim may be exposed to spills or humidity.
Final Tips
- Color Matching: If you’re painting the trim to match your cabinets, make sure the paint color is an exact match to avoid any noticeable differences.
- Touch-Ups: After the trim is finished, inspect it for any areas that may need touch-ups or additional coats of paint or stain.
Conclusion
Adding trim to kitchen cabinets is a rewarding DIY project that can significantly enhance the look of your kitchen. Whether you’re installing crown molding for a touch of elegance or adding base molding for a cohesive finish, the process is straightforward with the right tools and techniques. By carefully selecting your trim, measuring and cutting accurately, and following proper installation steps, you can achieve a professional-quality result that adds value and style to your home.
With a little time and effort, your kitchen cabinets can go from ordinary to extraordinary, reflecting your personal style and making your kitchen a more enjoyable space.