How to Add Electrical Outlet to Kitchen Island?
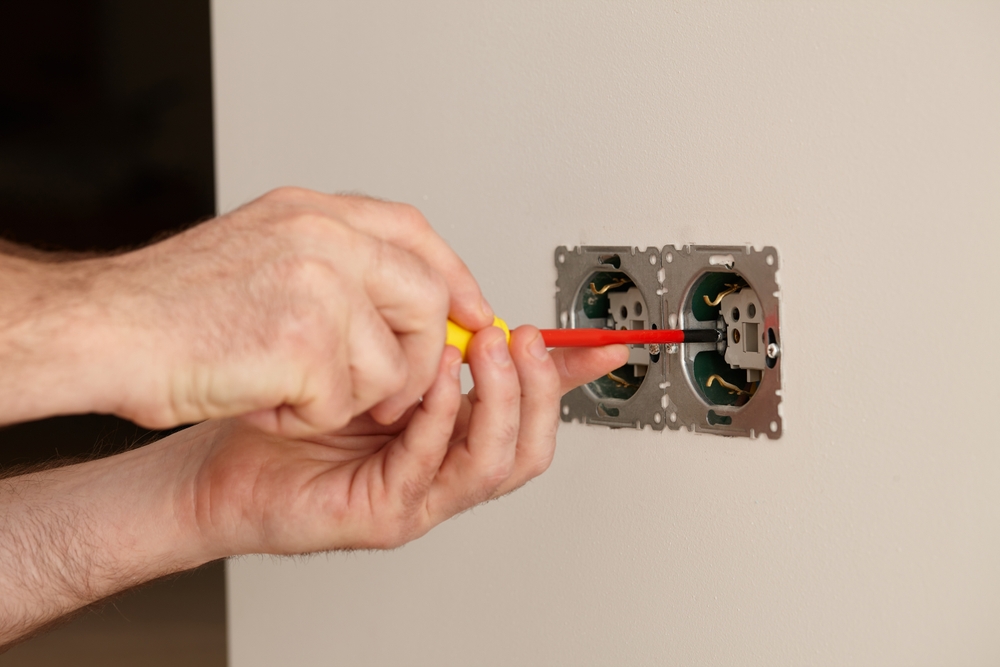
A kitchen island is more than just a stylish addition to your kitchen; it provides extra workspace, storage, and a central spot for family gatherings. However, if you’re using your kitchen island for cooking or as a prep area, you might realize that you need power for small appliances or charging devices. Knowing how to add electrical outlet to kitchen island is essential for making this space more functional and efficient.
In this guide, we’ll explore the steps involved in adding an electrical outlet to your kitchen island, important considerations for safety, and tips for seamless installation.
Why Add Electrical Outlets to a Kitchen Island?
Before diving into the technical aspects of how to add electrical outlet to kitchen island, it’s important to understand why it’s beneficial.
Increased Functionality
By adding electrical outlets to your kitchen island, you can power small appliances like blenders, coffee makers, and toasters without having to use extension cords or plug them in elsewhere in the kitchen. This makes the island a more versatile space for cooking, baking, and entertaining.
Charging Devices
Many modern kitchens double as multifunctional spaces, where people cook, work, or socialize. Adding outlets to your island allows you to charge devices like phones or laptops, making the island an ideal spot for work or casual gatherings.
Lighting and Aesthetics
If your kitchen island is designed to house under-counter lighting or pendant lights, you’ll need outlets to power these fixtures. Adding electrical outlets ensures that all the lighting components function as intended, improving both the ambiance and functionality of the island.
Planning the Outlet Installation
The first step in how to add electrical outlet to kitchen island is careful planning. Consider the layout of your kitchen, your electrical needs, and how to comply with local building codes.
Determine the Location
Think about where you’ll most need the outlets. Popular choices include the sides of the island or under the overhanging countertop. You want the outlets to be accessible but not in the way, especially when preparing food or cleaning.
Building Code Requirements
When installing outlets in a kitchen island, it’s crucial to follow local building codes and safety regulations. According to the National Electrical Code (NEC) in the U.S., kitchen islands over a certain size must have at least one electrical outlet. This ensures safety and prevents the overuse of extension cords, which can lead to electrical hazards. The outlets should also have Ground Fault Circuit Interrupter (GFCI) protection, which is essential in areas where water is present.
Determine Electrical Load
Ensure that the existing electrical system can handle the addition of a new outlet. If you plan to use multiple appliances simultaneously, you might need a dedicated circuit for the kitchen island. Consulting with a licensed electrician at this stage can help prevent overloading your system.
Steps for Adding an Electrical Outlet to Your Kitchen Island
Once the planning is complete, it’s time to focus on how to add electrical outlet to kitchen island with the following steps:
Step 1: Shut Off Power
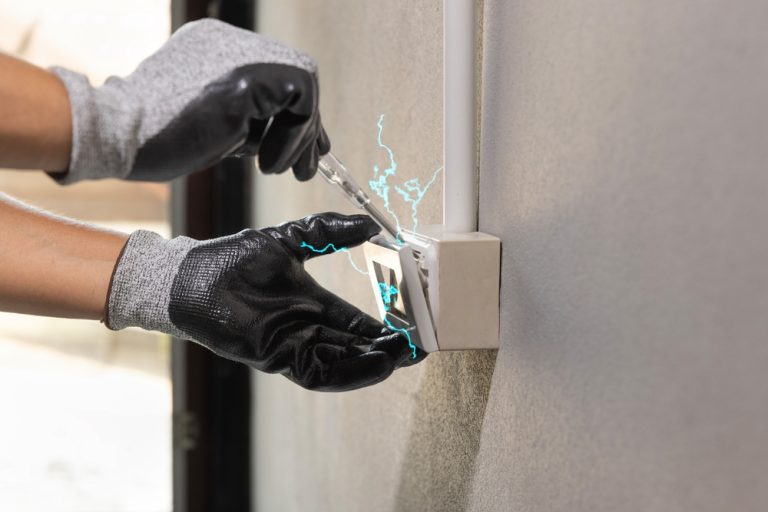
Before beginning any electrical work, ensure the power to the kitchen is turned off at the circuit breaker. This step is crucial for your safety.
Step 2: Choose the Outlet Location
Mark where you want the outlet to be installed. If you want a clean look, consider placing the outlet under the countertop or within side panels, where it can remain hidden when not in use.
Step 3: Run Electrical Wiring
Next, you’ll need to run electrical wiring from the main electrical panel to the kitchen island. This can be challenging depending on the location of your island, as it may require cutting through floors or walls. For this part of the job, it’s often best to hire a licensed electrician who can ensure the wiring is done safely and complies with local codes.
Step 4: Install the Outlet Box
Once the wiring is in place, install the electrical outlet box. This is where the outlet will be housed. Use a cutout tool to create a space for the box in the chosen location on your island. Ensure the box is securely fastened and level with the surface.
Step 5: Connect the Wiring
Carefully connect the wiring to the outlet, following the manufacturer’s instructions and ensuring that the wiring is properly grounded. If you’re unfamiliar with electrical work, it’s recommended to hire a professional electrician for this step, as incorrect wiring can lead to electrical hazards.
Step 6: Install the Outlet Cover
After connecting the wiring, install the outlet cover. Choose a cover that blends seamlessly with your kitchen’s design to maintain an aesthetically pleasing look.
Step 7: Restore Power and Test the Outlet
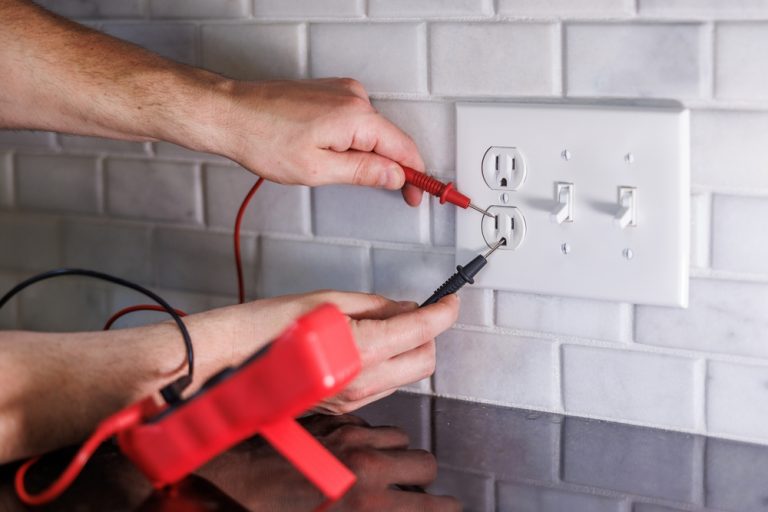
Turn the power back on at the circuit breaker and test the outlet to ensure it’s working correctly. Plug in a small appliance or device to verify that everything is functioning as expected.
Safety Considerations
When learning how to add electrical outlet to kitchen island, safety should always be your top priority. Here are a few critical safety considerations to keep in mind:
GFCI Protection
All outlets in kitchens, including those on islands, must have GFCI protection to prevent electrical shocks in areas where water is present. GFCI outlets automatically shut off the power if they detect a ground fault, protecting you from potential harm.
Dedicated Circuit for Large Appliances
If you plan to use large appliances like a microwave or dishwasher on your island, ensure the outlet is connected to a dedicated circuit. This prevents overloading the electrical system and minimizes the risk of tripping the breaker.
Professional Installation
If you’re unsure about any part of the installation process, it’s best to hire a licensed electrician. Electrical work can be complex, and improper installation can lead to fire hazards, shocks, or even voided insurance claims in the event of an accident.
Alternative Outlet Options for Kitchen Islands
For those looking for more innovative or less obtrusive options, there are alternative outlet designs that can be incorporated into your kitchen island:
Pop-Up Outlets
These outlets remain hidden until needed. With a simple press, the outlet pops up from the island’s surface, offering a sleek and modern solution. When not in use, the outlet can be tucked away, leaving a smooth, uninterrupted countertop.
Under-Counter Outlets
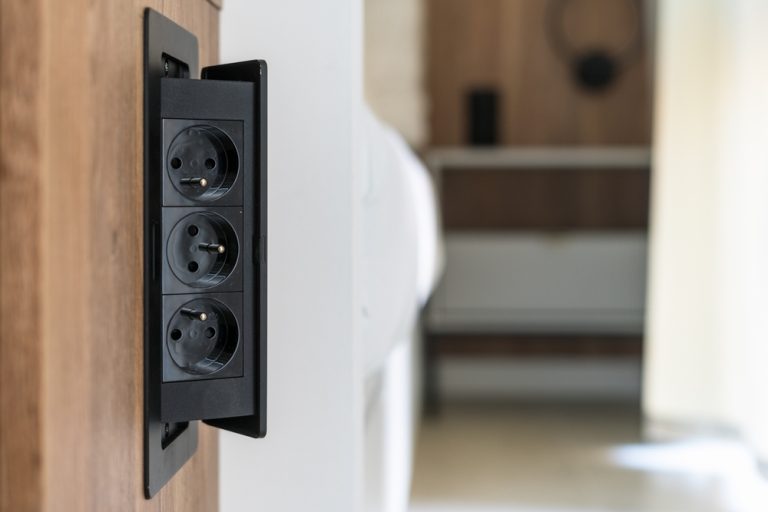
Under-counter outlets are discreetly installed underneath the island’s overhang, providing convenient access without disrupting the design. They can be especially useful if you want to keep your island’s surface clean and clutter-free.
Conclusion
Adding an electrical outlet to your kitchen island significantly enhances its functionality and convenience, making it easier to use small appliances, charge devices, and add lighting elements. By following this guide on how to add electrical outlet to kitchen island, you can plan and execute a safe, efficient installation that meets your kitchen’s electrical needs.
While the process involves some technical work, ensuring compliance with local building codes and safety standards will result in a highly practical kitchen island that suits your lifestyle.

