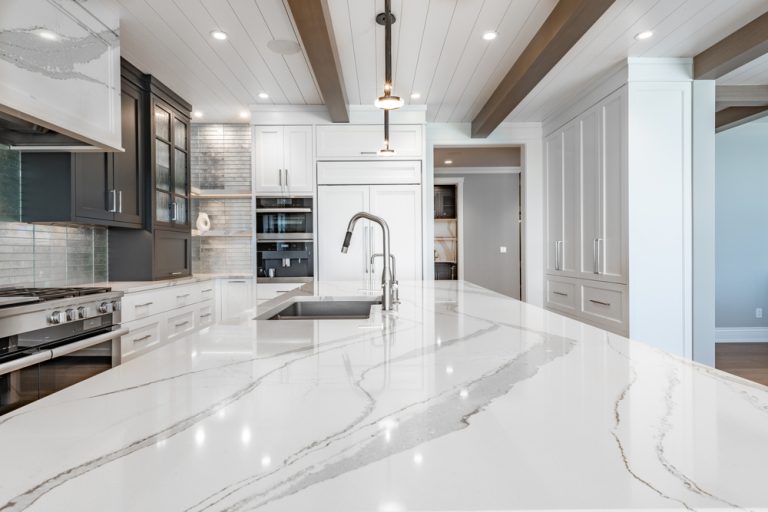
Can You Paint Kitchen Counter Tile?
If you’re looking to refresh your kitchen without the expense and hassle of a full renovation, you might be wondering, can you paint kitchen counter tile? The good news is that painting kitchen counter tiles is a viable and budget-friendly option to transform your space. This method allows you to achieve a fresh, new look without the need to replace the tiles entirely. However, it’s essential to approach this project with the right materials, techniques, and expectations.
In this guide, we’ll walk you through everything you need to know about painting kitchen counter tiles, from preparation to the final sealing process, ensuring a durable and attractive finish.
Why Consider Painting Kitchen Counter Tiles?
Before diving into the process, it’s essential to understand why you might choose to paint your kitchen counter tiles instead of replacing them.
Cost-Effective Renovation
- Affordable Update: Replacing kitchen counter tiles can be expensive, especially when factoring in the cost of materials and professional installation. Painting offers a cost-effective alternative that can give your kitchen a completely new look at a fraction of the price.
- Minimal Disruption: Painting tiles is a less invasive process than replacing them, meaning you can refresh your kitchen with minimal disruption to your daily routine.
Customization Options
- Choose Your Color: Painting your kitchen counter tiles allows you to choose any color that suits your kitchen’s design. Whether you want a sleek, modern look or something more traditional, paint offers endless possibilities.
- Create Unique Designs: Beyond solid colors, you can get creative with stencils, patterns, and even faux finishes to achieve a custom look that reflects your style.
Eco-Friendly Choice
- Reduce Waste: By choosing to paint your existing tiles instead of replacing them, you’re reducing the amount of waste that ends up in landfills. This makes painting an environmentally friendly option for your kitchen renovation.
Also Read – Can You Paint Floor Tiles in a Kitchen?
Pros and Cons of Painting Kitchen Counter Tiles
While painting kitchen counter tiles can be an excellent way to update your space, it’s important to weigh the pros and cons before starting the project.
Pros
- Cost Savings: Painting is significantly less expensive than replacing tiles, making it an ideal option for budget-conscious homeowners.
- Customization: You have complete control over the color and design, allowing you to personalize your kitchen counters to match your taste and decor.
- Quick and Easy: The painting process can be completed relatively quickly, providing a fast solution for refreshing your kitchen.
Cons
- Durability Concerns: Painted tiles may not be as durable as their original finish. Over time, the paint may wear down, especially in high-use areas, requiring touch-ups or reapplication.
- Maintenance Required: Painted countertops may need more frequent maintenance to keep them looking fresh. This includes re-sealing the surface periodically to protect the paint from wear and tear.
- Limited to Existing Layout: Painting won’t change the layout, size, or shape of your tiles. If you’re unhappy with the overall design of your current tiles, painting may not fully address your concerns.
Materials and Tools Needed to Paint Kitchen Counter Tiles
To successfully paint your kitchen counter tiles, you’ll need to gather the following materials and tools:
Cleaning Supplies
- Tile Cleaner or Degreaser: A strong cleaner is essential for removing any dirt, grease, or grime from the tiles. This step is crucial for ensuring the paint adheres properly.
- Scrub Brush: Use a scrub brush to thoroughly clean the tiles, especially in grout lines and textured areas.
- Rags or Sponges: You’ll need these for wiping down the tiles after cleaning.
Sanding Materials
- Sanding Block or Orbital Sander: Sanding the tiles is crucial for creating a rough surface that allows the primer and paint to adhere better. Use a sanding block or orbital sander with fine-grit sandpaper (around 220-grit).
- Vacuum or Dust Cloth: After sanding, remove the dust from the tiles before applying primer or paint.
Painting Supplies
- Tile Primer: A high-quality primer designed for tiles or glossy surfaces is essential for ensuring the paint adheres properly and lasts over time.
- Tile Paint: Choose a durable paint that’s specifically formulated for high-use areas, such as epoxy or enamel paint. These types of paint are designed to withstand moisture, heat, and wear.
- Paint Rollers and Brushes: Use a paint roller for covering large areas quickly and brushes for detailed work around edges and grout lines.
- Painter’s Tape: Protect adjacent surfaces, such as walls and backsplashes, with painter’s tape to avoid accidental paint splatters.
Protective Gear
- Drop Cloths: Protect your kitchen cabinets, appliances, and other surfaces from paint splatters by covering them with drop cloths.
- Gloves and Mask: Wear gloves to protect your hands from chemicals and a mask to avoid inhaling dust or fumes during sanding and painting.
Step-by-Step Guide on How to Paint Kitchen Counter Tiles
Now that you have your materials and tools ready, here’s a detailed step-by-step guide on how to paint kitchen counter tiles.
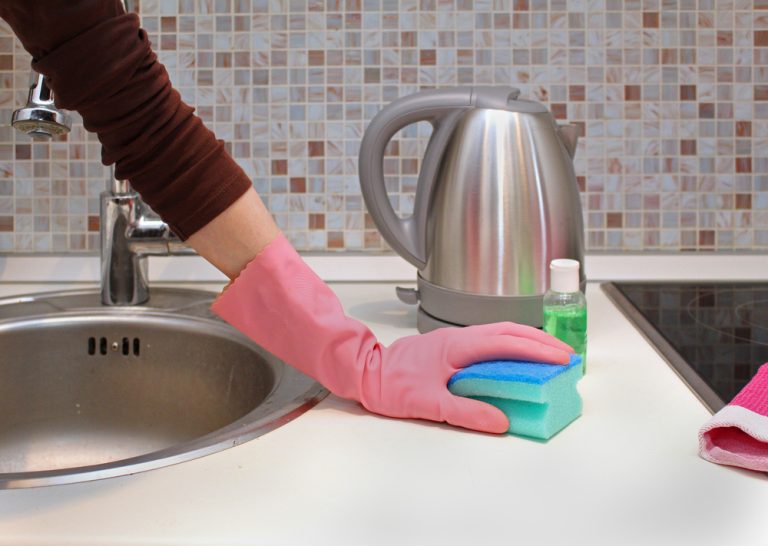
Step 1: Clean the Tile Surface Thoroughly
- Remove Dirt and Grease: Start by cleaning the tiles thoroughly with a tile cleaner or degreaser. This step is crucial because any leftover grease or grime can prevent the primer and paint from adhering properly.
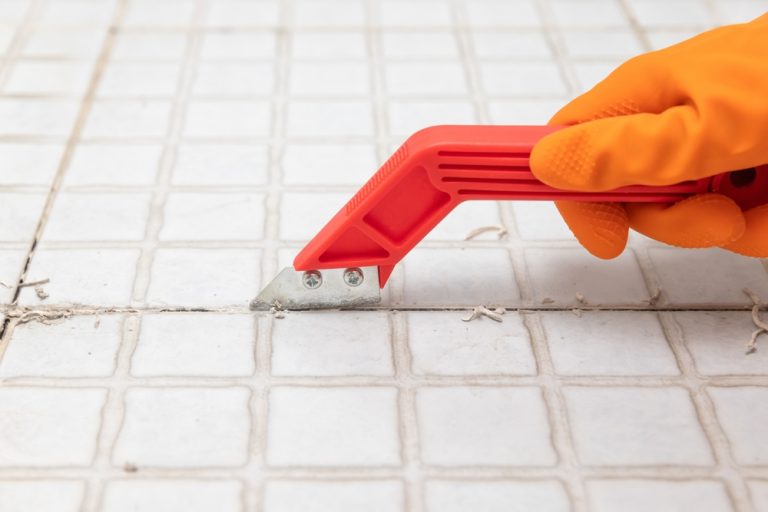
- Scrub the Grout: Pay extra attention to the grout lines, as they can accumulate a lot of dirt. Use a scrub brush to clean these areas thoroughly.
- Rinse and Dry: After cleaning, rinse the tiles with water and let them dry completely. Any moisture left on the tiles can interfere with the painting process.
Step 2: Sand the Tiles
- Lightly Sand the Surface: Use a sanding block or orbital sander with fine-grit sandpaper (around 220-grit) to sand the tiles lightly. The goal is to roughen up the glossy surface of the tiles, not to remove the glaze entirely.
- Clean Up Dust: After sanding, vacuum the counter to remove dust and wipe the tiles with a damp cloth to ensure a clean surface for priming.
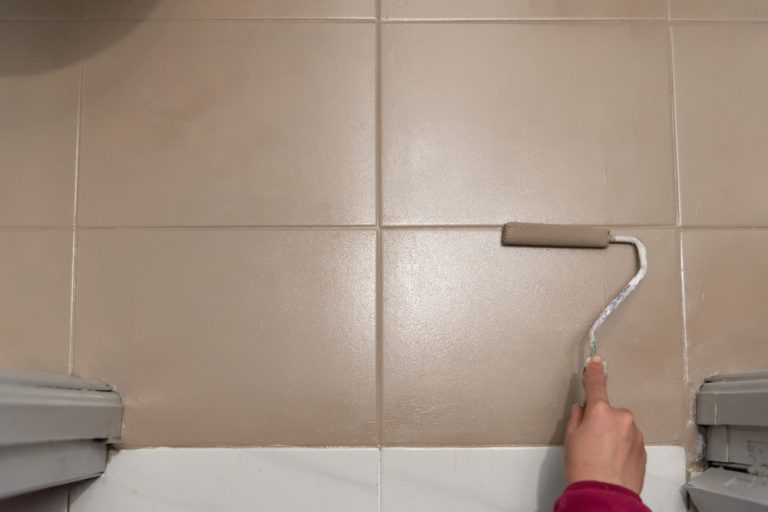
Step 3: Apply Tile Primer
- Choose the Right Primer: Select a tile primer designed for non-porous surfaces. This step is essential for ensuring the paint adheres well and lasts over time.
- Apply Evenly: Using a paint roller, apply the primer evenly across the tiles. Be sure to cover the entire surface, including the grout lines. Use a brush for the edges and corners where the roller can’t reach.
- Allow to Dry: Let the primer dry completely according to the manufacturer’s instructions. This may take several hours or overnight, depending on the product.
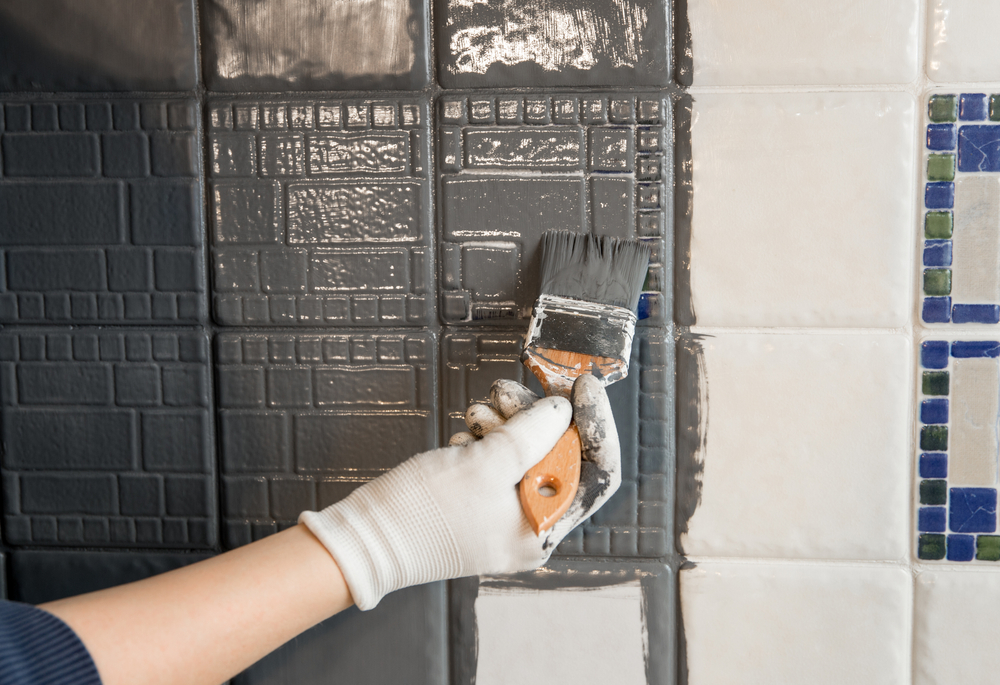
Step 4: Paint the Counter Tiles
- Choose the Right Paint: For durability, especially in a high-use area like the kitchen, use an epoxy or enamel paint designed for countertops. These paints are resistant to moisture, stains, and heat.
- First Coat: Apply the first coat of paint using a roller for the large areas and a brush for edges and grout lines. Work in small sections to ensure even coverage.
- Dry and Sand Lightly: Allow the first coat to dry completely. Once dry, lightly sand the surface again with fine-grit sandpaper to smooth out any imperfections and help the second coat adhere better.
- Second Coat: Apply a second coat of paint, ensuring full coverage. Depending on the color and the desired finish, you may need to apply a third coat.
Step 5: Seal the Painted Counter Tiles
- Seal for Extra Protection: After the paint has fully dried, apply a clear polyurethane sealer to protect the painted surface. This is especially important in the kitchen, where the counter is exposed to moisture, heat, and food spills.
- Apply Evenly: Use a clean roller or brush to apply the sealer evenly over the painted tiles. Allow the sealer to dry according to the manufacturer’s instructions before using the countertops.
Tips for Maintaining Painted Kitchen Counter Tiles
To keep your painted kitchen counter tiles looking fresh and vibrant, follow these maintenance tips:
Use Cutting Boards and Trivets
- Avoid Direct Contact: Always use cutting boards when preparing food to prevent scratching or damaging the painted surface. Trivets should be used under hot pots and pans to avoid heat damage.
Clean with Care
- Gentle Cleaners: Use mild, non-abrasive cleaners to clean the countertops. Harsh chemicals can damage the paint and cause it to wear prematurely.
- Avoid Scrubbing: While it’s important to keep the countertops clean, avoid scrubbing them with abrasive pads or brushes, as this can scratch the paint.
Touch Up as Needed
- Keep Extra Paint: Save some of the paint you used for touch-ups. Over time, small chips or scratches may occur, and having the original paint on hand will make it easy to fix these imperfections.
- Regular Inspection: Periodically inspect the painted countertops for signs of wear, especially in high-use areas. Touch up any areas as needed to maintain the overall look.
Conclusion
So, can you paint kitchen counter tile? Absolutely! Painting kitchen counter tiles is a cost-effective, customizable, and relatively simple way to update your kitchen without the need for a full renovation. By following the steps outlined in this guide—cleaning, sanding, priming, painting, and sealing—you can achieve a beautiful, durable finish that revitalizes your kitchen space.
While painted countertops may require more maintenance than other materials, with proper care, they can remain a stylish and functional part of your kitchen for years to come. Whether you’re looking for a quick refresh or a complete transformation, painting your kitchen counter tiles can be a rewarding DIY project that delivers impressive results.