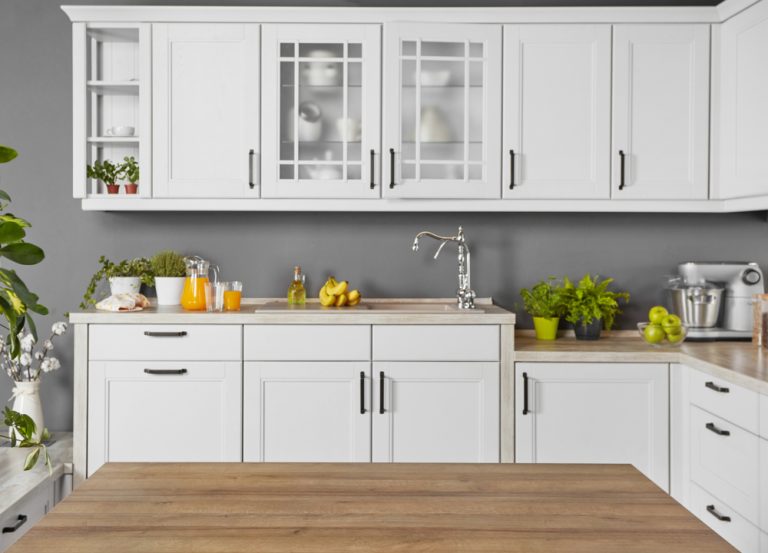
How to Paint Kitchen Cabinets Without Removing Them?
Painting your kitchen cabinets is one of the most effective ways to give your kitchen a fresh, updated look without the need for a full renovation. However, the thought of removing all the cabinet doors and drawers can be daunting, especially if you want to avoid the hassle of taking everything apart. Fortunately, you can achieve a beautiful finish by learning how to paint kitchen cabinets without removing them.
This method is not only convenient but also saves time while still delivering professional results. In this blog, we’ll guide you through the process step by step.
Why Paint Kitchen Cabinets Without Removing Them?
Before diving into the process, it’s worth understanding why you might choose to paint kitchen cabinets without removing them. There are several benefits to this approach:
Convenience
- No Need to Dismantle: Removing cabinet doors and drawers can be time-consuming and requires additional space to work on them separately. By leaving them in place, you can paint your cabinets without disrupting your kitchen more than necessary.
- Less Mess: When you paint cabinets without removing them, there’s no need to label or keep track of hardware, hinges, or screws. This reduces the risk of losing small parts and makes the process more straightforward.
Time-Saving
- Faster Process: Skipping the step of removing and reattaching doors and drawers significantly speeds up the painting process. You can complete the project in a shorter amount of time while still achieving great results.
Cost-Effective
- No Additional Tools Required: Painting cabinets in place doesn’t require any special tools or equipment for removal and reinstallation. This can save you money on tools and supplies that you might only use once.
Also Read – How to Match Existing Kitchen Cabinets?
Preparing to Paint Kitchen Cabinets Without Removing Them
Proper preparation is key to achieving a smooth and long-lasting finish when painting kitchen cabinets without removing them. Follow these steps to ensure your cabinets are ready for painting.
Step 1: Clean the Cabinets Thoroughly
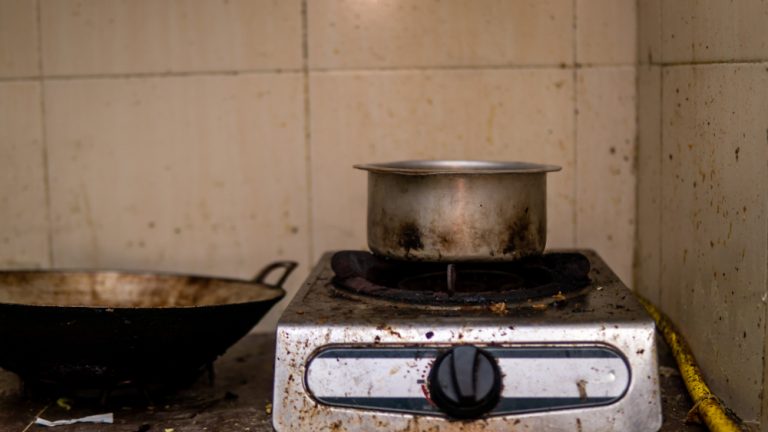
- Remove Grease and Grime: Kitchen cabinets are often exposed to grease, oil, and food splatters, so it’s crucial to clean them thoroughly before painting. Use a degreaser or a mixture of warm water and mild detergent to scrub the surfaces. Pay special attention to areas near the stove and sink where grease tends to accumulate.
- Rinse and Dry: After cleaning, wipe down the cabinets with a damp cloth to remove any soap residue. Allow the cabinets to dry completely before moving on to the next step.
Step 2: Protect Surrounding Areas
- Cover Countertops and Floors: Use painter’s tape and plastic sheeting to protect your countertops, floors, and backsplash from paint splatters. Cover any exposed hardware, such as hinges and handles, with tape to keep them paint-free.
- Tape Off Edges: Apply painter’s tape along the edges of the cabinets where they meet the walls, ceiling, or other surfaces. This will create clean lines and prevent paint from getting on surfaces you don’t want to paint.
Step 3: Sand the Cabinet Surfaces
- Lightly Sand: To help the paint adhere better, lightly sand the cabinet surfaces using a fine-grit sandpaper (220-grit is ideal). Sanding removes the glossy finish and roughens the surface, allowing the paint to bond more effectively.
- Wipe Away Dust: After sanding, wipe down the cabinets with a tack cloth or a damp cloth to remove all dust and debris. This step is important to ensure a smooth finish.
Step 4: Apply a Primer
- Choose the Right Primer: Applying a primer is essential for ensuring that the paint adheres properly and lasts longer. Choose a high-quality bonding primer that is designed for use on cabinets. Oil-based primers or shellac-based primers work well for kitchen cabinets, as they provide a strong bond and prevent stains from bleeding through.
- Apply the Primer: Using a brush or a foam roller, apply a thin, even coat of primer to all cabinet surfaces. Make sure to get into all the nooks and crannies, especially around any decorative molding or trim. Allow the primer to dry completely according to the manufacturer’s instructions.
Painting Kitchen Cabinets Without Removing Them
Once your cabinets are prepped and primed, it’s time to start painting. Follow these steps to achieve a professional-looking finish.
Step 1: Choose the Right Paint
- Select a Durable Paint: For kitchen cabinets, it’s important to choose a paint that is durable and easy to clean. Semi-gloss or satin finishes are ideal, as they provide a smooth, washable surface that can withstand daily wear and tear. Consider using a high-quality latex or acrylic paint designed for cabinetry.
- Pick the Right Color: When selecting a color, consider the overall style and color scheme of your kitchen. Neutral tones like white, gray, or beige are timeless choices that work well in most kitchens. However, don’t be afraid to choose a bold color if it complements your kitchen’s design.
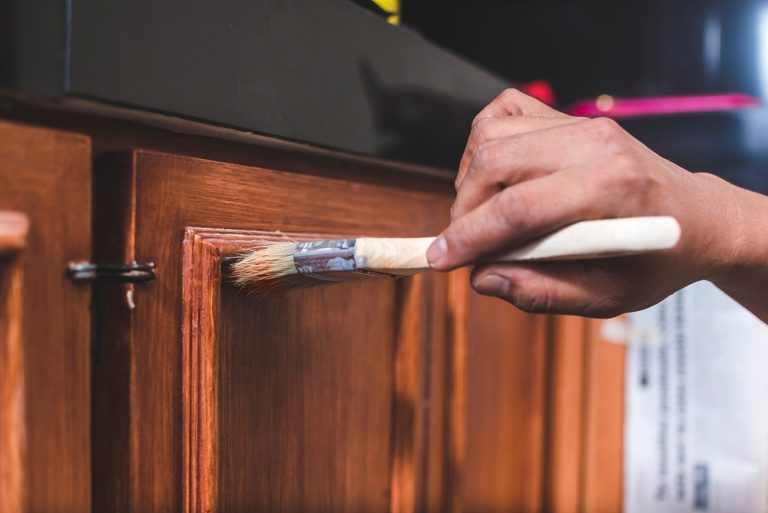
Step 2: Apply the Paint
- Use a Brush and Roller: To paint the cabinet frames, doors, and drawers, use a combination of a high-quality brush and a foam roller. The brush is great for cutting in around edges and detailed areas, while the foam roller provides a smooth finish on flat surfaces.
- Start with the Frames: Begin by painting the cabinet frames. Apply the paint in thin, even coats, working in the direction of the wood grain. Avoid applying too much paint at once, as this can lead to drips and an uneven finish.
- Move to the Doors and Drawers: After the frames are painted, move on to the cabinet doors and drawer fronts. Again, use thin, even coats of paint, and be sure to let each coat dry completely before applying the next. Depending on the color and type of paint you’re using, you may need two or three coats to achieve full coverage.
Step 3: Allow the Paint to Cure
- Drying Time: After you’ve finished painting, it’s important to let the paint cure fully before using the cabinets. While the paint may feel dry to the touch within a few hours, it can take several days to fully cure and harden. Avoid heavy use of the cabinets during this time to prevent smudges or damage to the paint.
Final Touches and Maintenance
Once the paint has fully cured, there are a few final steps to complete the project and ensure your newly painted cabinets stay looking fresh.
Reattach Hardware
- Remove Tape: Carefully remove any painter’s tape from the hardware and surrounding areas. If you covered the hinges and handles with tape, you can now remove it to reveal the protected areas.
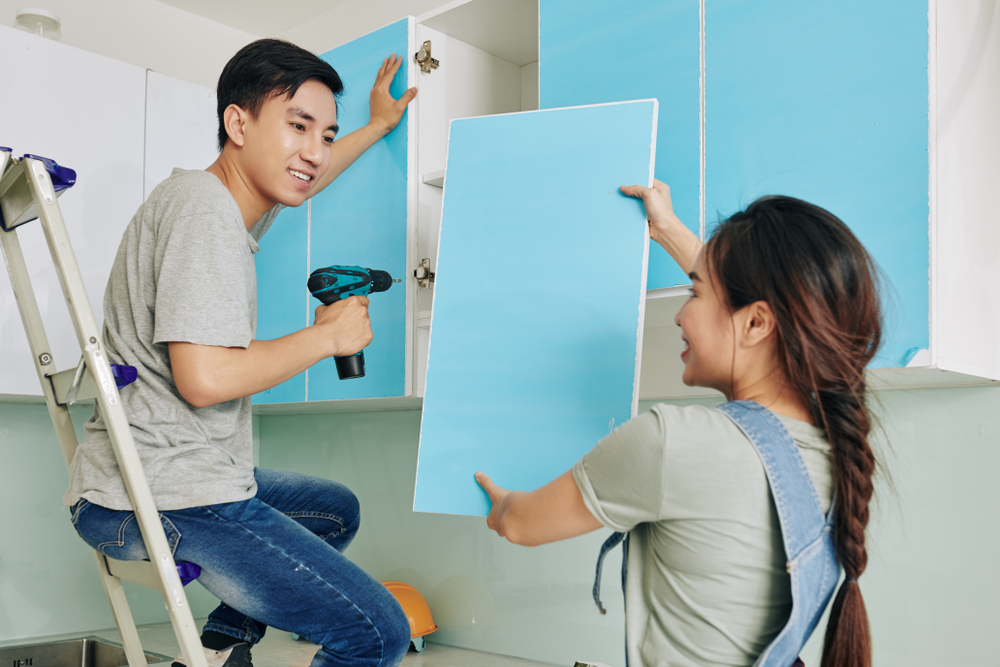
- Reattach Hardware: If you removed any hardware before painting, reattach it to the cabinets. Consider upgrading the hardware if you want to give your cabinets an additional fresh look.
Clean Up
- Clean the Workspace: Remove any protective coverings from the countertops, floors, and other surfaces. Wipe down the surfaces to remove any dust or paint splatters.
- Dispose of Supplies Properly: Dispose of used paint cans, brushes, and other supplies according to local regulations.
Maintain the Finish
- Regular Cleaning: To keep your painted cabinets looking their best, clean them regularly with a soft cloth and mild detergent. Avoid using abrasive cleaners or scrubbing pads that could damage the paint.
- Touch Up as Needed: Over time, small chips or scratches may occur. Keep some extra paint on hand for touch-ups to maintain a flawless finish.
Conclusion
Learning how to paint kitchen cabinets without removing them is a practical and efficient way to refresh your kitchen without the hassle of dismantling everything. By following the steps outlined in this guide—from thorough preparation to careful painting and final touches—you can achieve a beautiful, professional-looking finish that enhances your kitchen’s overall aesthetic.
With the right tools, materials, and a bit of patience, you can transform your kitchen cabinets and give your space a whole new look. Whether you’re preparing for a big event or simply want to update your home, painting your kitchen cabinets is a project that’s well worth the effort.