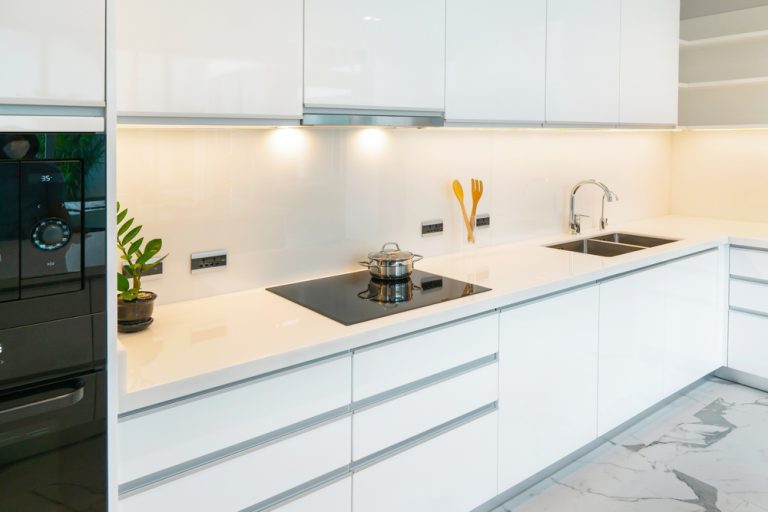
How to Repair Kitchen Cabinets with Water Damage?
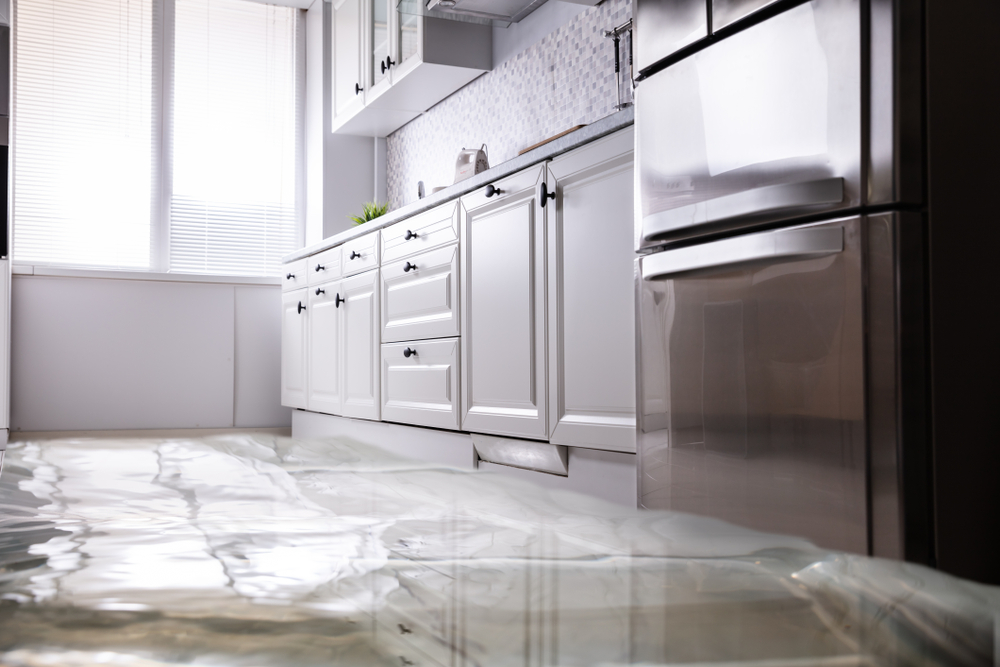
Water damage to kitchen cabinets can be a homeowner’s worst nightmare. Whether caused by a leaking sink, a burst pipe, or prolonged exposure to moisture, water damage can compromise the structural integrity and appearance of your cabinets. Knowing how to repair kitchen cabinets with water damage is essential for restoring them to their former glory and preventing further deterioration.
In this blog, we’ll guide you through the step-by-step process of assessing, repairing, and protecting your kitchen cabinets from water damage.
Assessing the Extent of Water Damage
Before you begin the repair process, it’s important to assess the extent of the water damage to determine the best course of action. Some damage may be superficial and easy to fix, while more severe damage may require extensive repairs or even replacement of the affected cabinets.
Signs of Water Damage
- Swelling and Warping: Water can cause the wood in your cabinets to swell and warp. This is particularly common in areas near sinks or dishwashers. Warped wood may become uneven or distorted, affecting the cabinet’s structure and appearance.
- Discoloration: Water damage often results in dark spots, stains, or discoloration on the surface of the cabinets. This is a clear indication that water has penetrated the finish and affected the wood beneath.
- Peeling or Bubbling Finish: The finish on water-damaged cabinets may begin to peel, bubble, or crack as moisture seeps into the wood. This can make the cabinets look unsightly and expose the wood to further damage.
- Mold and Mildew: Prolonged exposure to moisture can lead to the growth of mold and mildew on or inside the cabinets. This not only affects the cabinets’ appearance but also poses health risks.
Determining the Severity
- Surface Damage: If the damage is limited to the surface, such as peeling finish or minor discoloration, you may be able to repair the cabinets with some sanding, refinishing, or minor repairs.
- Structural Damage: If the wood is swollen, warped, or rotting, the damage is more severe. In such cases, you may need to replace the damaged sections or reinforce the cabinet structure to restore its functionality.
Drying Out the Cabinets
Before repairing the water damage, it’s crucial to dry out the cabinets completely. Moisture must be removed to prevent further damage and ensure that repairs are effective.
Step-by-Step Drying Process
- Remove Cabinet Contents: Start by emptying the cabinets of all contents, including dishes, food items, and shelf liners. This allows for better air circulation and access to all areas of the cabinets.
- Use a Dehumidifier: Place a dehumidifier in the kitchen to help remove moisture from the air and accelerate the drying process. Run the dehumidifier continuously until the cabinets are thoroughly dry.
- Increase Ventilation: Open windows and doors to increase ventilation in the kitchen. If possible, use fans to circulate air around the cabinets and speed up drying.
- Wipe Down Surfaces: Use clean, dry towels to wipe down the cabinet surfaces and remove any visible moisture. Pay close attention to corners, edges, and joints where water may have accumulated.
Repairing Surface Damage
Once the cabinets are dry, you can begin repairing any surface damage caused by water. This includes addressing issues like peeling finish, discoloration, and minor swelling.
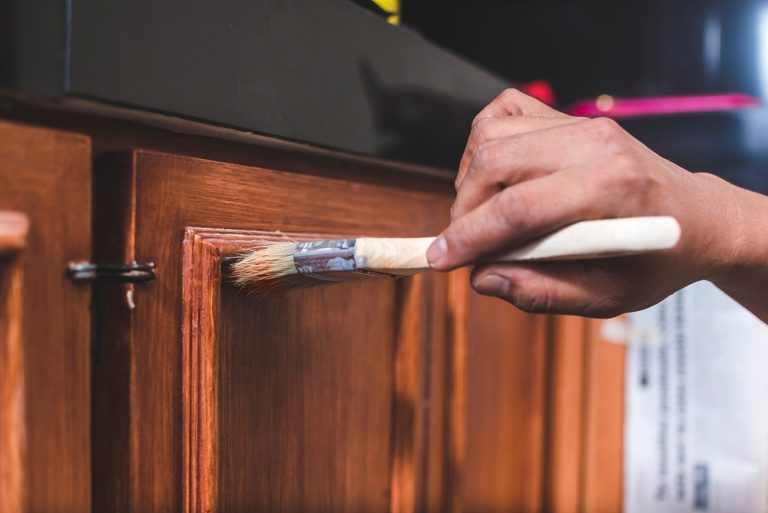
Repairing Peeling or Bubbling Finish
- Sand the Damaged Area: Use 120-grit sandpaper to gently sand the affected area, removing the peeling or bubbling finish. Be careful not to sand too aggressively, as this can damage the wood beneath.
- Smooth the Surface: After removing the damaged finish, switch to 220-grit sandpaper to smooth the surface. Ensure the area is even and free of rough spots.
- Refinish the Surface: Apply a new coat of paint, stain, or varnish to the sanded area. Choose a finish that matches the rest of the cabinet and apply it evenly. Allow the finish to dry completely before using the cabinet.
Addressing Discoloration
- Bleach the Stain: For dark water stains, you can use a wood bleach solution to lighten the discoloration. Apply the bleach to the stained area using a clean cloth and let it sit for the recommended time. Wipe away any excess bleach and allow the area to dry.
- Sand and Refinish: After bleaching, sand the area lightly with fine-grit sandpaper to smooth the surface. Apply a matching stain or finish to restore the cabinet’s appearance.
Also Read – How to Refinish Oak Kitchen Cabinets?
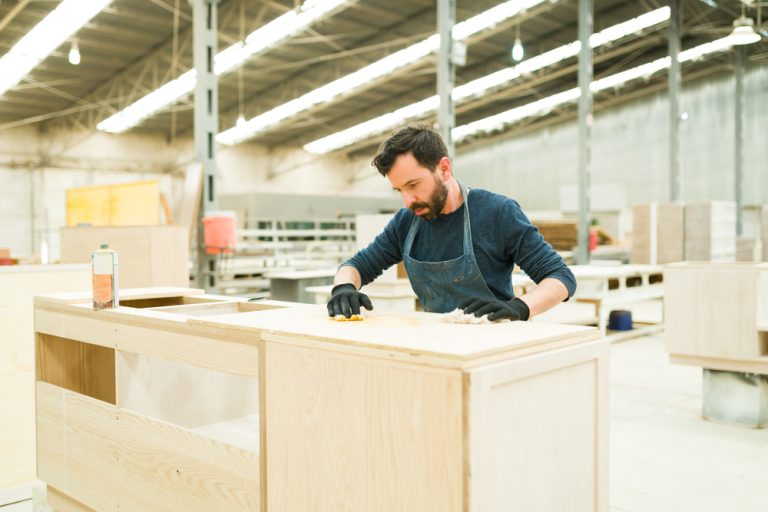
Repairing Structural Damage
If the water damage has caused the wood to swell, warp, or rot, more extensive repairs may be necessary to restore the cabinets.
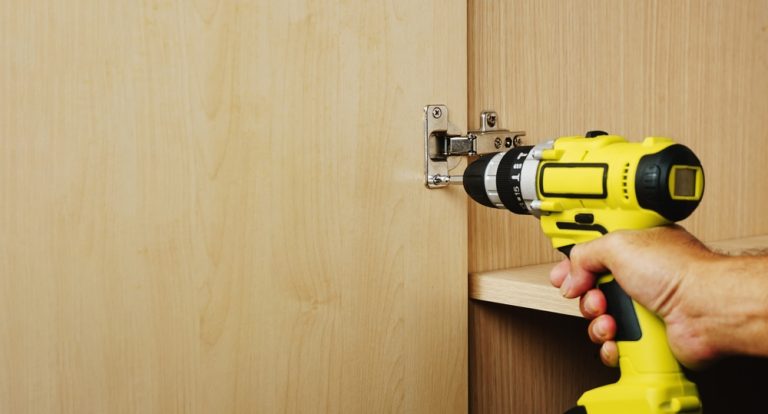
Repairing Damaged Sections
- Remove Damaged Wood: If the wood is severely warped or rotting, it may need to be replaced. Carefully remove the damaged sections using a saw or chisel. Be sure to remove all affected wood to prevent further deterioration.
- Cut Replacement Pieces: Measure the area where the damaged wood was removed and cut a replacement piece from a similar type of wood. Ensure the replacement piece fits snugly into the gap.
- Attach the Replacement: Use wood glue or screws to secure the replacement piece in place. Ensure it is level with the surrounding wood. Allow the glue to dry completely before proceeding.
- Sand and Refinish: Sand the repaired area to ensure it is smooth and even with the rest of the cabinet. Apply a matching stain or paint to blend the repair with the existing finish.
Reinforcing Warped Cabinets
- Straighten Warped Wood: If the wood is slightly warped, you may be able to straighten it by clamping it in place and applying gentle pressure. Leave the clamps in place for several hours or overnight.
- Reinforce with Brackets: For more severe warping, use metal brackets or wood braces to reinforce the cabinet structure. Attach the brackets to the inside corners of the cabinet to provide additional support.. Apply a matching stain or finish to restore the cabinet’s appearance.
Preventing Future Water Damage
After repairing your kitchen cabinets, it’s important to take steps to prevent future water damage. This will help protect your investment and keep your cabinets looking their best.
Tips for Prevention
- Fix Leaks Promptly: Regularly check for leaks under the sink, around the dishwasher, and near any water sources. Address any leaks promptly to prevent water from seeping into the cabinets.
- Seal Cabinet Edges: Apply a waterproof sealant to the edges and seams of the cabinets, especially in areas prone to moisture. This helps prevent water from penetrating the wood.
- Use Cabinet Liners: Consider using moisture-resistant liners on the shelves inside your cabinets. These liners can protect the wood from spills and leaks.
- Maintain Good Ventilation: Ensure that your kitchen is well-ventilated to reduce humidity levels. Use exhaust fans when cooking or washing dishes to prevent moisture buildup.
Conclusion
Knowing how to repair kitchen cabinets with water damage is essential for maintaining the beauty and functionality of your kitchen. Whether the damage is superficial or structural, taking the time to assess, dry, repair, and protect your cabinets will help restore them to their original condition.
By following the steps outlined in this guide—assessing the damage, drying the cabinets, repairing surface and structural issues, and preventing future damage—you can ensure that your kitchen cabinets remain a durable and attractive feature in your home for years to come.