How to Refinish Oak Kitchen Cabinets?
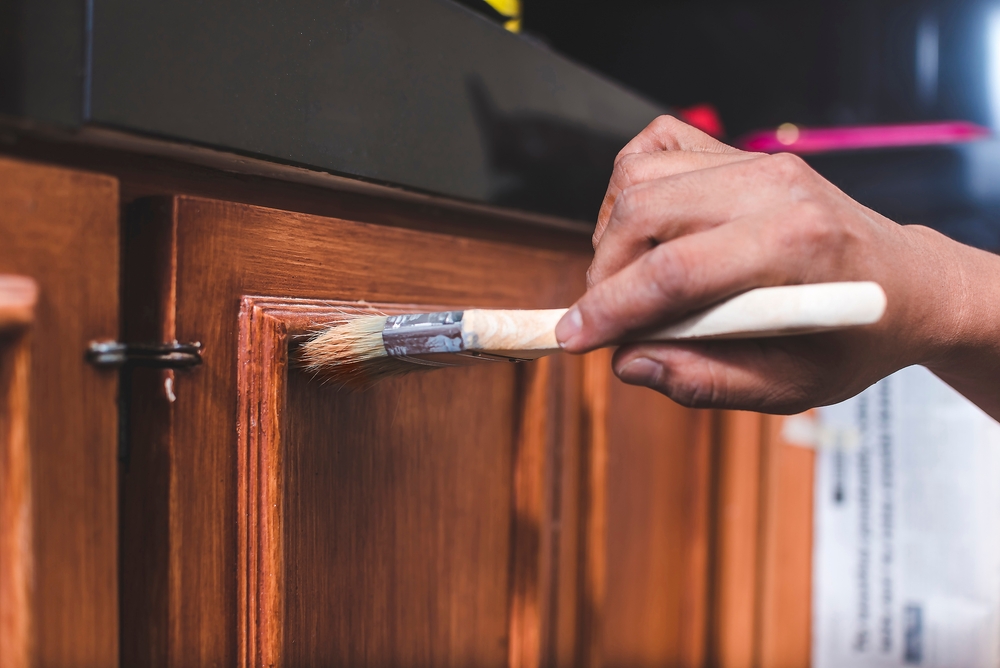
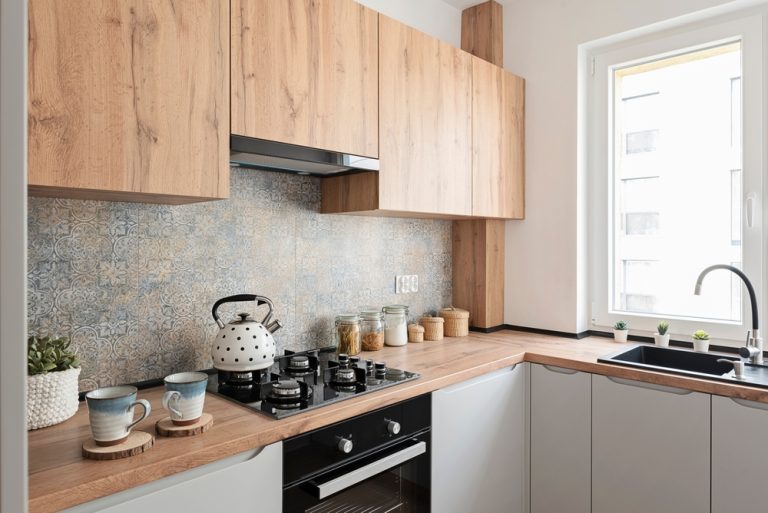
Refinishing oak kitchen cabinets is a great way to give your kitchen a fresh, updated look without the cost of a full cabinet replacement. Oak cabinets are known for their durability and timeless appeal, but over time, the finish can wear down or become outdated. By learning how to refinish oak kitchen cabinets, you can restore their natural beauty and enhance the overall aesthetic of your kitchen.
In this blog, we’ll guide you through the step-by-step process of refinishing oak kitchen cabinets, ensuring professional-looking results.
Preparing for the Refinishing Process
Before you begin the process of refinishing oak kitchen cabinets, it’s essential to prepare properly. This involves gathering the necessary tools and materials, as well as prepping the workspace to ensure a smooth and efficient project.
Tools and Materials Needed
- Screwdriver
- Painter’s tape
- Drop cloths or plastic sheeting
- Wood cleaner or degreaser
- Sandpaper (120-grit and 220-grit)
- Tack cloth or vacuum
- Wood filler (if needed)
- Paint or stain
- Primer (if painting)
- Paintbrushes, foam brushes, or rollers
- Protective gloves and goggles
Step-by-Step Preparation
- Remove Cabinet Doors and Hardware: Start by removing the cabinet doors, drawers, and any hardware, such as handles and hinges. This will make it easier to refinish each piece thoroughly and evenly. Label each door and drawer to ensure proper reassembly later.
- Clean the Cabinets: Thoroughly clean the cabinet surfaces with a wood cleaner or degreaser to remove any grease, dirt, or grime. This step is crucial, as a clean surface ensures better adhesion of the new finish.
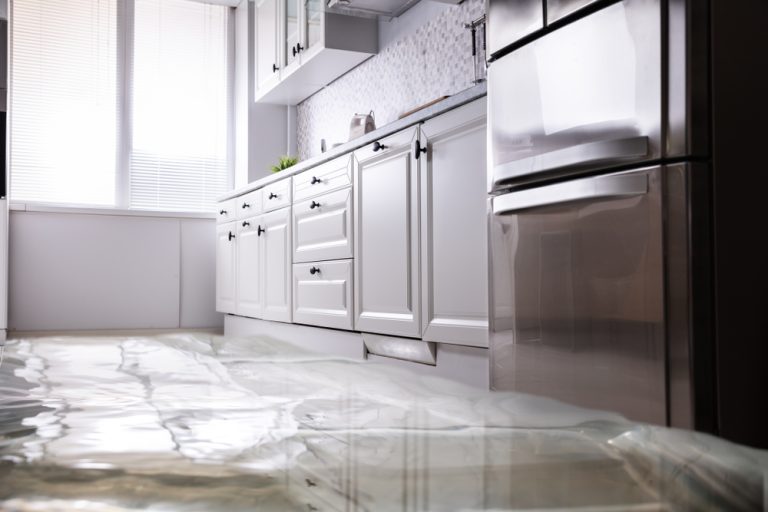
- Protect Your Workspace: Lay down drop cloths or plastic sheeting to protect your floors and countertops. Use painter’s tape to cover areas adjacent to the cabinets, such as walls and backsplashes, to avoid accidental splatters.
- Inspect for Damage: Before sanding, inspect the cabinets for any damage, such as dents, scratches, or holes. Use wood filler to repair any imperfections, allowing it to dry completely before sanding.
Sanding the Oak Cabinets
Sanding is one of the most important steps in the process of refinishing oak kitchen cabinets. Proper sanding ensures that the new finish adheres well and that the surface is smooth and even.
- Start with Coarse Grit Sandpaper: Begin by sanding the cabinet surfaces with 120-grit sandpaper. This coarser grit will remove the old finish and any surface imperfections. Sand in the direction of the wood grain to avoid scratches.
- Smooth with Fine Grit Sandpaper: After the initial sanding, switch to 220-grit sandpaper to smooth the surface. This finer grit will create a more polished finish, preparing the wood for staining or painting.
- Sand Edges and Corners: Use a sanding block or foam sanding pad to sand the edges and corners of the cabinet doors and frames. Be gentle to avoid rounding off sharp edges or removing too much material.
- Clean the Dust: After sanding, thoroughly clean the cabinets to remove all dust and debris. Use a tack cloth or vacuum with a brush attachment to ensure the surface is clean and dust-free.
Also Read – How Many Kitchen Cabinets Do I Need?
Applying the New Finish
Once the cabinets are sanded and cleaned, it’s time to apply the new finish. Whether you choose to stain or paint your oak kitchen cabinets, the application process will differ slightly.
Staining Oak Cabinets
- Choose Your Stain: Select a wood stain that complements your kitchen’s color scheme and enhances the natural beauty of the oak. Test the stain on a small, inconspicuous area to ensure it achieves the desired color.
- Apply the Stain: Using a foam brush or lint-free cloth, apply the stain evenly to the cabinet surfaces. Work in small sections and follow the direction of the wood grain. Wipe off any excess stain with a clean cloth, allowing the wood grain to show through.
- Allow to Dry: Let the stain dry completely, following the manufacturer’s recommended drying time. Depending on the desired depth of color, you may need to apply a second coat of stain.
- Seal with a Topcoat: After the stain has dried, apply a clear topcoat, such as polyurethane, to protect the finish. Use a brush or foam applicator to apply the topcoat evenly, and allow it to dry completely before reassembling the cabinets. or vacuum with a brush attachment to ensure the surface is clean and dust-free.
Painting Oak Cabinets
- Prime the Cabinets: If you choose to paint your oak kitchen cabinets, start by applying a high-quality primer. Primer helps to cover the wood grain and creates a smooth surface for the paint. Use a brush or roller to apply the primer, and let it dry according to the manufacturer’s instructions.
- Sand Lightly After Priming: Once the primer is dry, lightly sand the surface with 220-grit sandpaper to smooth out any brush strokes or imperfections. Clean off the dust before proceeding to paint.
- Apply the Paint: Choose a durable paint designed for cabinets, such as latex or oil-based paint. Apply the paint in thin, even coats using a brush, roller, or sprayer. Allow each coat to dry before applying the next, and sand lightly between coats if necessary.
- Seal with a Protective Finish: To protect the painted finish, consider applying a clear topcoat, such as polyurethane. This step adds durability and helps prevent chipping or wear over time.
Reassembling the Cabinets
After the finish has dried completely, it’s time to reassemble the cabinets and enjoy your newly refinished oak kitchen cabinets.
Step-by-Step Reassembly
- Reattach Doors and Drawers: Carefully reattach the cabinet doors and drawers, using the labels you made earlier to ensure they go back in the correct places.
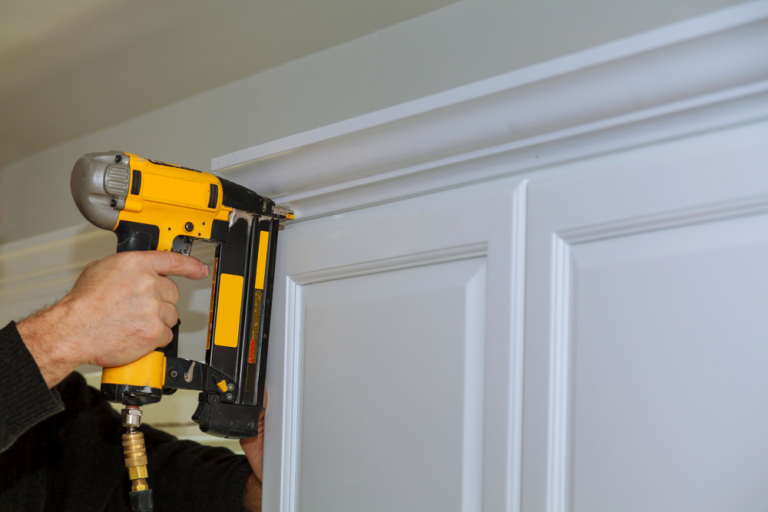
- Install New or Cleaned Hardware: If you’re updating the hardware, now is the time to install the new handles, knobs, and hinges. If you’re reusing the old hardware, make sure it’s clean and in good condition before reinstalling.
- Inspect the Finish: Once everything is reassembled, inspect the finish for any touch-ups that may be needed. Address any minor imperfections with a small brush and matching stain or paint.
Maintaining Your Refinished Oak Cabinets
To keep your refinished oak kitchen cabinets looking their best, it’s important to maintain them properly. Regular cleaning and care will help preserve the finish and extend the life of your cabinets.
Tips for Maintenance
- Clean Regularly: Wipe down the cabinets with a damp cloth and mild detergent to remove grease and dirt. Avoid using harsh chemicals or abrasive cleaners that can damage the finish.
- Avoid Excess Moisture: Keep the cabinets dry by wiping up any spills immediately. Excess moisture can damage the wood and cause the finish to deteriorate.
- Touch Up as Needed: Over time, you may notice small scratches or wear marks on the finish. Keep some matching stain or paint on hand to touch up these areas as needed.. Address any minor imperfections with a small brush and matching stain or paint.
Conclusion
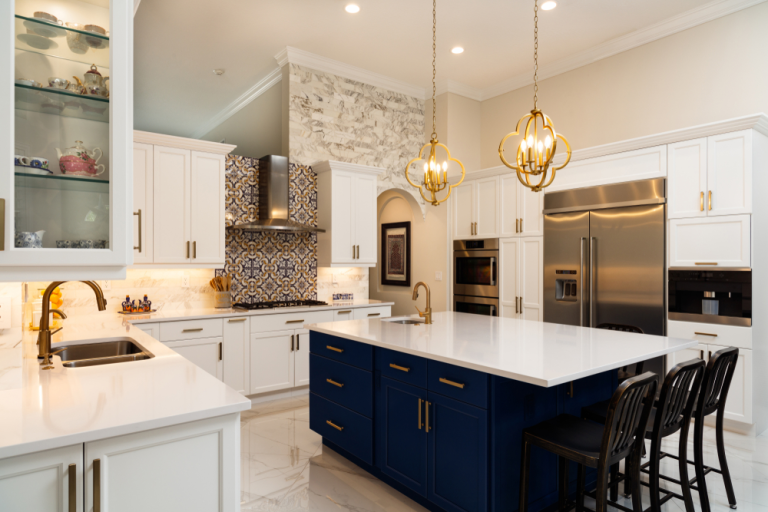
Refinishing oak kitchen cabinets is a rewarding project that can dramatically improve the look and feel of your kitchen. By following these steps—preparing the cabinets, sanding thoroughly, applying a new finish, and reassembling carefully—you can achieve professional-looking results that enhance the natural beauty of oak.
Whether you choose to stain or paint your cabinets, the key to success lies in careful preparation and attention to detail. With proper maintenance, your refinished oak kitchen cabinets will remain a stunning feature in your home for years to come.

