How to Restain Bathroom Cabinets?
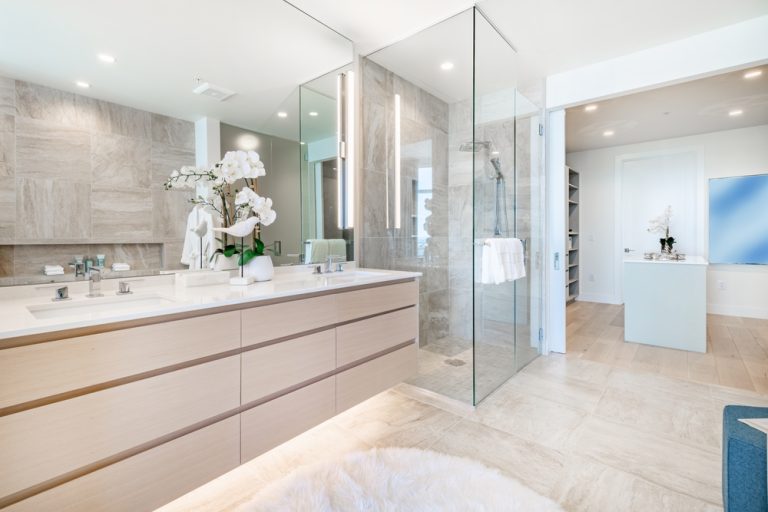
If your bathroom cabinets are looking worn or outdated, restaining them can breathe new life into the space without the need for a complete replacement. Knowing how to restain bathroom cabinets is a simple yet transformative DIY project that can enhance the appearance of your bathroom while protecting the cabinets from moisture and wear.
In this guide, we’ll walk you through the process step-by-step, from preparation to the final coat, ensuring you achieve a professional-looking result.
Why Restain Your Bathroom Cabinets?
Restaining bathroom cabinets is an affordable and effective way to update your bathroom’s aesthetic. Over time, cabinets can suffer from moisture exposure, leading to a faded or worn finish. Instead of replacing the entire cabinetry, restaining allows you to refresh their look and restore their original beauty.
Here are some key benefits of restaining bathroom cabinets:
- Cost-Effective: Restaining is much cheaper than replacing your cabinets entirely.
- Customizable Finish: You can choose a new stain color to match updated bathroom decor or maintain the existing wood tone.
- Durability: Staining protects the wood from moisture damage, which is especially important in a bathroom environment.
Choosing the Right Stain for Bathroom Cabinets
Before starting the process of how to restain bathroom cabinets, you’ll need to choose the right stain for the job. There are several types of wood stains to consider:
- Oil-Based Stains: These stains are durable and penetrate deeply into the wood, making them a good option for high-moisture areas like bathrooms. They offer rich, long-lasting color but take longer to dry than water-based stains.
- Water-Based Stains: These dry faster and are easier to clean up than oil-based stains. Water-based stains have lower VOC levels, making them more eco-friendly. However, they may not penetrate the wood as deeply as oil-based stains.
- Gel Stains: Gel stains are thick and sit on the surface of the wood, providing an even finish without soaking into the wood’s grain. These are great for achieving a uniform look on cabinets with uneven textures.
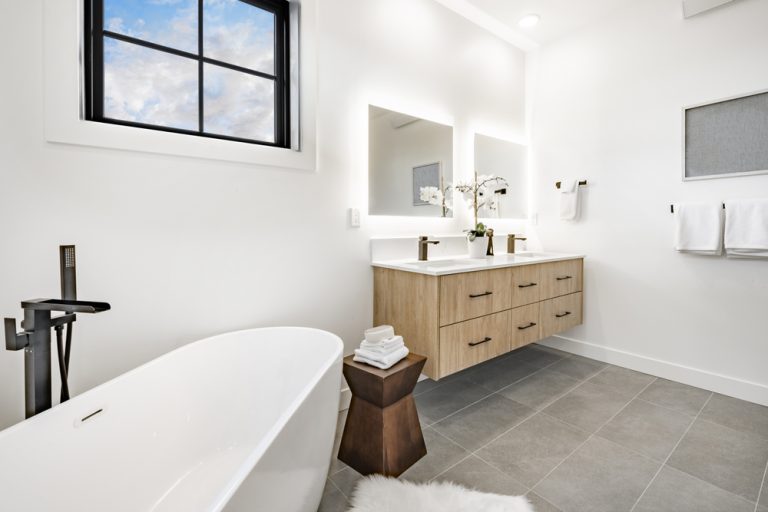
Once you’ve selected the stain, choose a shade that complements your bathroom decor. Dark stains can give your cabinets a rich, dramatic look, while lighter stains offer a more subtle and natural finish.
Also Read – How Deep Are Bathroom Cabinets?
How to Prepare Bathroom Cabinets for Restaining?
Proper preparation is key to ensuring your restaining project looks professional and lasts a long time. Skipping or rushing through this step can lead to uneven application and a poor finish.
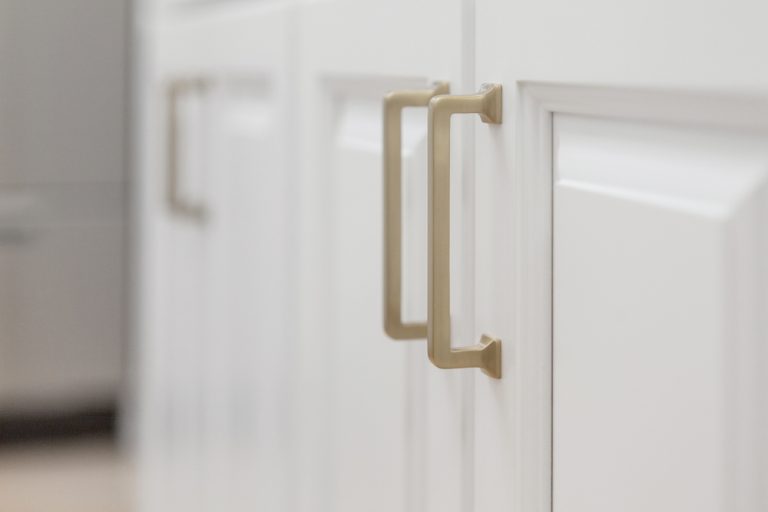
Step 1: Remove Cabinet Doors and Hardware
Begin by removing the cabinet doors, drawers, and hardware (handles, knobs, hinges) from the cabinets. This makes it easier to access all areas of the cabinets and ensures a smoother staining process. Label the hardware to remember where each piece belongs for easy reinstallation.
Step 2: Clean the Cabinets Thoroughly
Over time, bathroom cabinets accumulate dirt, dust, soap residue, and oils from your hands. Use a mild detergent or degreaser to thoroughly clean the cabinet surfaces. This will ensure that the stain adheres properly to the wood. After cleaning, wipe the cabinets with a damp cloth and allow them to dry completely.
Step 3: Sand the Surface
Sanding the surface is a crucial step when learning how to restain bathroom cabinets. Use a medium-grit sandpaper (120-150 grit) to sand the entire surface of the cabinets, removing the old finish and creating a smooth surface for the new stain. For edges and corners, use a sanding block or sponge to avoid damaging delicate areas.
After sanding, use a vacuum or tack cloth to remove all dust and debris from the surface. Any leftover dust can ruin the finish of the stain, so make sure the cabinets are completely clean.
Step-by-Step Guide: How to Restain Bathroom Cabinets
Now that the cabinets are prepped, it’s time to apply the stain. Follow these steps to ensure a smooth, even finish.
Step 1: Apply the Stain
Using a brush, sponge, or clean cloth, apply the stain to the cabinet doors, drawers, and frames. Work in long, even strokes, following the direction of the wood grain. Avoid applying too much stain at once, as this can lead to blotches or uneven coverage. If you’re using a gel stain, you may need to wipe off the excess stain after a few minutes to achieve the desired shade.
Step 2: Let the Stain Dry
After applying the stain, allow it to dry according to the manufacturer’s instructions. Drying times can vary based on the type of stain you use and the temperature and humidity levels in your home. It’s important not to rush this step—allowing the stain to dry fully will prevent smudging and ensure an even finish.
Step 3: Apply Additional Coats (If Needed)
If you want a deeper or richer color, you can apply additional coats of stain. Make sure each coat dries completely before applying the next one. For a lighter finish, one coat may be sufficient.
Step 4: Seal the Cabinets
Once the stain has dried and you’re happy with the color, it’s time to seal the cabinets. Applying a clear protective finish will help protect the wood from moisture and wear, which is especially important in a bathroom setting.
- Polyurethane: Oil-based polyurethane provides a durable, glossy finish that can withstand high humidity. However, it takes longer to dry and may yellow over time.
- Water-Based Polyurethane: This option dries faster, doesn’t yellow, and is easier to clean up. It’s a good choice for maintaining the natural look of lighter stains.
Use a clean brush or roller to apply the sealant, working in long, smooth strokes. Apply two or three coats for the best protection, allowing each coat to dry thoroughly between applications.
Maintaining Restained Bathroom Cabinets
Now that you’ve successfully restained your bathroom cabinets, it’s important to maintain them to ensure they stay looking great. Here are some maintenance tips:
- Clean Regularly: Wipe down the cabinets regularly with a damp cloth to remove dust, water spots, and fingerprints. Avoid using harsh chemicals that can strip the finish.
- Prevent Moisture Damage: Bathrooms are prone to humidity, so be sure to wipe up water spills immediately and use bathroom ventilation to reduce moisture buildup.
- Reapply Protective Sealant: Over time, the protective sealant may wear down, especially in high-use areas. Reapply a coat of sealant every couple of years to keep the cabinets protected.
Conclusion
Restaining is a fantastic way to refresh the look of your bathroom without the cost and hassle of replacing the cabinetry. Now that you know how to restain bathroom cabinets, you can take on this rewarding DIY project and enjoy a renewed bathroom space. With the right preparation, stain, and protective finish, your cabinets will look as good as new and stand the test of time.