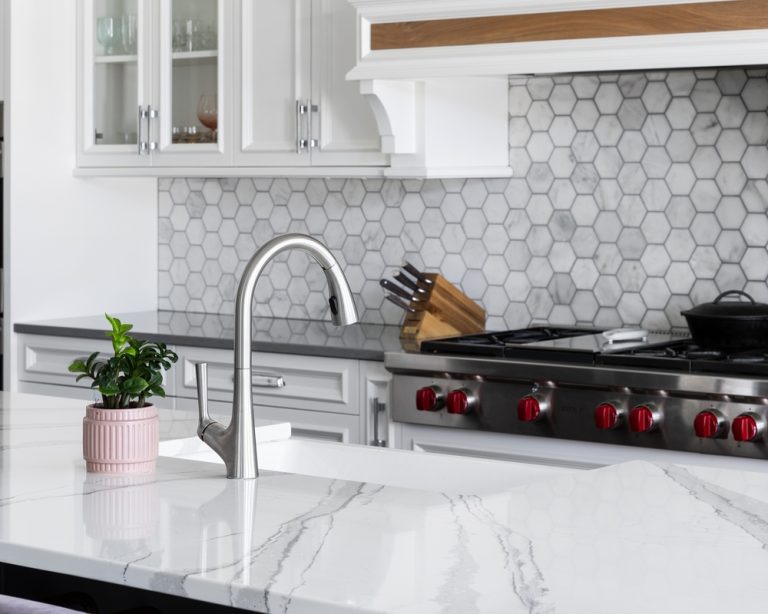
How to Remove Tile from Kitchen Counter?
Whether you’re updating your kitchen or repairing damaged surfaces, knowing how to remove tile from kitchen counter is an essential skill. Removing tile from a kitchen counter can be a labor-intensive process, but with the right tools and techniques, you can accomplish it effectively and prepare your counter for a fresh new look.
In this guide, we’ll walk you through the step-by-step process of safely removing tile from your kitchen counter, including tips for dealing with stubborn tiles, avoiding damage, and preparing the surface for new materials.
Why Remove Tile from Your Kitchen Counter?
Before diving into the removal process, it’s important to understand why you might need to remove tile from your kitchen counter.
Updating the Kitchen
- New Design: If you’re renovating your kitchen, you might want to replace outdated or damaged tiles with modern materials that better suit your style.
- Improving Functionality: Removing old tiles can allow you to install a more durable, easy-to-clean surface that improves the functionality of your kitchen.
Repairing Damage
- Cracked or Chipped Tiles: Over time, kitchen tiles can crack, chip, or become loose, making the surface uneven and difficult to clean. Removing these damaged tiles allows you to repair or replace them with new ones.
- Water Damage: If the grout or adhesive under the tiles has failed, water can seep in and cause damage to the underlying surface. Removing the tiles gives you the opportunity to address any underlying issues before they worsen.
Preparing for a New Surface
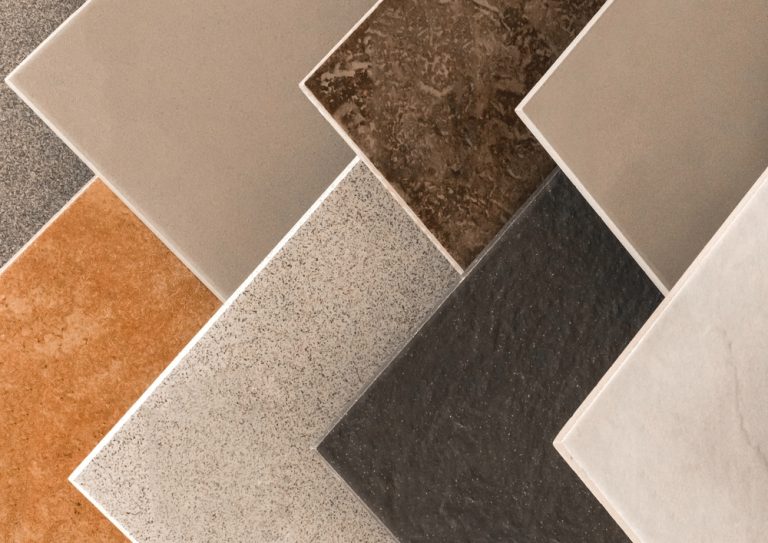
- Alternative Countertop Materials: If you’re planning to replace the tile with a different material, such as quartz, granite, or laminate, you’ll need to remove the existing tiles first. Proper removal ensures a smooth, even surface for the new countertop material.
Also Read – Can You Paint Kitchen Tile Countertops?
Tools and Materials Needed to Remove Tile from Kitchen Counter
To successfully remove tile from your kitchen counter, you’ll need to gather the following tools and materials:
Safety Gear
- Safety Glasses: Protect your eyes from flying debris during the tile removal process.
- Work Gloves: Wear sturdy gloves to protect your hands from sharp tile edges and tools.
- Dust Mask: A dust mask will help protect your lungs from dust and debris.
Tile Removal Tools
- Hammer: A hammer is essential for breaking tiles and loosening them from the adhesive.
- Chisel or Putty Knife: Use a chisel or a sturdy putty knife to pry the tiles off the counter surface. A wider blade is useful for larger tiles, while a narrower blade can help with detailed work.
- Utility Knife: A utility knife can be used to score the grout lines and help loosen the tiles.
- Pry Bar: A pry bar can be helpful for removing stubborn tiles or lifting sections of tile that are difficult to remove with a chisel alone.
Surface Preparation Tools
- Scraper: A scraper will help you remove any remaining adhesive or mortar from the counter surface after the tiles are removed.
- Sanding Block: Use a sanding block to smooth out the surface after the adhesive is removed.
- Vacuum or Shop Vac: A vacuum or shop vac will help you clean up dust and debris during and after the tile removal process.
Protective Coverings
- Drop Cloths: Use drop cloths to protect the surrounding areas, such as cabinets and floors, from debris and dust.
- Painter’s Tape: Painter’s tape can be used to cover and protect edges and corners that you want to avoid damaging during the tile removal process.
Step-by-Step Guide on How to Remove Tile from Kitchen Counter
Now that you have your tools and materials ready, here’s a detailed step-by-step guide on how to remove tile from kitchen counter.
Step 1: Prepare the Work Area
- Clear the Counter: Remove all items from the kitchen counter, including appliances, utensils, and decorative items. This will give you a clear, unobstructed workspace.
- Protect Surrounding Areas: Cover the floor and any nearby surfaces with drop cloths to protect them from dust and debris. Use painter’s tape to protect the edges of cabinets or walls that are adjacent to the counter.
Step 2: Remove the Grout
- Score the Grout Lines: Use a utility knife to score the grout lines between the tiles. This helps weaken the grout and makes it easier to remove the tiles.
- Remove the Grout: If the grout is loose or crumbling, you can remove it with a chisel or grout removal tool. Work carefully to avoid damaging the tiles if you plan to reuse them.
Step 3: Start Removing the Tiles
- Locate a Starting Point: Begin at the edge or corner of the counter where a tile is already loose, cracked, or damaged. This will make it easier to get started.
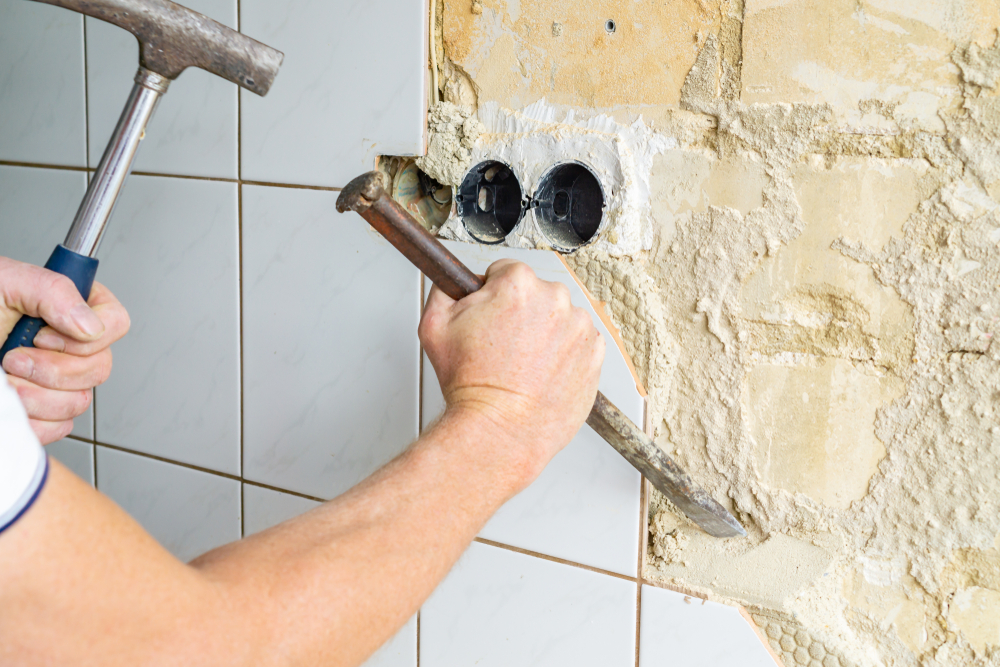
- Break the Tiles: Use a hammer to break the first tile into smaller pieces. Be sure to wear safety glasses to protect your eyes from flying shards.
- Pry the Tiles: Insert a chisel or putty knife under the edge of a tile and tap it gently with the hammer to loosen the adhesive. Work the chisel under the tile, prying it up and removing it from the counter. Repeat this process for each tile, working slowly and carefully to avoid damaging the countertop substrate.
- Use a Pry Bar for Stubborn Tiles: If a tile is particularly difficult to remove, use a pry bar to apply more leverage. Insert the pry bar under the tile and lift it up, using steady pressure to break the bond between the tile and the adhesive.
Step 4: Remove the Adhesive or Mortar
- Scrape Off the Adhesive: Once all the tiles are removed, use a scraper to remove any remaining adhesive or mortar from the countertop surface. Work carefully to avoid gouging or damaging the substrate.
- Sand the Surface: Use a sanding block to smooth out any rough spots or residue left behind by the adhesive. This will create a clean, even surface for the new countertop material.
Step 5: Clean Up the Area
- Vacuum the Debris: Use a vacuum or shop vac to clean up dust, debris, and any remaining tile fragments from the counter and surrounding area.
- Wipe Down the Surface: Once the area is clear of debris, wipe down the countertop surface with a damp cloth to remove any remaining dust or residue.
Tips for Successfully Removing Tile from Kitchen Counter
Removing tile from a kitchen counter can be challenging, but these tips can help ensure a successful and smooth process.
Work Slowly and Carefully
- Avoid Damaging the Substrate: Take your time when prying up the tiles to avoid damaging the substrate underneath. Rushing the process can result in gouges or cracks that will need to be repaired before installing new materials.
- Use the Right Tools: Ensure you’re using the appropriate tools for each step of the process. A chisel or putty knife is great for loosening tiles, while a pry bar provides extra leverage for stubborn areas.
Protect Yourself and Your Kitchen
- Wear Safety Gear: Always wear safety glasses, gloves, and a dust mask to protect yourself from debris and dust.
- Cover Surrounding Areas: Use drop cloths and painter’s tape to protect cabinets, floors, and walls from damage during the tile removal process.
Address Any Underlying Issues
- Inspect the Substrate: Once the tiles are removed, inspect the substrate for any signs of damage, such as cracks, water damage, or mold. Address these issues before proceeding with new countertop materials to ensure a stable and durable surface.
- Prepare for New Material: Ensure the surface is clean, smooth, and level before installing new countertop materials. Proper preparation will help ensure a successful installation and a long-lasting finish.
Dispose of Debris Properly
- Tile Disposal: Dispose of the removed tiles and debris in accordance with local regulations. Some areas may require tiles to be taken to a specific disposal facility.
- Clean Up Thoroughly: After the tile removal is complete, clean the area thoroughly to remove any dust or debris that could interfere with the installation of new materials.
Conclusion
Learning how to remove tile from kitchen counter is a valuable skill that can save you money and allow you to take control of your kitchen renovation. Whether you’re updating your kitchen with new materials or repairing damaged tiles, following the steps outlined in this guide will help you remove tiles safely and effectively.
By taking the time to prepare your workspace, using the right tools, and working carefully, you can achieve a clean and even surface ready for the next stage of your kitchen transformation. With patience and attention to detail, your kitchen counter will be ready for its new look in no time.