How to Use Liquid Plumber in a Kitchen Sink?
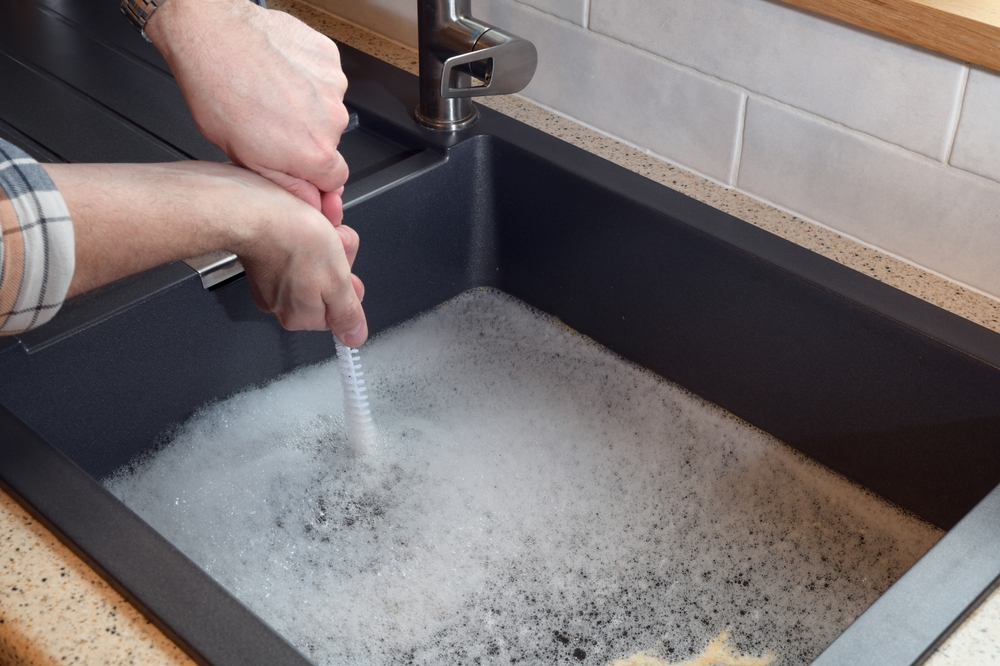
A clogged kitchen sink can be a frustrating problem, especially when water refuses to drain or does so very slowly. One common solution homeowners turn to is Liquid Plumber, a powerful drain cleaner designed to dissolve clogs and restore normal drainage.
If you’re wondering how to use Liquid Plumber in a kitchen sink, this guide will walk you through the process step by step, ensuring you use the product effectively and safely to tackle those tough clogs.
Understanding Liquid Plumber and How It Works
Before diving into the steps on how to use Liquid Plumber in a kitchen sink, it’s important to understand what this product is and how it works. Liquid Plumber is a chemical drain cleaner that contains powerful ingredients, such as sodium hydroxide (lye) and bleach, that break down clogs composed of grease, food particles, hair, and other debris.
Types of Clogs It Can Handle
- Grease Buildup: Liquid Plumber is particularly effective against grease clogs, which are common in kitchen sinks. Grease can solidify in the pipes, leading to slow drainage or complete blockages.
- Food Particles: Over time, food particles can accumulate in the pipes, creating a clog. Liquid Plumber helps to dissolve these particles and clear the blockage.
- Hair and Soap Scum: Although more common in bathroom drains, hair and soap scum can also cause clogs in the kitchen, especially if your sink is used for washing hands or bathing pets.
When to Use Liquid Plumber
- Slow Draining Sinks: If your kitchen sink is draining slowly, it’s often an early sign of a clog. Using Liquid Plumber at this stage can prevent a full blockage.
- Standing Water: If water is standing in your sink and won’t drain, Liquid Plumber can help break up the clog and restore proper drainage.
- Preventive Maintenance: Some homeowners use Liquid Plumber periodically as a preventive measure to keep their drains clear and avoid future clogs.
Also Read – How Kitchen Sink Plumbing Works?
Safety Precautions Before Using Liquid Plumber
Liquid Plumber is a powerful chemical cleaner, and using it improperly can be dangerous. Before learning how to use Liquid Plumber in a kitchen sink, make sure to follow these safety precautions:
Read the Label
- Follow Instructions: Always read the label on the Liquid Plumber bottle before use. The instructions will provide specific guidance on how to use the product safely and effectively.
- Check Compatibility: Ensure that your pipes are compatible with chemical drain cleaners. Liquid Plumber is generally safe for most plumbing systems, but it’s always best to check, especially if you have older pipes or a septic system.
Wear Protective Gear
- Gloves and Eye Protection: Always wear rubber gloves and safety goggles when handling Liquid Plumber. The chemicals can cause burns if they come into contact with your skin, and the fumes can irritate your eyes.
- Proper Ventilation: Use Liquid Plumber in a well-ventilated area. Open windows or turn on a fan to disperse any fumes that may be released during the process.
Avoid Mixing with Other Chemicals
- No Mixing: Never mix Liquid Plumber with other household cleaners, especially bleach or ammonia, as this can create toxic fumes. If you’ve previously used another chemical cleaner, make sure to flush the drain with water before applying Liquid Plumber.
Step-by-Step Guide on How to Use Liquid Plumber in a Kitchen Sink
Now that you understand the basics and have taken the necessary precautions, here’s a step-by-step guide on how to use Liquid Plumber in a kitchen sink:
Step 1: Clear the Sink
- Remove Standing Water: If there’s standing water in the sink, try to remove as much of it as possible using a cup or a small container. While Liquid Plumber can work with standing water, it’s more effective if the water level is low.
- Remove Debris: Clear the sink of any visible debris, such as food particles or other objects, that could be contributing to the clog.
Step 2: Pour the Liquid Plumber
- Measure the Amount: Most Liquid Plumber products come with a specific dosage recommendation. Typically, you’ll need to pour about half a bottle (approximately 16 ounces) directly into the drain. Check the label for the exact amount.
- Pour Slowly: Pour the Liquid Plumber slowly and directly into the drain opening. Be careful not to splash the liquid, as it can cause skin burns or damage to surfaces.
Step 3: Wait for the Product to Work
- Allow Time to Dissolve the Clog: After pouring the Liquid Plumber into the drain, allow it to sit for the recommended amount of time. This usually ranges from 15 to 30 minutes, depending on the severity of the clog. The chemicals need time to break down the clog effectively.
- Avoid Using the Sink: During this waiting period, avoid using the sink or running water. Allow the Liquid Plumber to work undisturbed.
Step 4: Flush the Drain
- Run Hot Water: After the waiting period, flush the drain with hot water. Turn on the hot tap and let the water run for several minutes. The hot water helps wash away the dissolved clog and any remaining traces of the chemical cleaner.
- Check for Drainage: Observe how the water drains. If the sink is still draining slowly or remains clogged, you may need to repeat the process or try an alternative method.
Step 5: Repeat If Necessary
- Reapply if Needed: For particularly stubborn clogs, you might need to apply a second dose of Liquid Plumber. Follow the same steps as before, and give the product additional time to work on the blockage.
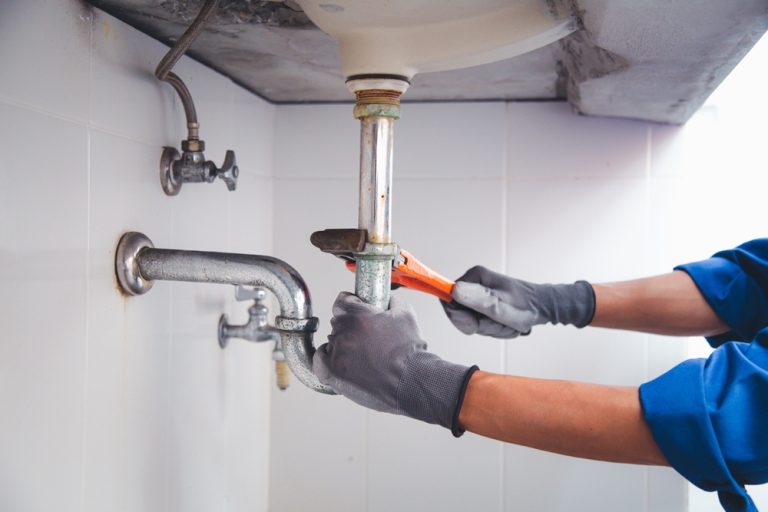
- Seek Professional Help: If the clog persists after a second application, it may be time to call a plumber. Persistent clogs could indicate a more serious issue that requires professional intervention.
Alternative Methods and Tips for Preventing Future Clogs
While knowing how to use Liquid Plumber in a kitchen sink is helpful, it’s also important to consider alternative methods and preventive measures to avoid clogs in the first place.
Natural Alternatives
- Baking Soda and Vinegar: A mixture of baking soda and vinegar is a natural and eco-friendly alternative to chemical drain cleaners. Pour half a cup of baking soda down the drain, followed by half a cup of vinegar. Let it sit for 30 minutes, then flush with hot water.
- Boiling Water: Pouring boiling water down the drain can help dissolve grease and soap scum buildup, preventing clogs from forming.
Preventive Measures
- Use a Drain Strainer: A drain strainer or sink basket can catch food particles and debris before they enter the drain, reducing the likelihood of clogs.
- Avoid Pouring Grease Down the Drain: Grease can solidify in the pipes, leading to clogs. Instead of pouring grease down the drain, let it cool and dispose of it in the trash.
- Regular Maintenance: Periodically flush your drains with hot water or a baking soda and vinegar mixture to keep them clear and prevent buildup.
When to Avoid Using Liquid Plumber
- Severe Clogs: If the clog is severe or if you suspect a foreign object is blocking the drain, it’s best to call a plumber rather than using Liquid Plumber. The chemicals may not be effective in these situations and could cause damage.
- Older or Damaged Pipes: If your home has older plumbing or pipes that are already damaged, using a chemical cleaner like Liquid Plumber could worsen the issue. In these cases, consult a plumber for safe alternatives.
Conclusion
Understanding how to use Liquid Plumber in a kitchen sink can be a quick and effective solution for clearing clogs and restoring proper drainage. By following the steps outlined in this guide and taking the necessary safety precautions, you can tackle most common kitchen sink clogs with confidence.
However, while Liquid Plumber is a powerful tool, it’s not a one-size-fits-all solution. Regular maintenance, natural alternatives, and preventive measures are essential for keeping your kitchen sink’s plumbing in top condition. And if you ever encounter a clog that’s too tough to handle on your own, don’t hesitate to call in a professional plumber.

