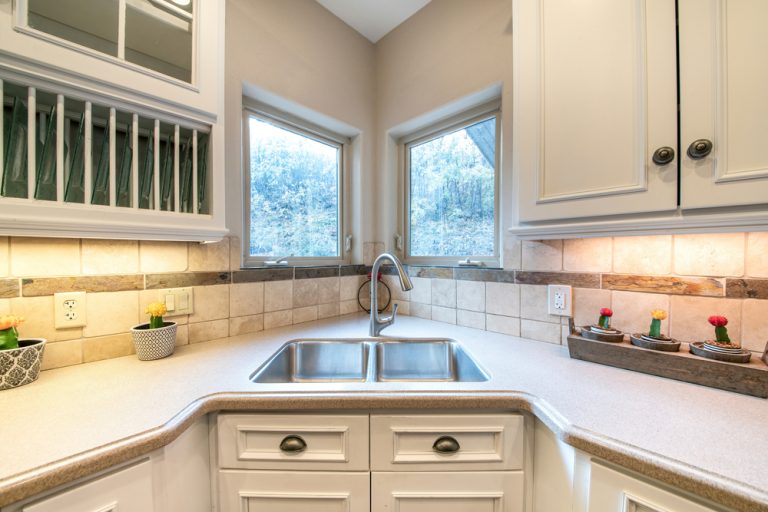
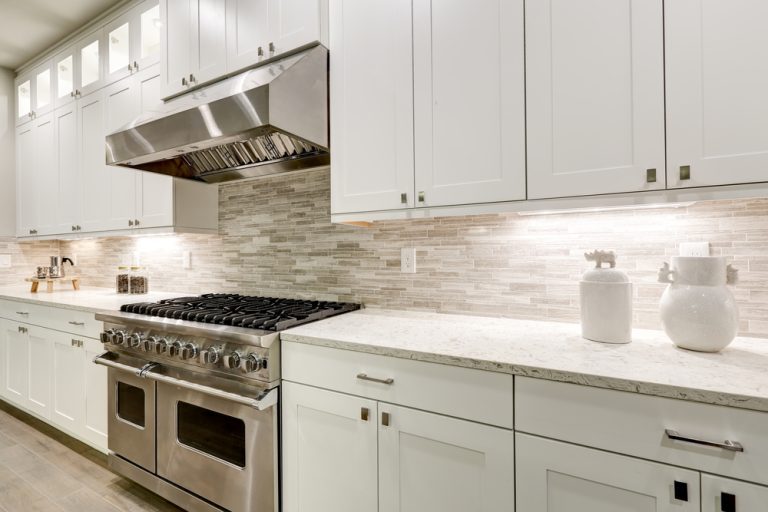
How to Stain Kitchen Cabinets Without Sanding?

Staining kitchen cabinets can breathe new life into your kitchen, giving it a refreshed and updated look. However, the process of sanding can be time-consuming, messy, and labor-intensive. Fortunately, it is possible to achieve a beautiful finish without the hassle of sanding.
In this guide, we’ll explore how to stain kitchen cabinets without sanding, providing you with the steps, materials, and techniques needed to transform your cabinets with minimal effort.
Why Consider Staining Without Sanding?
Sanding is often recommended before staining to remove the old finish and ensure that the new stain adheres properly to the wood. However, there are several reasons why you might want to skip the sanding process.
Time-Saving
- Quicker Process: Skipping the sanding step can significantly reduce the time it takes to complete your project. This is especially beneficial if you’re working on a tight schedule or have a large kitchen to tackle.
- Less Labor-Intensive: Sanding requires a lot of physical effort, particularly if you’re working on multiple cabinets. By eliminating this step, you can save yourself considerable labor.
Cleaner Work Environment
- Less Dust: Sanding creates a lot of dust, which can be messy and difficult to clean up. By avoiding sanding, you can keep your work area cleaner and reduce the amount of dust in the air.
- Health Considerations: Dust from sanding can be irritating to the respiratory system, especially if you’re working in a poorly ventilated area. Skipping the sanding step can be a healthier option for those with allergies or sensitivities.
Preserving the Wood
- Maintain Wood Integrity: Sanding removes a layer of the wood surface, which can sometimes damage delicate or intricate woodwork. By avoiding sanding, you preserve the original character and integrity of the wood.
Also Read – How to Remove Oil Stains from Kitchen Cabinets?
Preparing to Stain Kitchen Cabinets Without Sanding
Although you won’t be sanding, proper preparation is still crucial to achieving a successful stain. Here’s how to prepare your cabinets for staining without sanding.
Gather Materials and Tools
- Degreaser or TSP (Trisodium Phosphate): A strong cleaner to remove grease, dirt, and grime from the cabinets.
- Liquid Sander/Deglosser: This product chemically “roughs up” the surface of the existing finish, allowing the new stain to adhere without sanding.
- Wood Stain: Choose a high-quality stain in your desired color. Gel stains are particularly effective for this method as they sit on top of the wood rather than soaking in.
- Foam Brushes or Paintbrushes: Use foam brushes or high-quality paintbrushes for applying the stain smoothly.
- Clean Rags: Have plenty of lint-free rags on hand for wiping down cabinets and removing excess stain.
- Protective Gloves: Wear gloves to protect your hands from chemicals and stains.
- Drop Cloths: Protect your work area with drop cloths to catch any spills or drips.
Clean the Cabinets Thoroughly
- Remove Dirt and Grease: Kitchen cabinets are often covered in a layer of grease and grime from cooking. Use a degreaser or TSP to thoroughly clean the cabinets. This step is essential for ensuring that the stain adheres properly.
- Rinse and Dry: After cleaning, rinse the cabinets with a damp cloth to remove any residue from the cleaner. Allow the cabinets to dry completely before proceeding.
Apply Liquid Sander/Deglosser
- Choose the Right Product: Liquid sanders or deglossers are designed to chemically roughen the surface of the existing finish, allowing the new stain to bond without the need for physical sanding.
- Follow Instructions: Apply the deglosser according to the manufacturer’s instructions, typically using a cloth to wipe it onto the surface. Make sure to work in a well-ventilated area, as these products can have strong fumes.
- Allow to Dry: Let the deglosser dry completely. This usually takes about 30 minutes, but drying times can vary depending on the product.
Staining the Cabinets Without Sanding
Once your cabinets are prepped, you’re ready to begin staining. Here’s how to stain kitchen cabinets without sanding for a smooth, professional-looking finish.
Step 1: Apply the Stain
- Choose Your Stain: Gel stains are ideal for this method because they are thicker and sit on the surface of the wood, providing even coverage without soaking into the wood grain.
- Apply with a Brush: Using a foam brush or high-quality paintbrush, apply the stain to the cabinets in long, even strokes, following the direction of the wood grain. Start with a thin coat to avoid drips and ensure even coverage.
- Work in Sections: To prevent the stain from drying unevenly, work on one section of the cabinet at a time. This allows you to control the application and wipe off excess stain before it sets.
Step 2: Wipe Off Excess Stain
- Remove Excess: After applying the stain, use a clean, lint-free rag to wipe off any excess. This helps to achieve a uniform color and prevents blotchiness.
- Adjust for Desired Darkness: If you want a darker finish, you can apply additional coats of stain, allowing each coat to dry completely before applying the next. Typically, one to three coats are sufficient.
Step 3: Allow the Stain to Dry
- Drying Time: Let the stain dry according to the manufacturer’s instructions. Gel stains generally take longer to dry than traditional stains, so be patient and avoid touching the surface until it’s fully cured.
- Check for Evenness: Once dry, inspect the cabinets for any uneven spots or areas that need touch-ups. If necessary, apply a small amount of stain to these areas and wipe off the excess.
Sealing and Protecting the Stained Cabinets
After staining, it’s important to seal the cabinets to protect the finish and ensure durability. Here’s how to do it:
Step 1: Choose a Protective Finish
- Polyurethane Finish: A clear polyurethane finish is the most common choice for sealing stained wood. It protects the surface from moisture, stains, and daily wear and tear.
- Water-Based or Oil-Based: Choose between water-based polyurethane, which dries faster and has less odor, and oil-based polyurethane, which provides a richer finish but takes longer to dry.
Step 2: Apply the Finish
- Brush on the Finish: Use a clean brush to apply a thin, even coat of polyurethane to the stained cabinets. Make sure to follow the direction of the wood grain and avoid overloading the brush to prevent drips.
- Sand Between Coats: After the first coat has dried, lightly sand the surface with fine-grit sandpaper (320 grit) to smooth out any imperfections. Wipe away the dust with a tack cloth before applying the next coat.
- Apply Additional Coats: Apply at least two to three coats of polyurethane for maximum protection. Allow each coat to dry completely before applying the next.
Step 3: Reassemble the Cabinets
- Reattach Hardware: Once the final coat of polyurethane has dried, reattach the cabinet doors, drawers, and hardware.
- Check for Alignment: Make sure all doors and drawers are properly aligned and function smoothly.
Tips for a Successful Staining Project
To ensure the best results when staining kitchen cabinets without sanding, keep the following tips in mind:
Work in a Well-Ventilated Area
- Safety First: Always work in a well-ventilated area when using deglossers, stains, and sealers to avoid inhaling fumes. Consider using a fan to improve air circulation.
Take Your Time
- Patience Pays Off: Rushing through the staining process can lead to uneven coverage and blotchy results. Take your time, especially when applying the stain and wiping off the excess.
Test the Stain First
- Spot Test: Before applying the stain to the entire cabinet, test it on a small, inconspicuous area to ensure you’re happy with the color and finish.
Maintain Your Tools
- Clean Brushes: Clean your brushes and rags immediately after use to prevent them from hardening. Properly maintaining your tools ensures they’re ready for the next coat or future projects.
Conclusion
Learning how to stain kitchen cabinets without sanding is a fantastic way to refresh your kitchen without the time-consuming and messy process of sanding. By using the right products and techniques, you can achieve a beautiful, professional-looking finish that transforms your cabinets and enhances the overall aesthetic of your kitchen.
With patience, attention to detail, and proper preparation, you can successfully stain your cabinets and enjoy the satisfaction of a DIY project well done. Whether you’re looking for a quick update or a complete makeover, this method offers a practical and efficient way to achieve stunning results.