How to Raise a Kitchen Cabinet?
Raising kitchen cabinets can be a practical solution for improving functionality, especially if you need more clearance for taller appliances or want to create additional storage space underneath. Whether you’re remodeling your kitchen or just making a few adjustments, learning how to raise a kitchen cabinet can help you achieve a more efficient and aesthetically pleasing kitchen layout.
In this blog, we’ll guide you through the process step by step, ensuring that your cabinets are raised securely and evenly.
Why Raise a Kitchen Cabinet?
Before diving into the process, it’s important to understand why you might want to raise a kitchen cabinet. There are several benefits to making this adjustment:
Increased Clearance
- Accommodate Taller Appliances: If you’re upgrading to taller appliances, such as a new refrigerator or range, raising the cabinets can provide the necessary clearance. This ensures that your kitchen remains functional and visually balanced.
Enhanced Storage Space
- Add Storage Below: Raising your kitchen cabinets can create additional space underneath, allowing you to install new lower cabinets, shelving, or even a custom pantry. This is especially useful in small kitchens where maximizing storage is essential.
Improved Aesthetic Appeal
- Create a Taller Look: Raising the cabinets can give your kitchen a more spacious and modern appearance. By raising the upper cabinets closer to the ceiling, you create a taller, more streamlined look.
Also Read – How to Price Kitchen Cabinets?
Preparing to Raise a Kitchen Cabinet
Before you begin raising your kitchen cabinets, proper preparation is key. This includes gathering the necessary tools and materials, as well as carefully planning the project.
Step 1: Gather Tools and Materials
- Tools Required: To raise your kitchen cabinets, you’ll need a few basic tools, including a level, measuring tape, drill, screwdriver, pry bar, stud finder, and wood shims or blocks. You may also need a helper to assist with lifting and securing the cabinets.
- Materials Needed: In addition to the tools, you’ll need wood screws, wood filler, and paint or stain to match your cabinets. If you plan to add additional trim or molding, gather those materials as well.
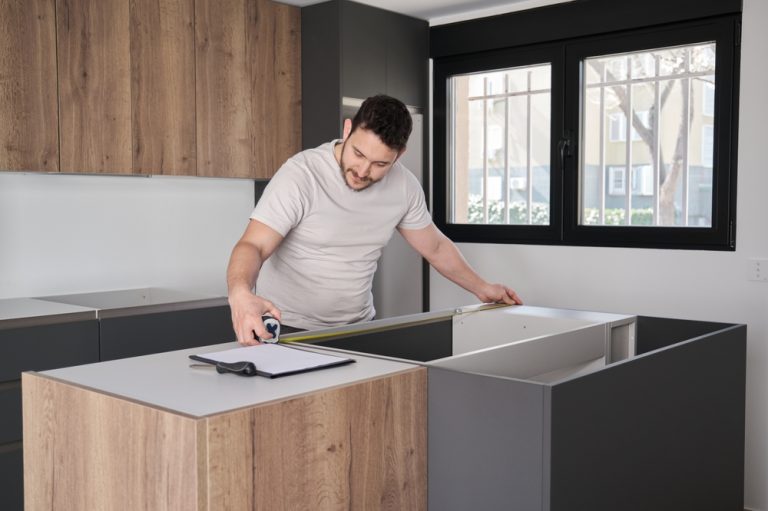
Step 2: Measure and Plan
- Determine the New Height: Measure the current height of your cabinets and decide how much you want to raise them. Consider the height of your appliances, the desired space between the countertop and the upper cabinets, and the overall look you want to achieve.
- Plan for Adjustments: If raising the cabinets will expose unfinished walls or gaps, plan to make the necessary adjustments. This may include painting or adding trim to cover any exposed areas.
Step 3: Clear the Area
- Empty the Cabinets: Before raising the cabinets, remove all items from inside to lighten the load and prevent anything from falling during the process.
- Protect Surfaces: Cover your countertops and floors with protective sheets to prevent damage while you work.
Step-by-Step Guide to Raising a Kitchen Cabinet
Once you’ve prepared the area, it’s time to begin the process of raising your kitchen cabinets. Follow these steps to ensure a successful and secure installation.
Step 1: Remove the Cabinet Doors and Hardware
- Take Off the Doors: Start by removing the cabinet doors and any hardware, such as handles and hinges. This will make the cabinets lighter and easier to handle. Use a screwdriver to remove the screws, and keep them organized for reinstallation later.
- Label the Doors: If you’re raising multiple cabinets, label the doors and their corresponding locations to make reinstallation easier.
Step 2: Loosen the Cabinets from the Wall
- Locate the Screws: Use a stud finder to locate the screws that attach the cabinets to the wall studs. These screws are typically found along the top and bottom edges of the cabinets.
- Loosen the Screws: Using a drill or screwdriver, carefully loosen the screws that secure the cabinets to the wall. Do not remove them completely at this stage—just loosen them enough so that the cabinets can be moved.
Step 3: Raise the Cabinets
- Use Shims or Blocks: Place wood shims or blocks underneath the cabinets to gradually raise them to the desired height. Start at one end of the cabinet and work your way across, adjusting the shims as needed to ensure that the cabinet remains level.
- Lift the Cabinets: With the help of a partner, carefully lift the cabinets to the new height. Use a level to check that the cabinets are straight and even. Adjust the shims or blocks as necessary to achieve the correct height and alignment.
Step 4: Secure the Cabinets at the New Height
- Tighten the Screws: Once the cabinets are in position, re-tighten the screws that secure them to the wall studs. Make sure the cabinets are firmly attached and that there is no movement or wobbling.
- Add Additional Support: If necessary, add additional screws or brackets for extra support, especially if the cabinets are large or heavy.
Step 5: Address Any Gaps or Exposed Areas
- Fill Gaps with Wood Filler: If raising the cabinets has left gaps between the cabinets and the wall or ceiling, use wood filler to fill in the gaps. Once the filler is dry, sand it smooth and paint or stain it to match the cabinets.
- Install Trim or Molding: To create a finished look, consider installing trim or molding around the top of the cabinets. This can help cover any gaps and add a decorative touch.
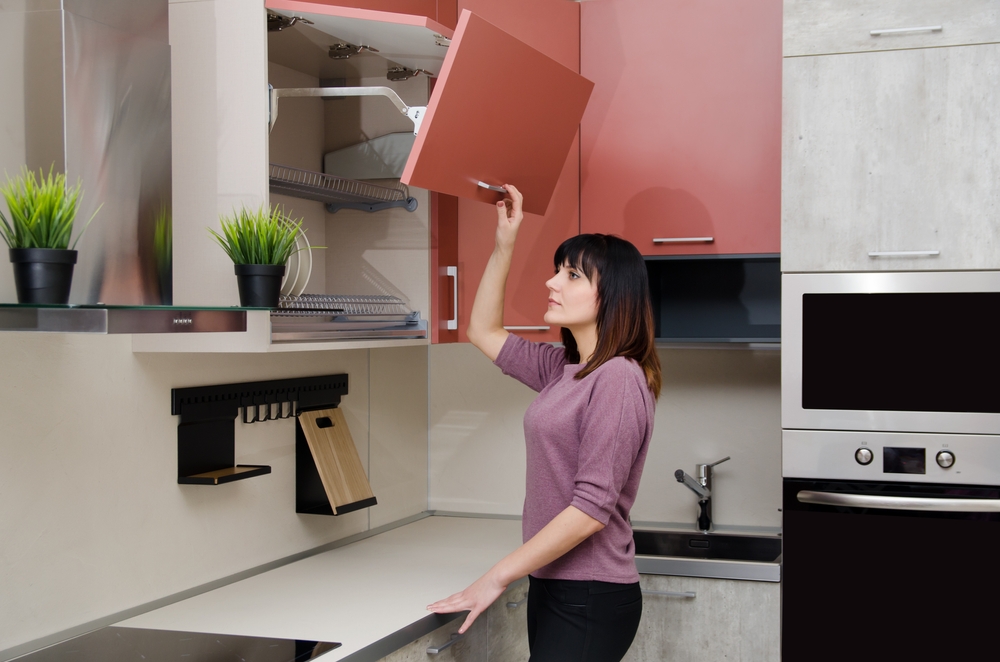
Step 6: Reinstall the Cabinet Doors and Hardware
- Reattach the Doors: Once the cabinets are securely in place and any gaps have been addressed, reattach the cabinet doors using the screws and hardware you removed earlier. Ensure that the doors are aligned properly and open and close smoothly.
- Install New Hardware (Optional): If you want to update the look of your cabinets further, consider installing new handles or knobs that complement the new height and design.
Final Touches and Maintenance
After raising your kitchen cabinets, there are a few final touches to complete the project and ensure the cabinets remain secure and functional.
Inspect for Stability
- Check for Movement: After the cabinets have been raised and secured, check for any movement or instability. Make sure all screws and brackets are tight and that the cabinets are firmly attached to the wall.
- Test the Doors: Open and close the cabinet doors to ensure they operate smoothly and that the new height does not interfere with their function.
Clean Up and Restore the Kitchen
- Remove Protective Coverings: Once the cabinets are secure and the project is complete, remove any protective coverings from the countertops and floors.
- Return Items to the Cabinets: Return the items you removed from the cabinets, organizing them to take advantage of the new height and space.
Maintain the Cabinets
- Regular Cleaning: Keep your newly raised cabinets looking their best by cleaning them regularly with a soft cloth and mild detergent. Avoid using abrasive cleaners that could damage the finish.
- Inspect for Wear: Periodically inspect the cabinets for any signs of wear or damage, particularly around the screws and brackets. Tighten any loose screws and address any issues promptly to maintain the cabinets’ stability.
Conclusion
Learning how to raise a kitchen cabinet is a practical solution for enhancing both the functionality and appearance of your kitchen. By carefully planning and following the steps outlined in this guide, you can successfully raise your cabinets to the desired height, creating more space and improving the overall layout of your kitchen.
Whether you’re making room for taller appliances, adding storage below, or simply updating the look of your kitchen, raising your cabinets can be a rewarding and impactful project.